Plain Plug Gage Plain Ring Gage
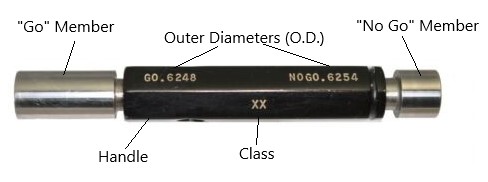

Plain Gages (also referred to as Smooth Gages) which include Pin Plug Gages and Plain Bore Ring Gages, can be used for a variety of purposes including checking the diameter of machined parts or calibrating inspection tools such as micrometers and calipers.
Plain Plug Gages consist of one or two Members which are referred to as "Go" and "No Go" and are usually inserted into a handle which will be labeled with the Outer Diameters and often a Class and Brand.
Plain Ring Gages may also be labeled with "Go" or "No Go" but this can usually be ignored, as unlike plain plug gages they will typically not be sold in Go & No Go sets. Plain rings will be labeled with the Inner Diameter and often a Class and Brand.
Listable Sizes:
Plain Ring Gages are okay to list at any size, as long as they are labeled properly and in good condition.
Plain Plug Gages have the following listing limitations:
Single-Member Gages <1" (25.4mm) Diameter should not be listed unless it is an "on-size" such as .7500 (3/4), .5000 (1/2), .3750 (3/8), etc. This also goes for metric sizes - "on-size" would be 11.000mm, 12.000mm, etc.
Go & No Go Gages <1/2" (12.7mm) Diameter should not be listed unless:
- One of the members is an "on-size", or
- It's an "over-under" gage, where the go member is just below an "on-size" and the no go member is just above that same "on-size". For example, a plain gage with a go diameter of .2495 and a no go diameter of .2505 would be an "over-under" for 1/4" and therefore suitable to list.
Labeling:
Plain gages must have the O.D. / I.D. sizes clearly labeled in order to be listed. Unlabeled gages should be set aside to be either measured or sold as part of a large lot. Gages with only hand-scribed labeling can still be listed as long as the size makes sense (i.e., the gage isn't clearly significantly larger / smaller than the labeling suggests) but this should be reflected in a lower Condition selection for the listing (meaning if the gage would otherwise be Good, select Average; if it would otherwise be Average, select Poor; etc.).
Progressive Gages:
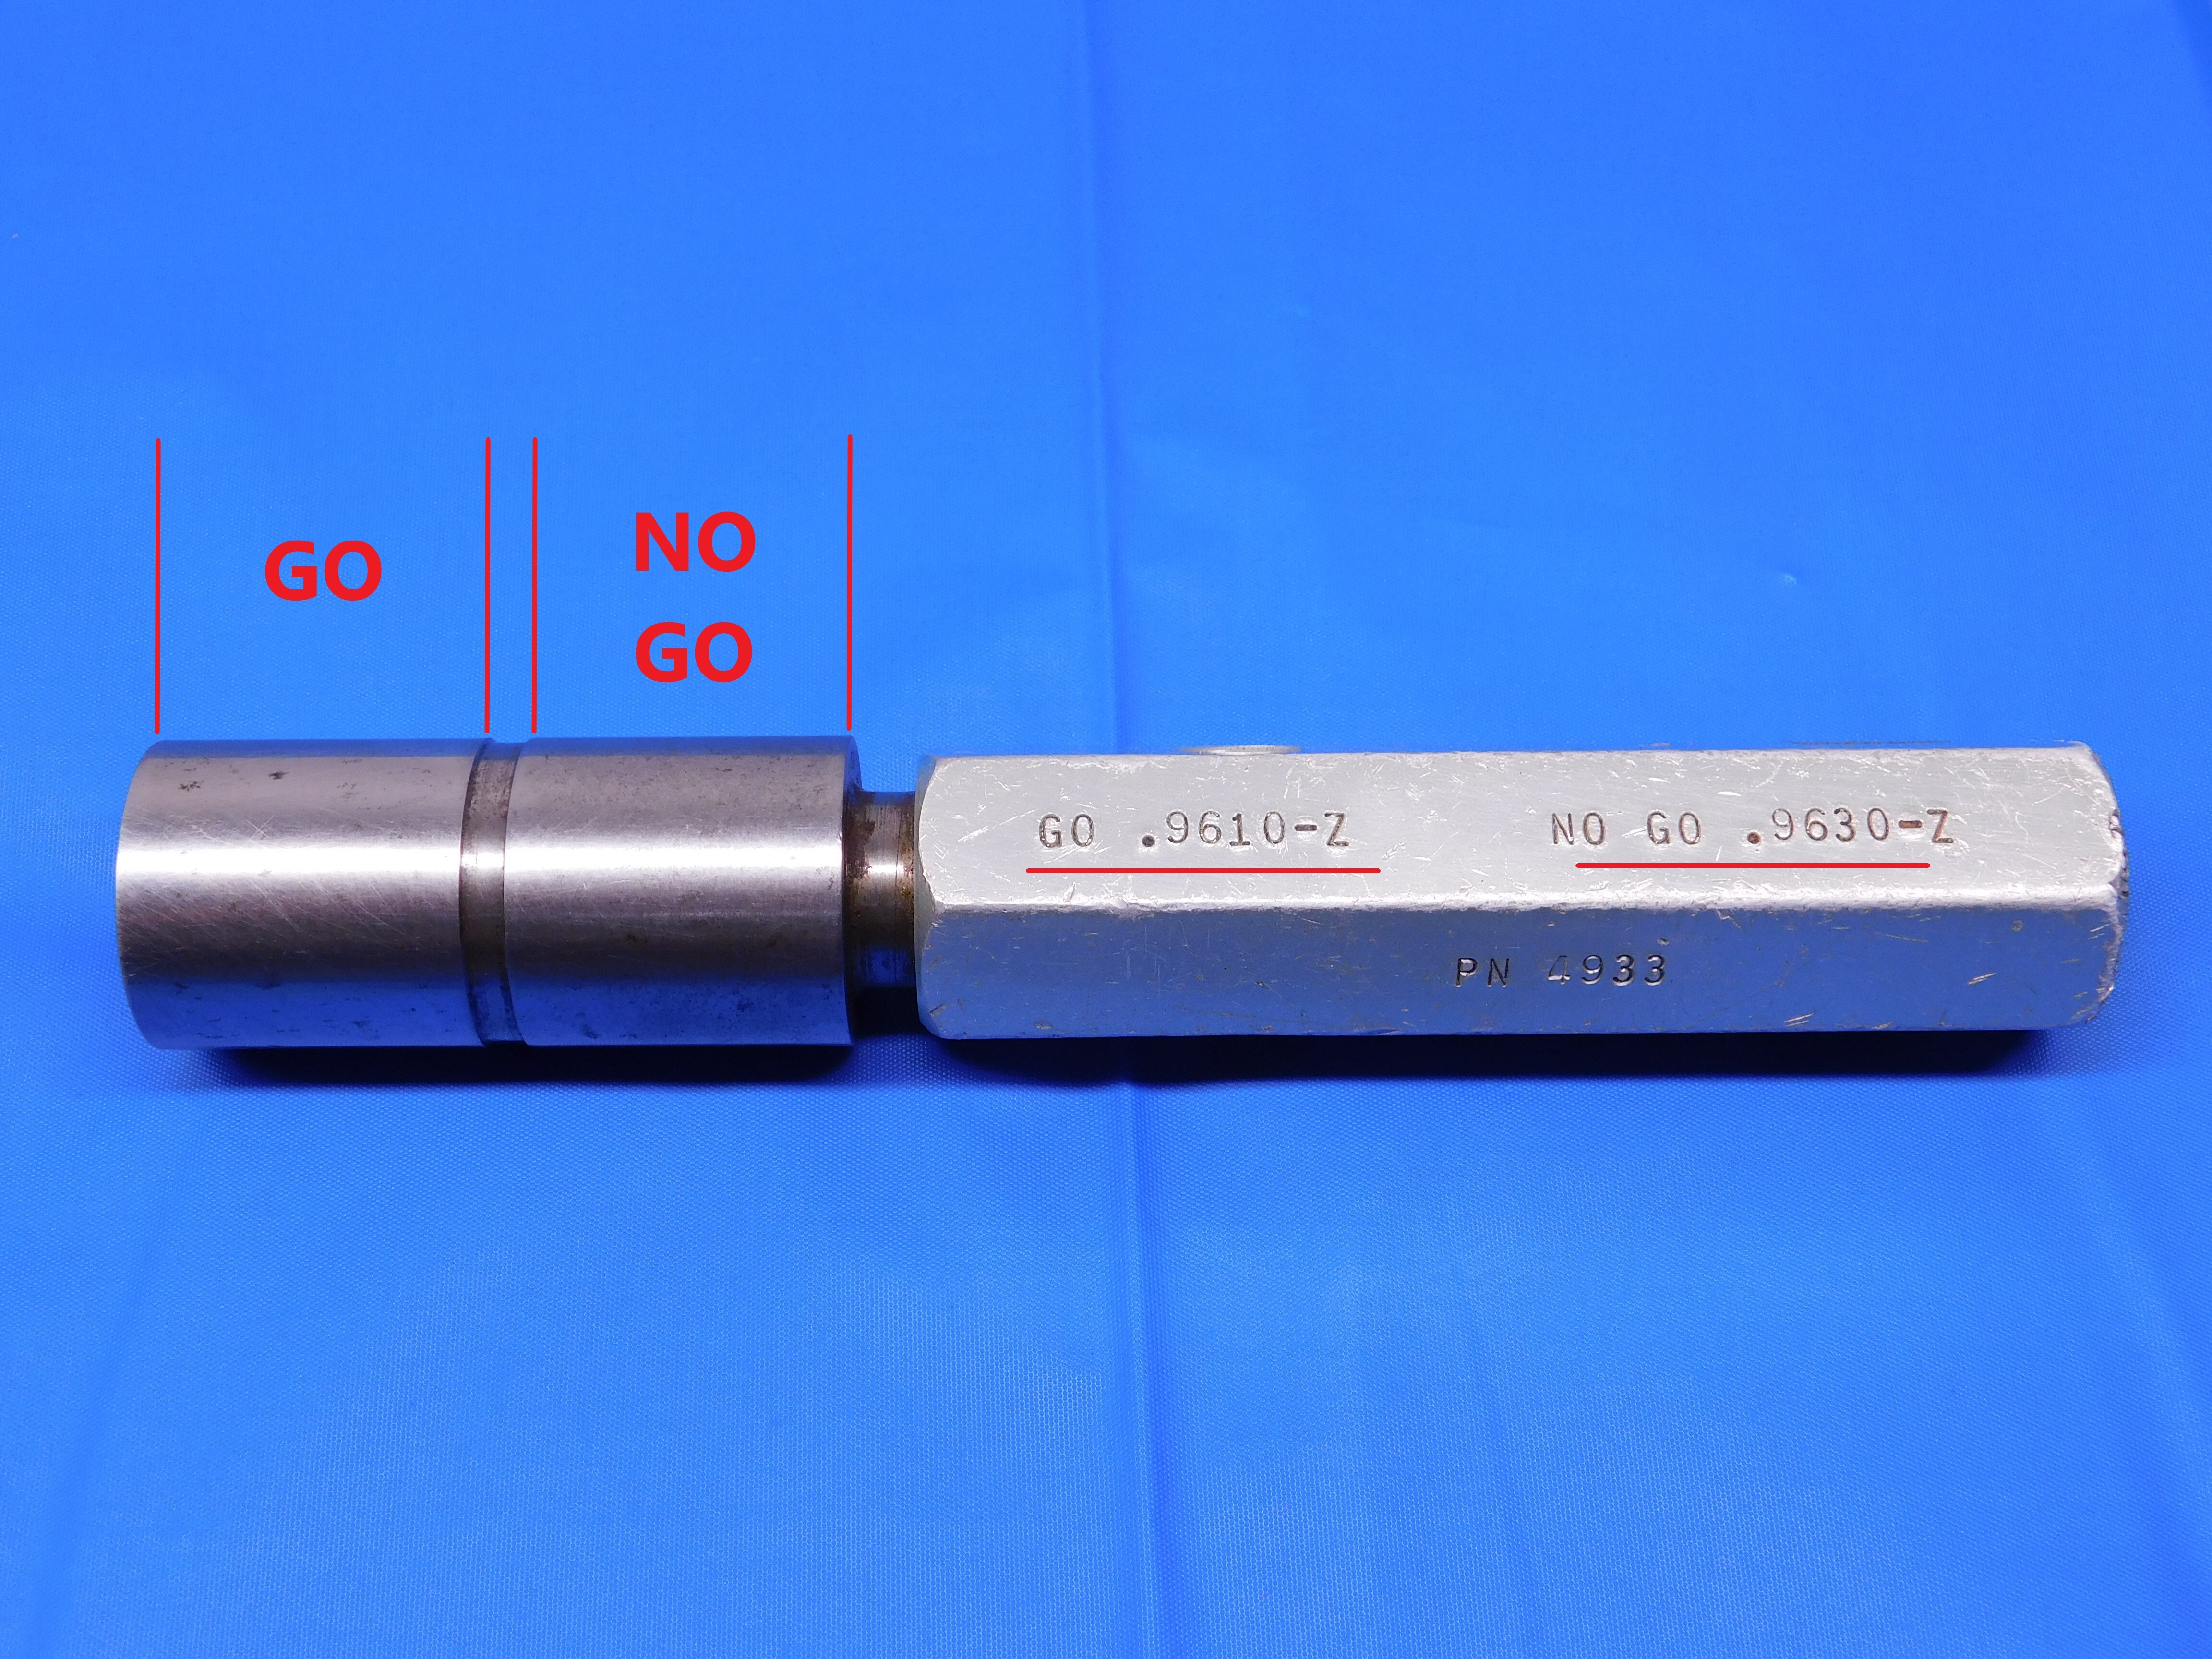
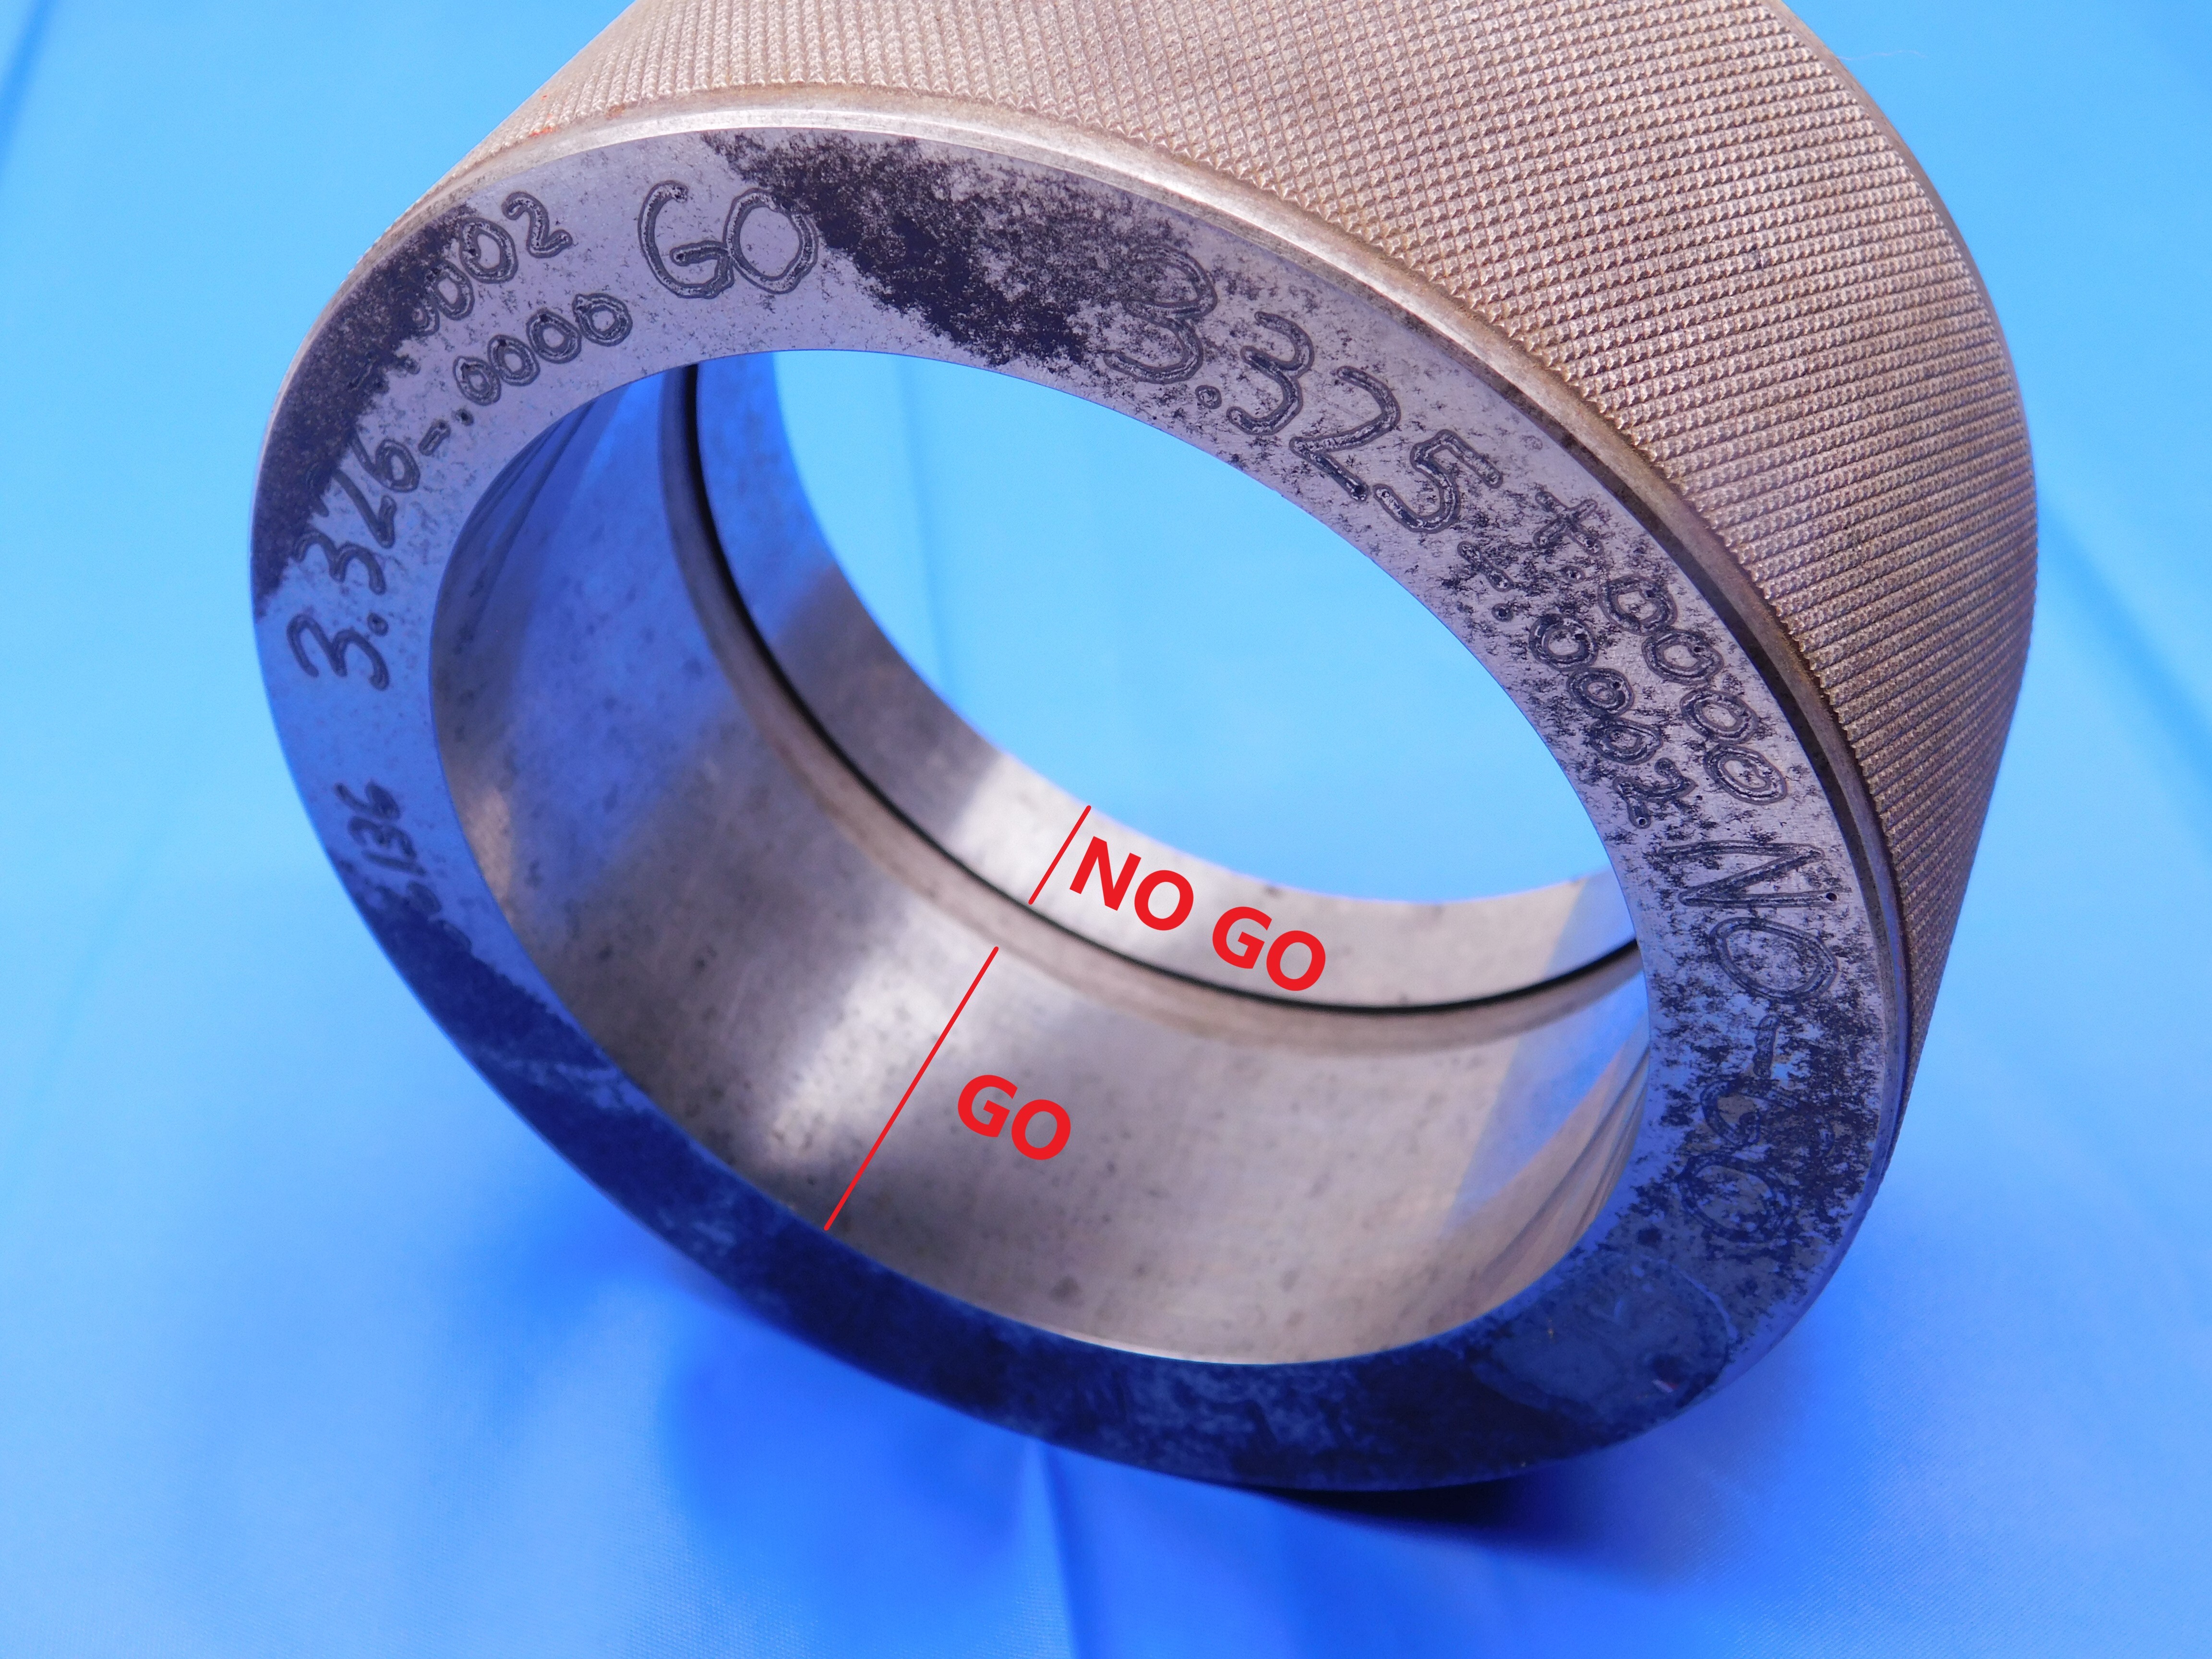
Some plain gages are Progressive, meaning they consist of a single member with Go and No Go sections, typically separated by a thin groove. These follow the same size requirements as standard Go & No Go gages, and must have both sizes clearly labeled in order to be listed just like all other plain gages. See below for examples of progressive gages:
Damage:
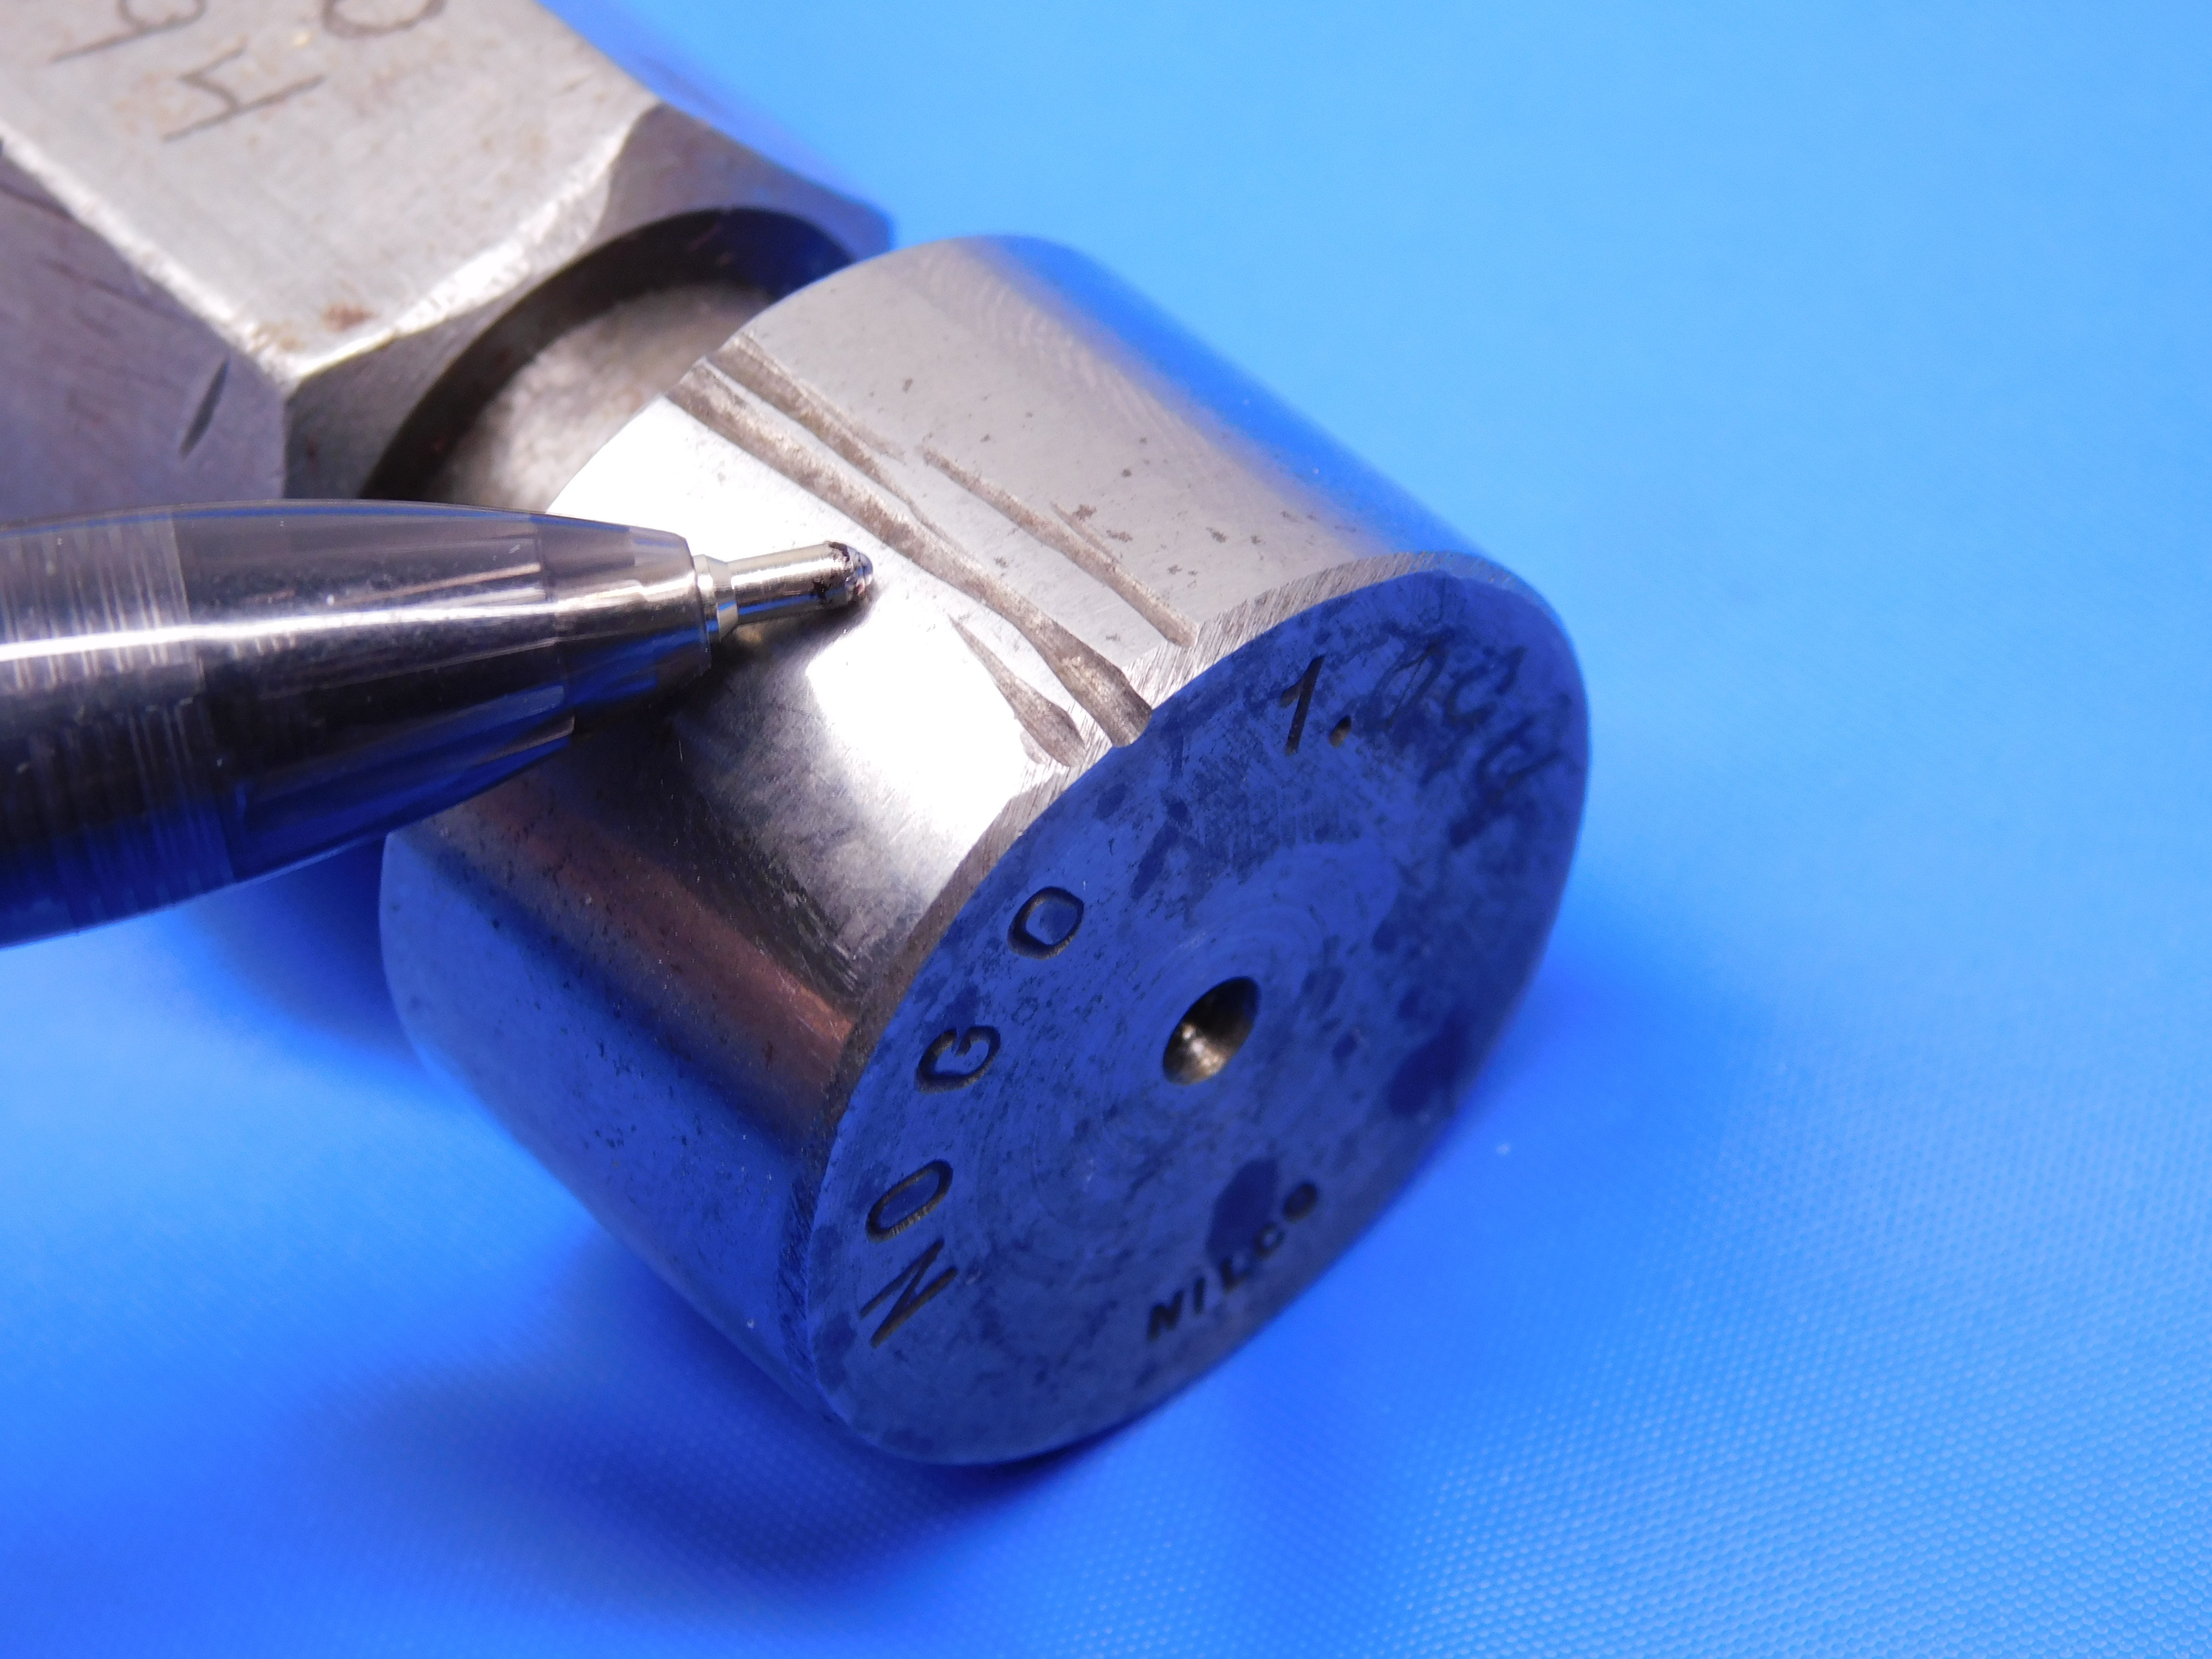
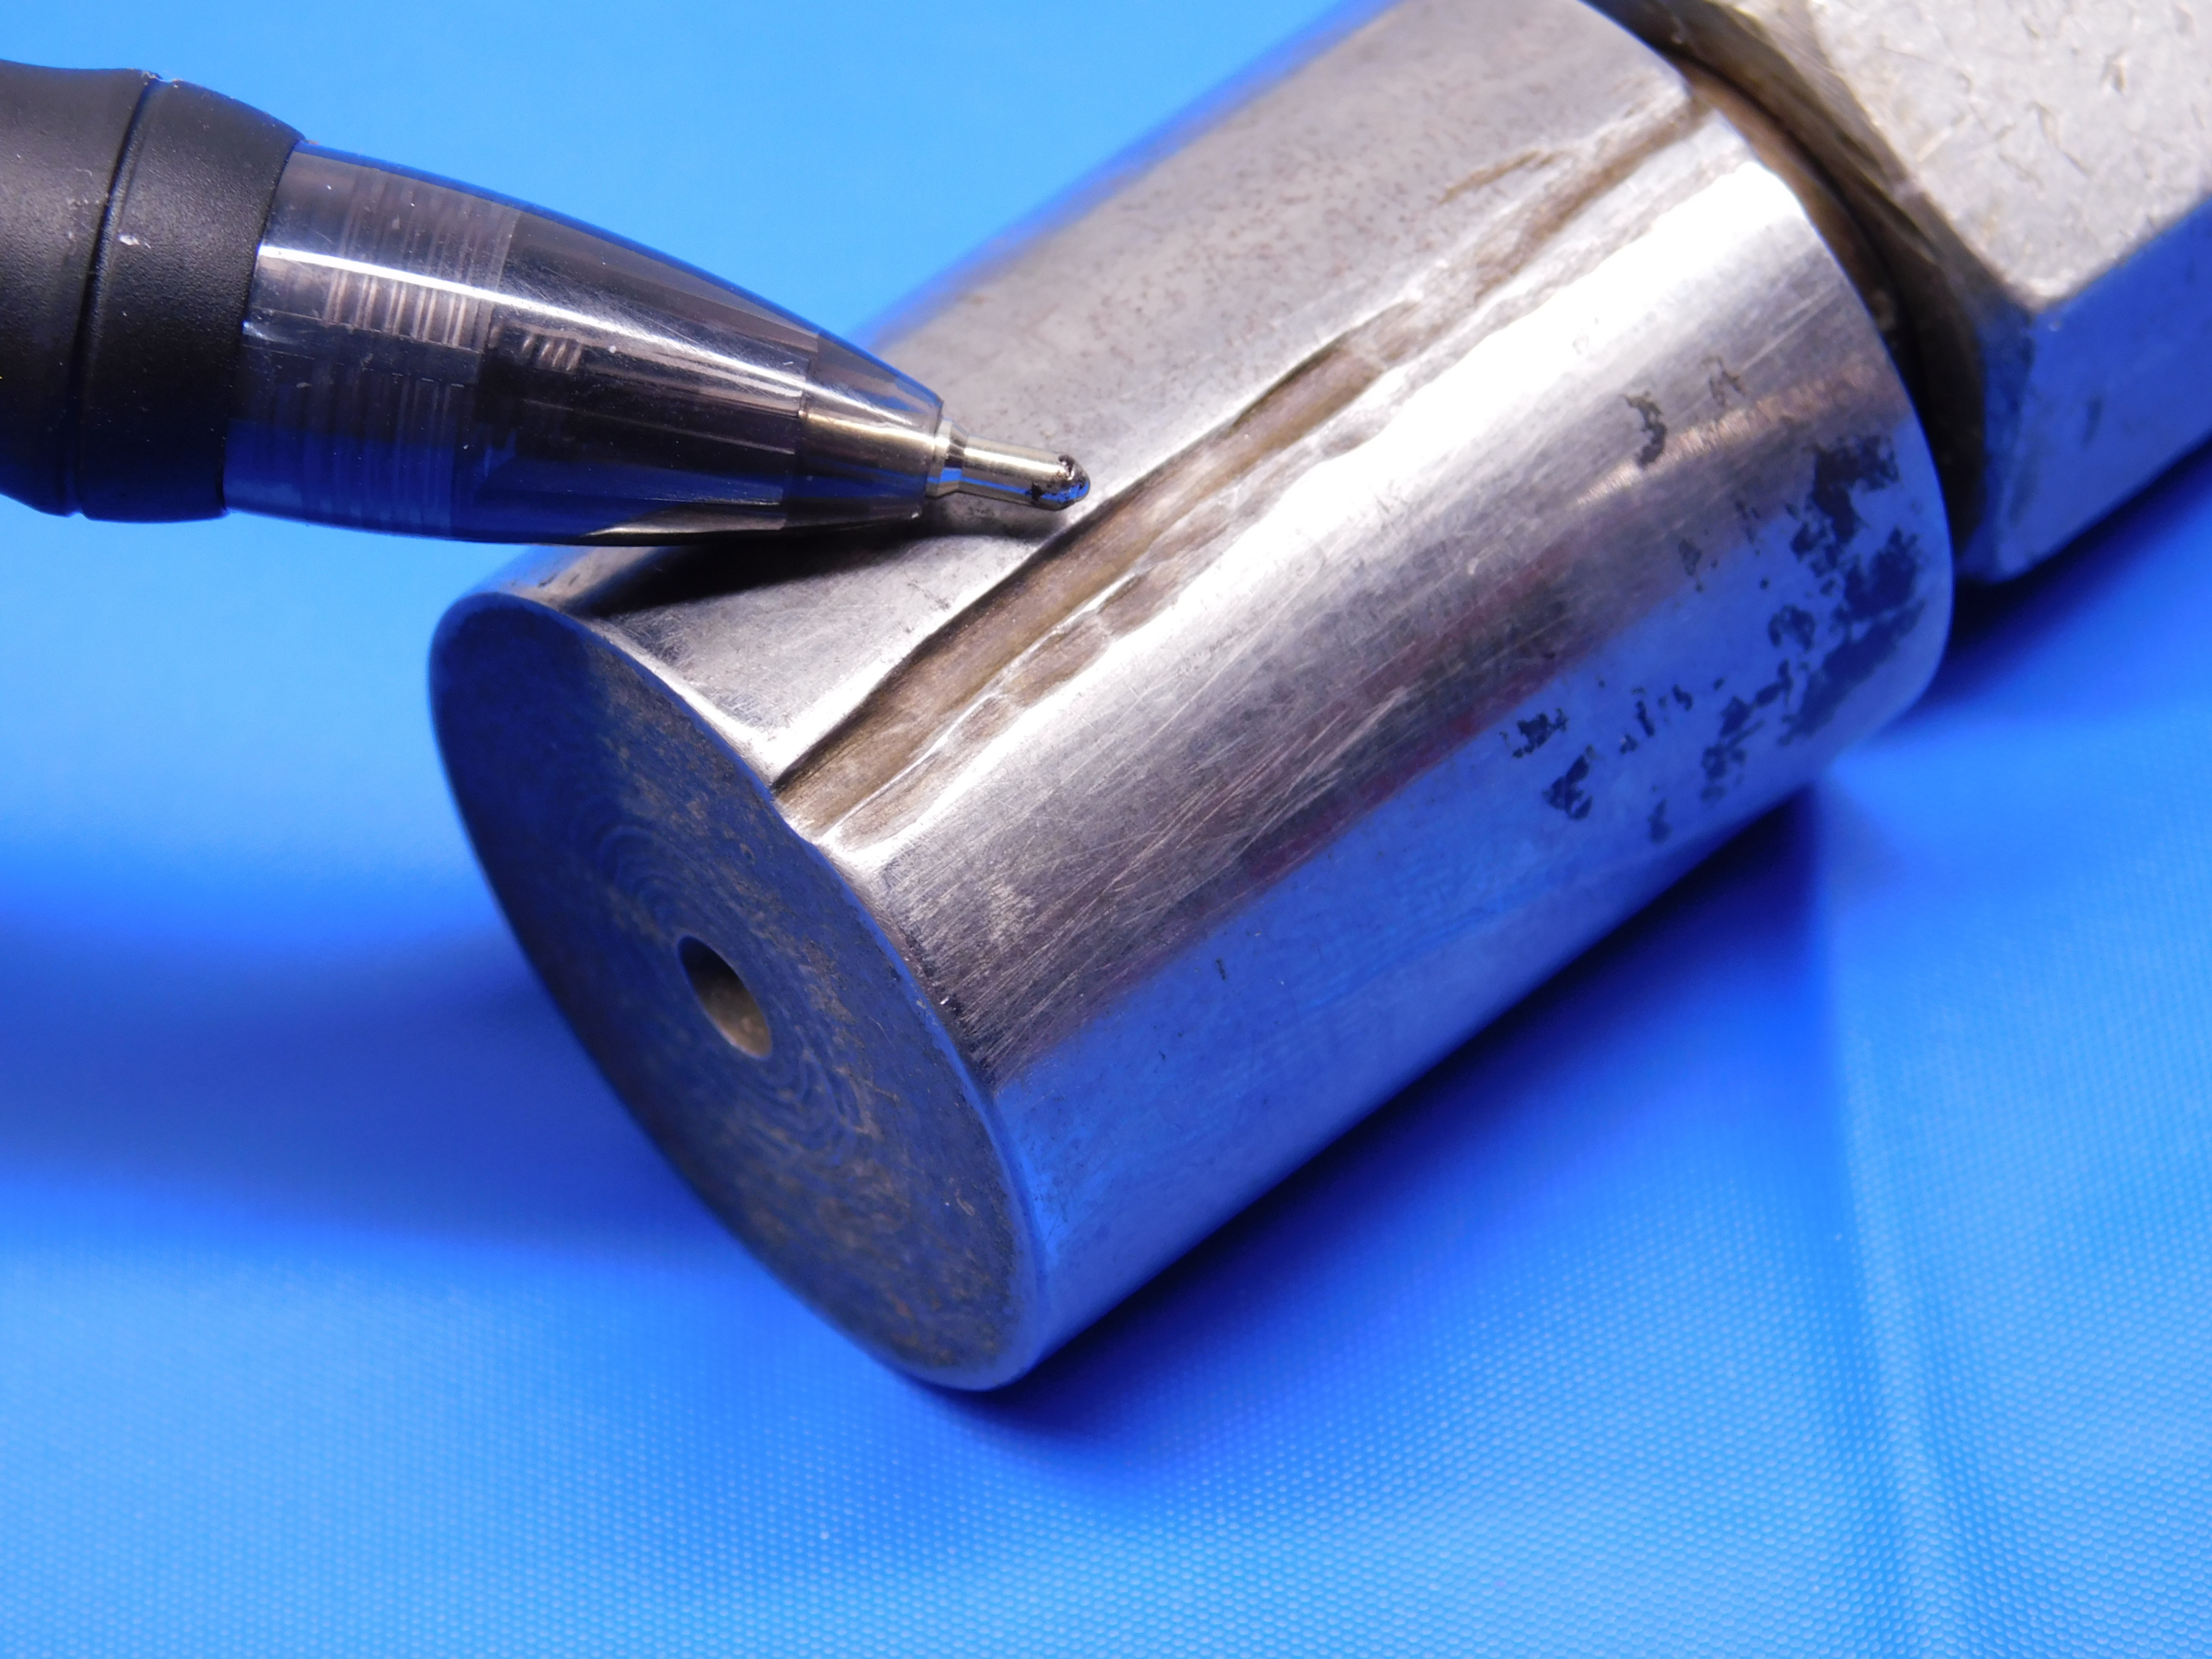
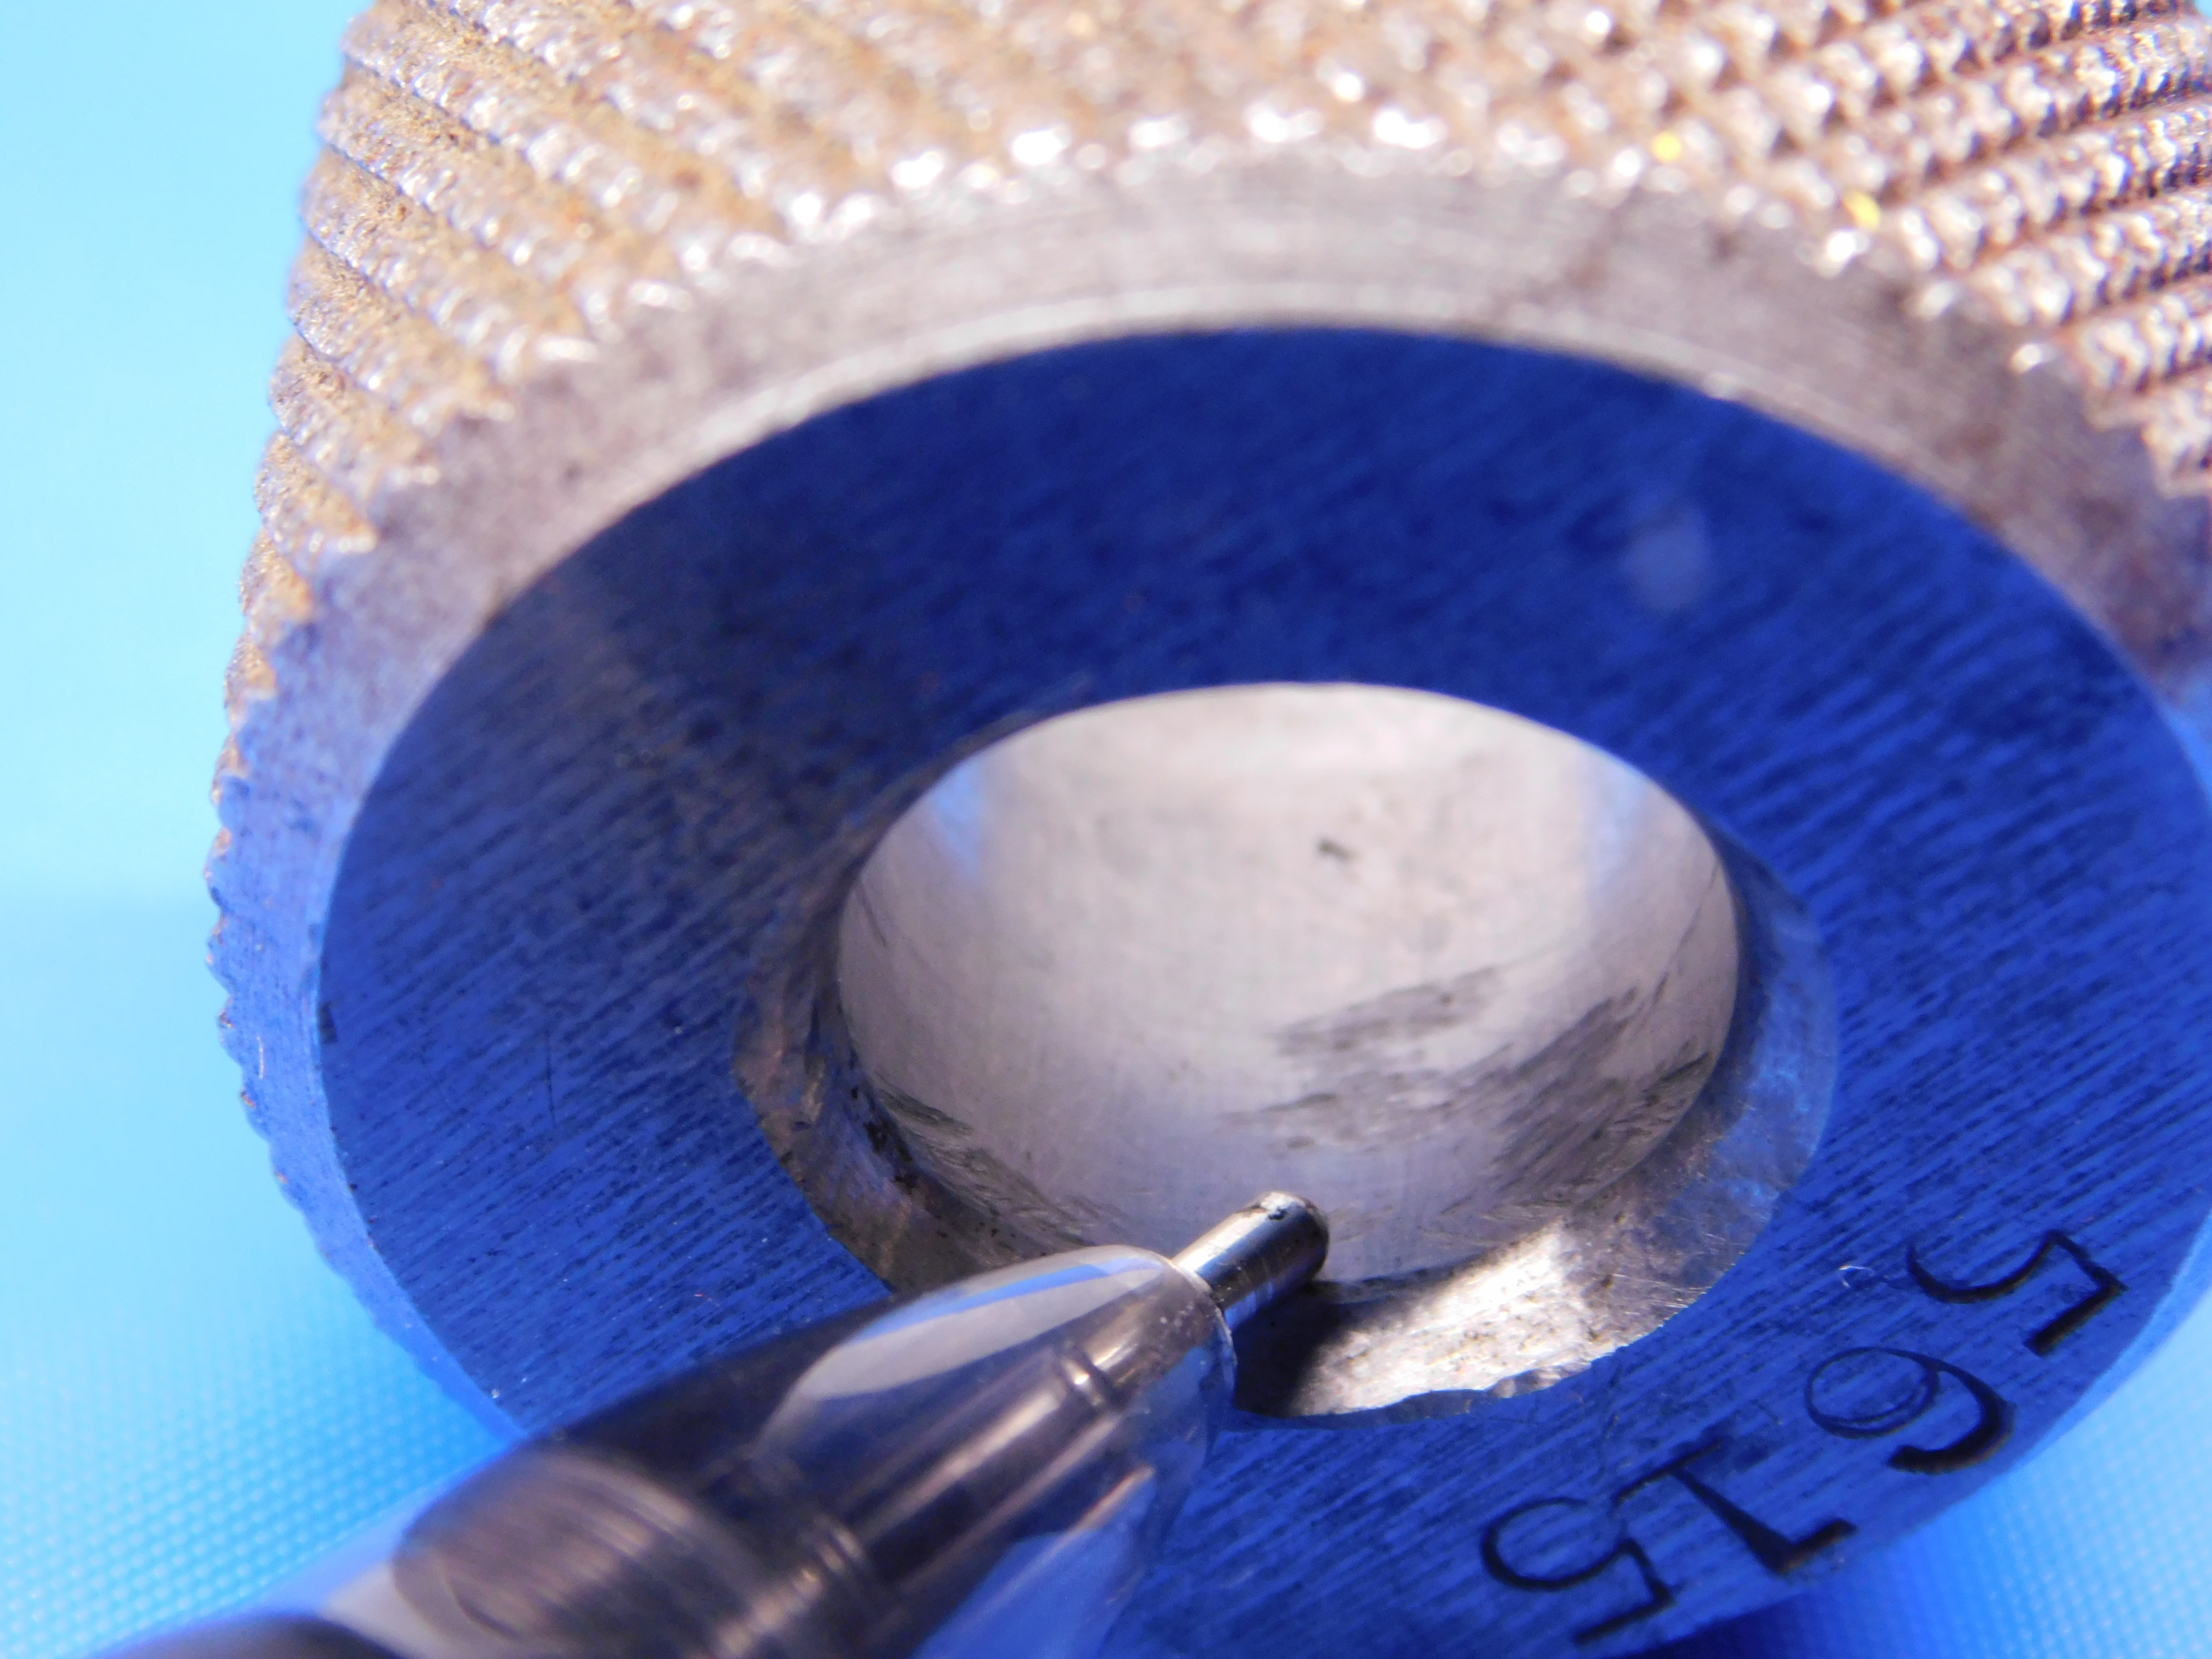
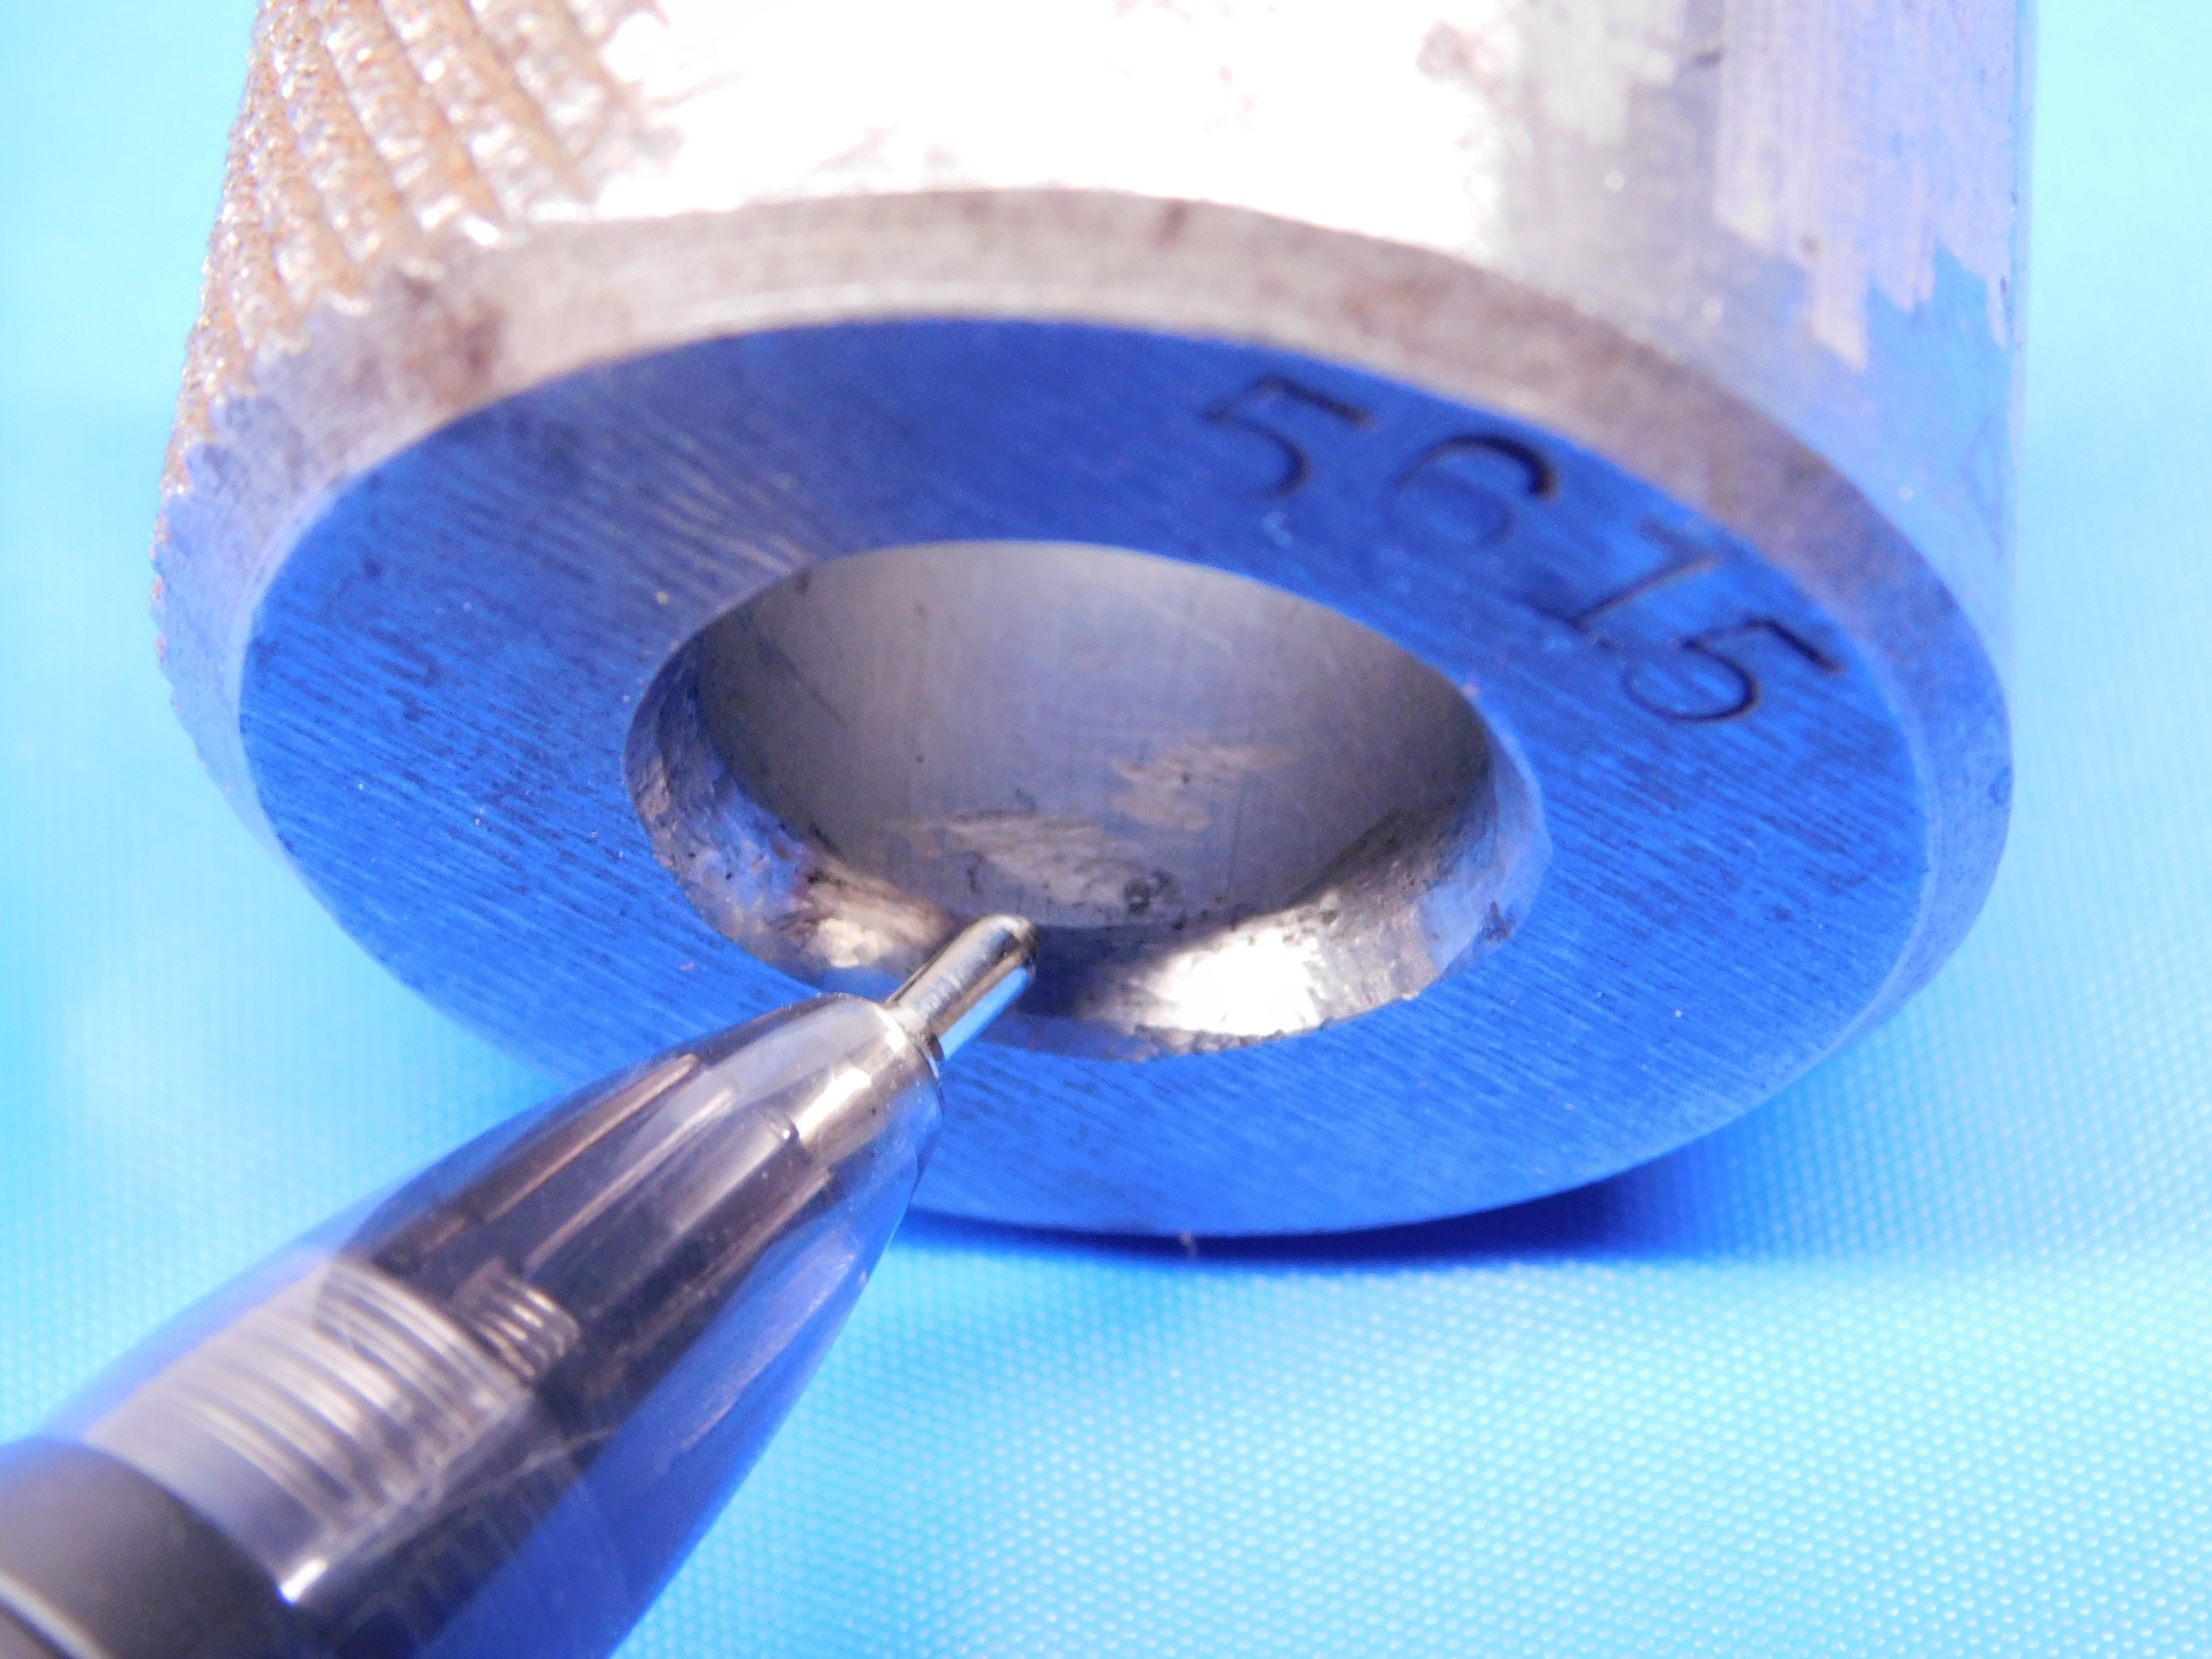
Chips, cracks, or other significant damage to plug gage members or ring gage bores will typically disqualify a plain gage from being listed. Minor wear, or damage to plug gage handles or ring gage faces is generally okay but should always be clearly shown in pictures. See below for examples of major damage:
Modifications / Flats:
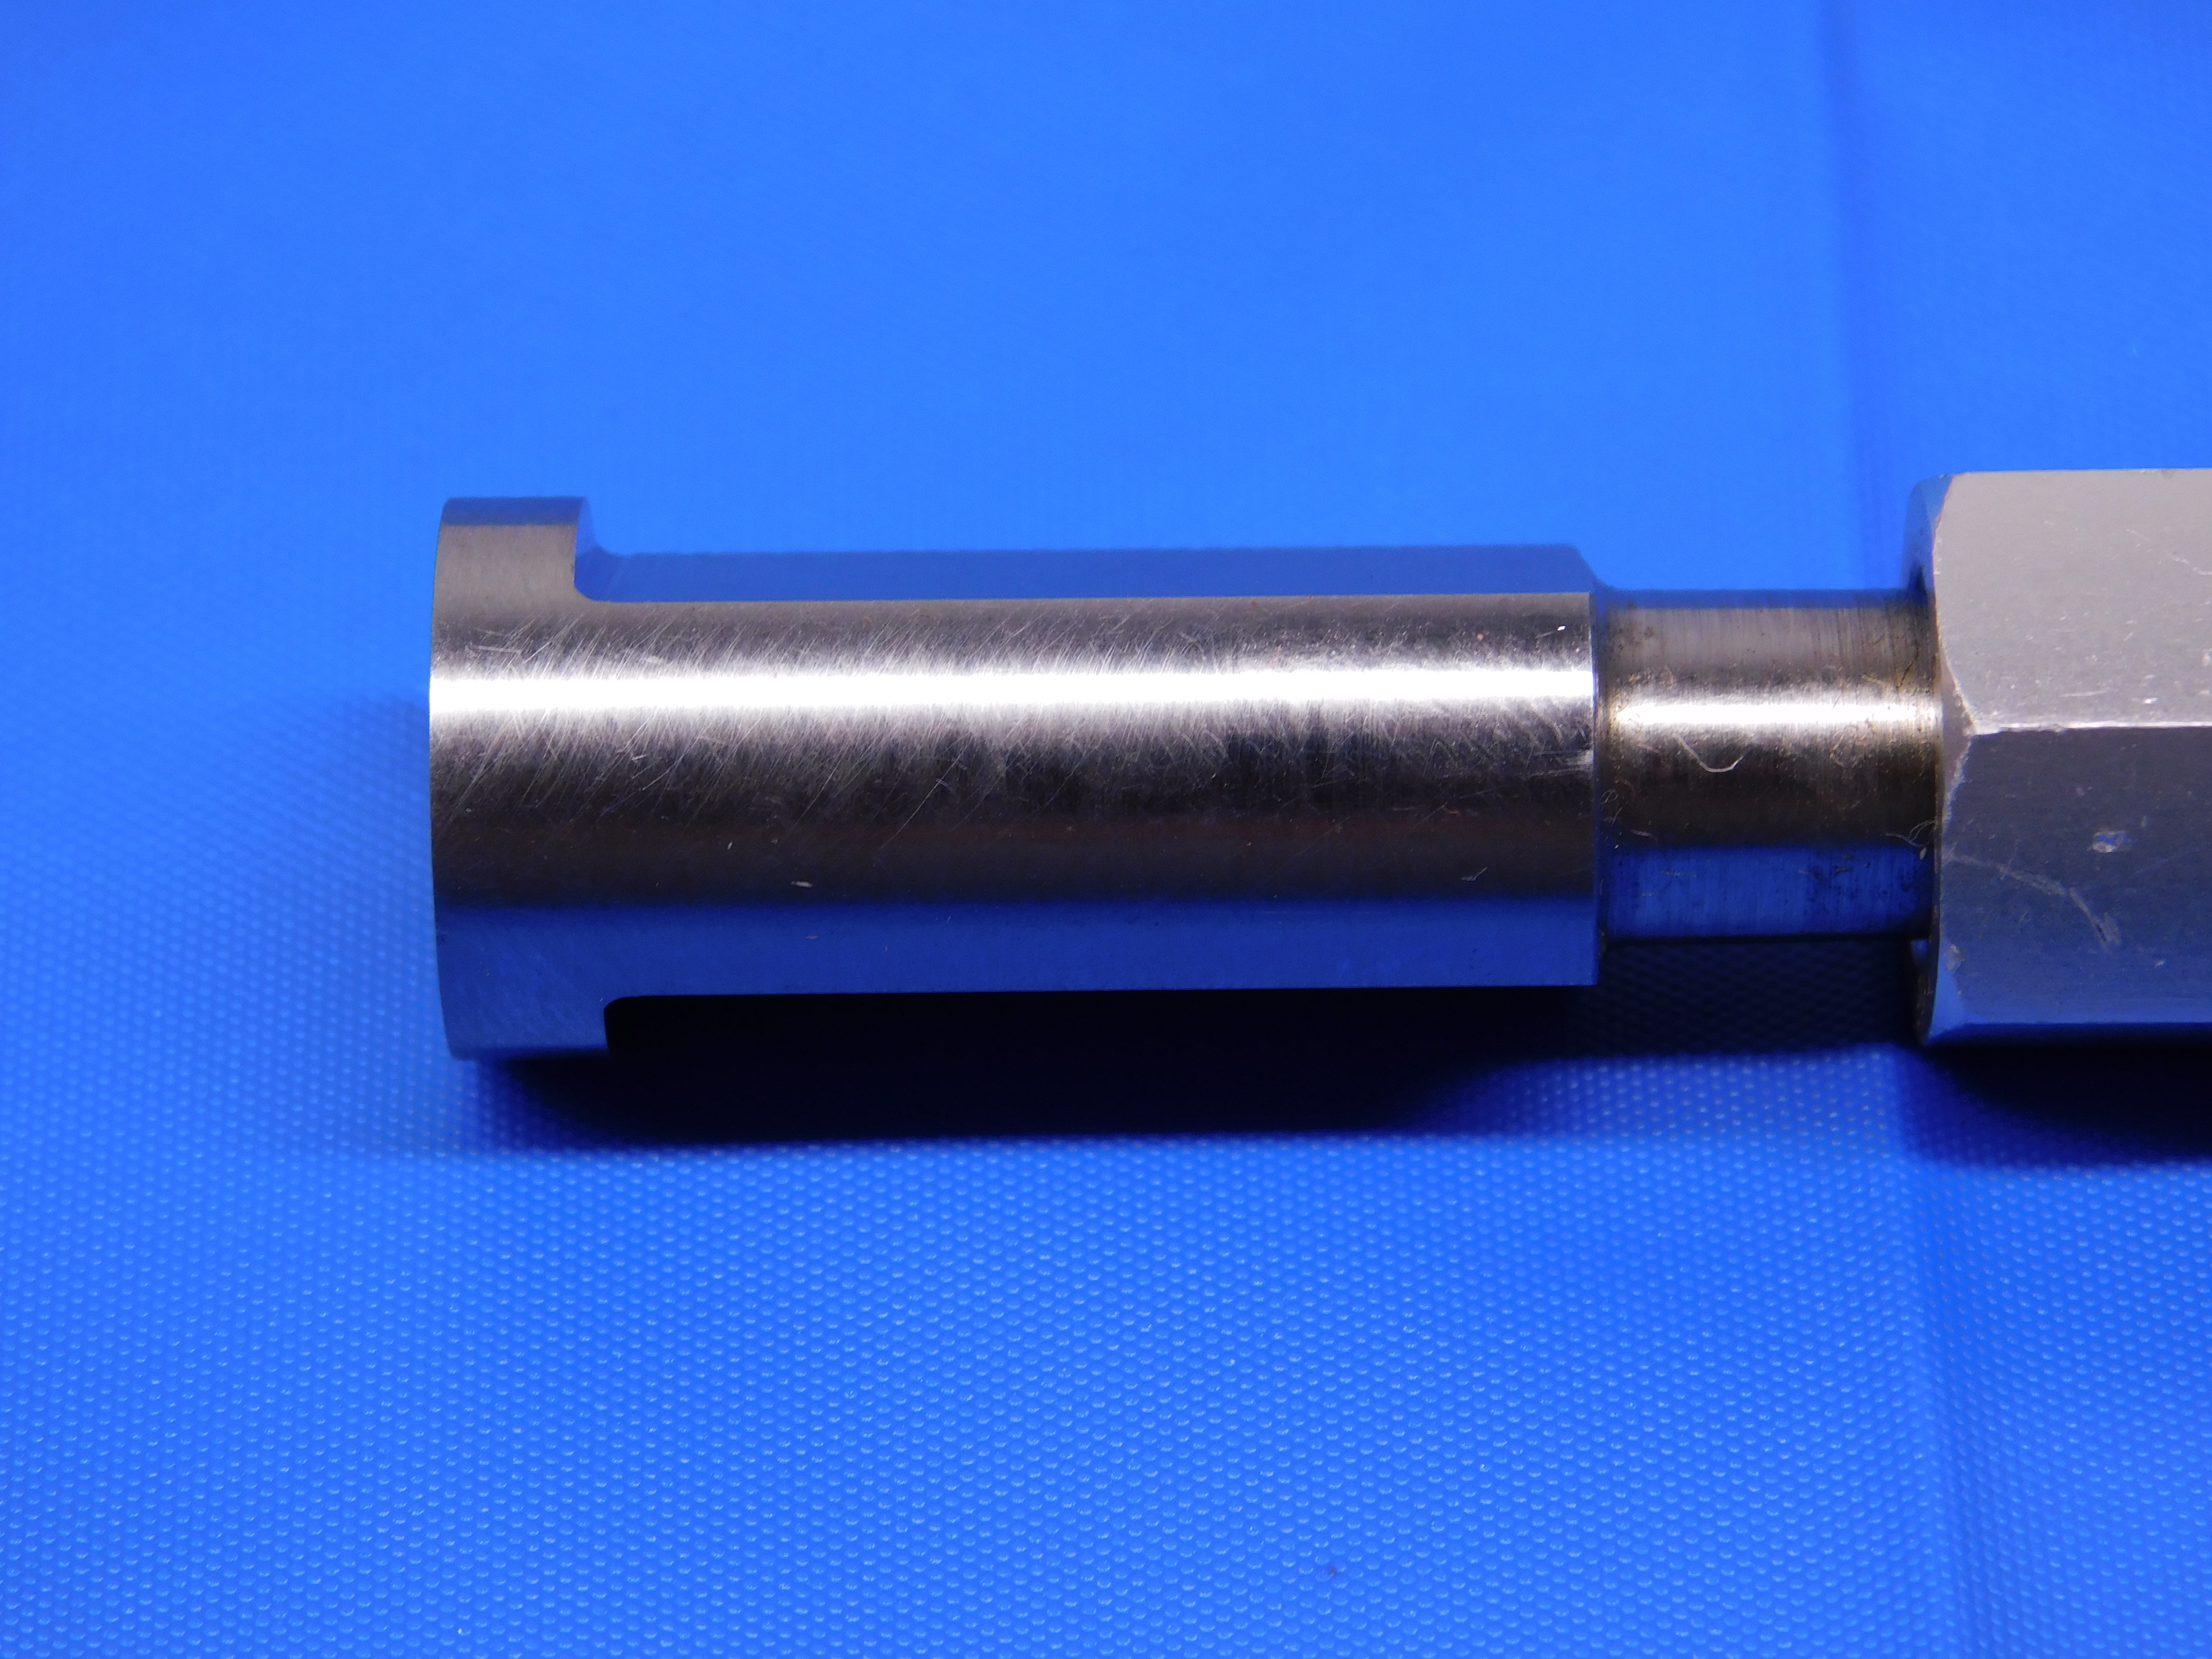
Plug gage members will sometimes have flat sections on one or more sides of the member, often for checking specific depths in a machined part. These are typically okay to list as long as some part of the member achieves the full diameter. The flats must be clearly pictured. See below for examples:
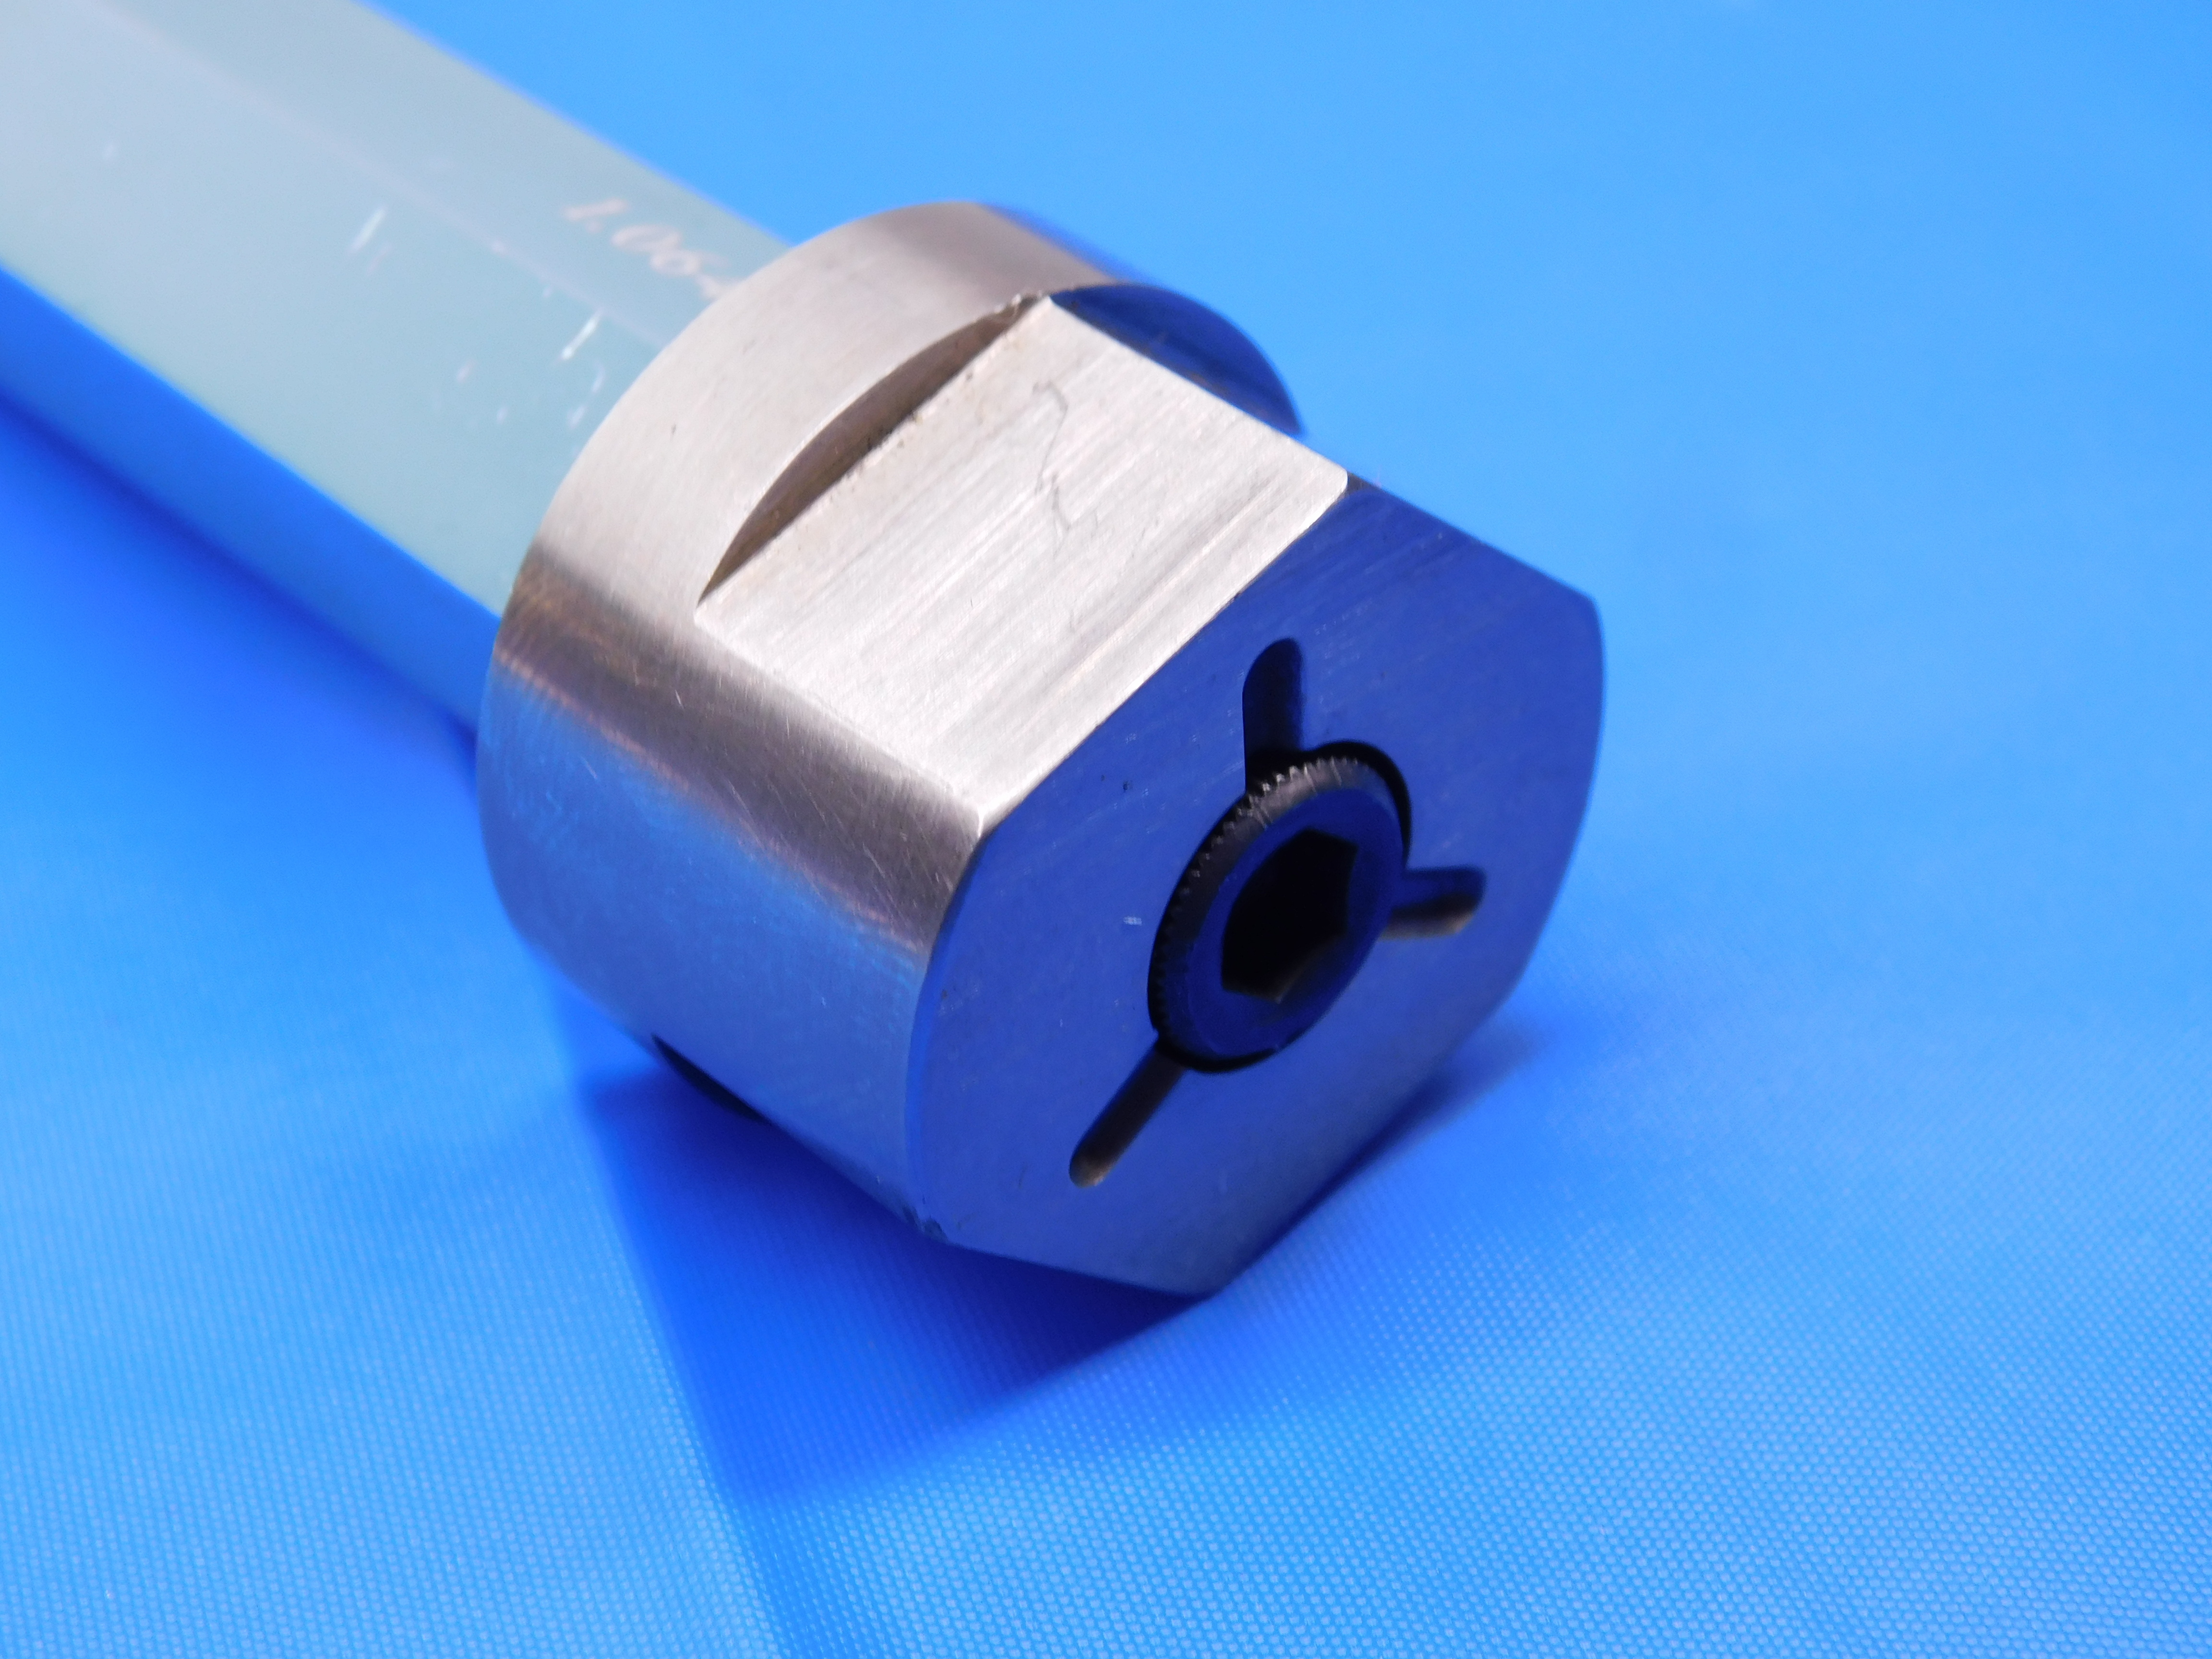
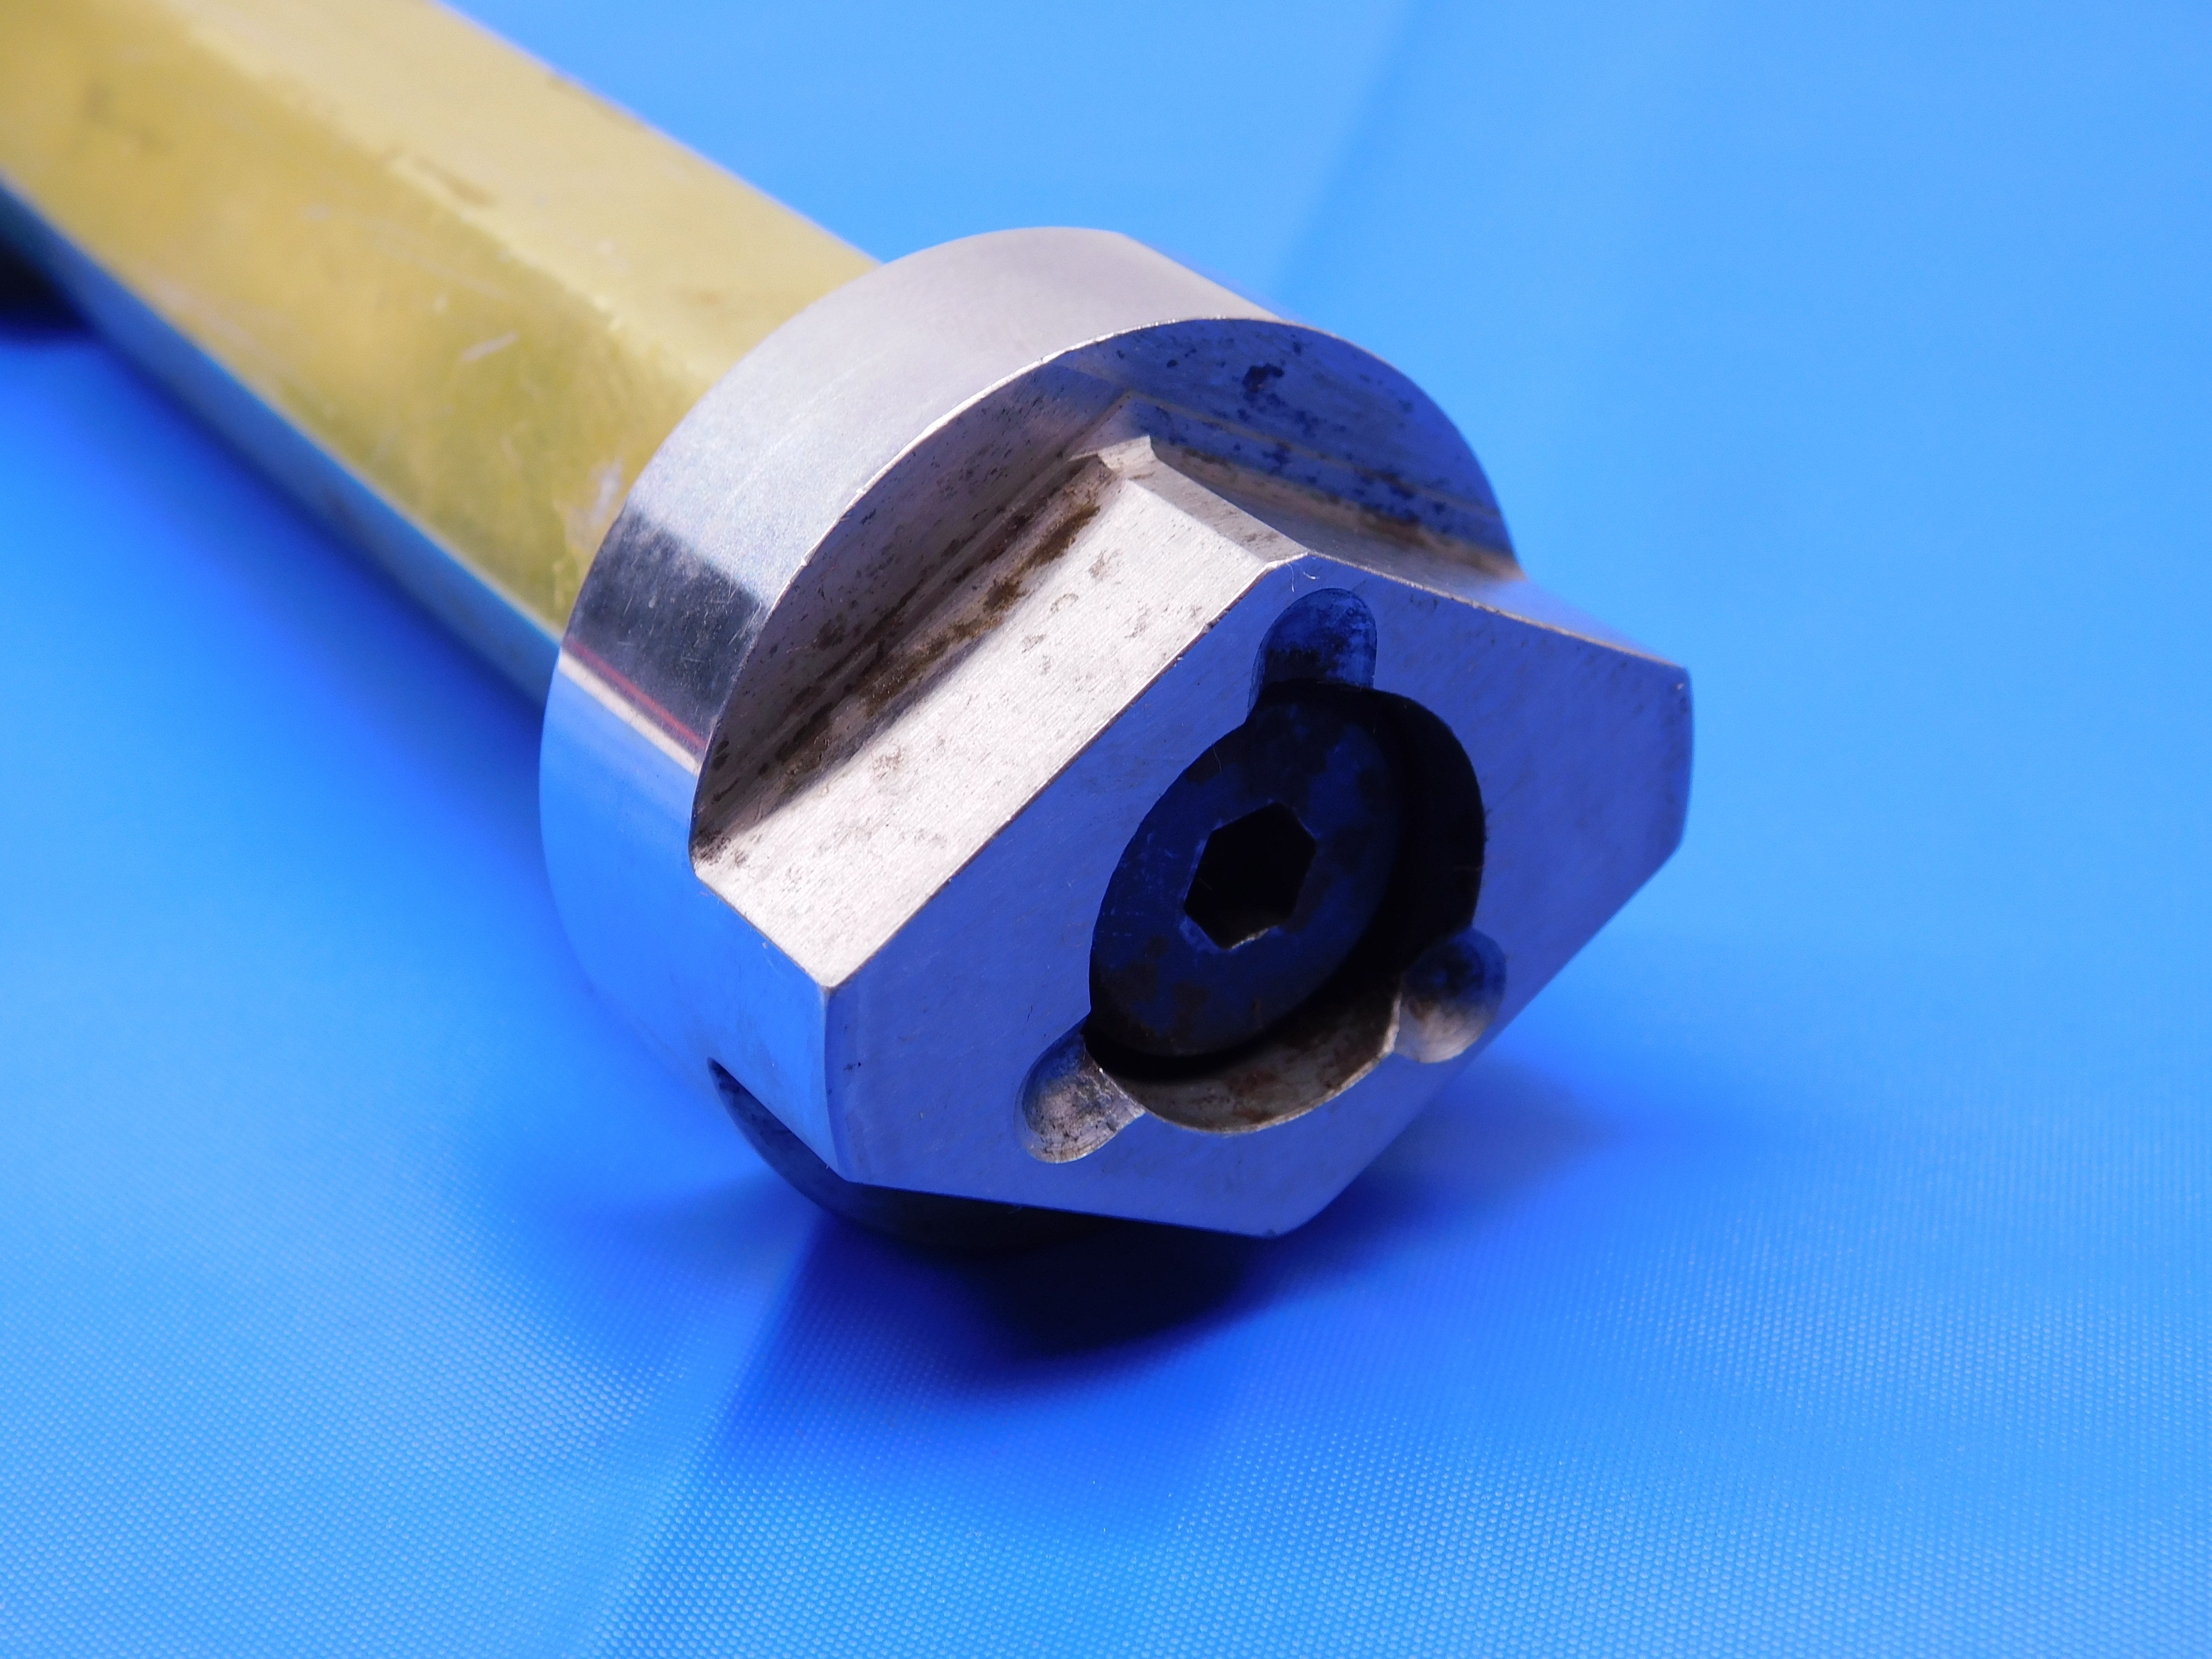
Plain gages will sometimes be dipped in wax, which should be removed if it hinders the readability of labeling or does not look visually appealing. Wipe down the gage using a rag and WD-40. If there is any rust or residue you can use a Scotch-Brite pad, but be careful not to smudge or remove any labeling. Wipe down with a dry rag to remove any finger prints or excess WD-40 before taking pictures.
Click here for info about how to upload pictures
Unlike most tooling, plain gages will typically require only one picture.
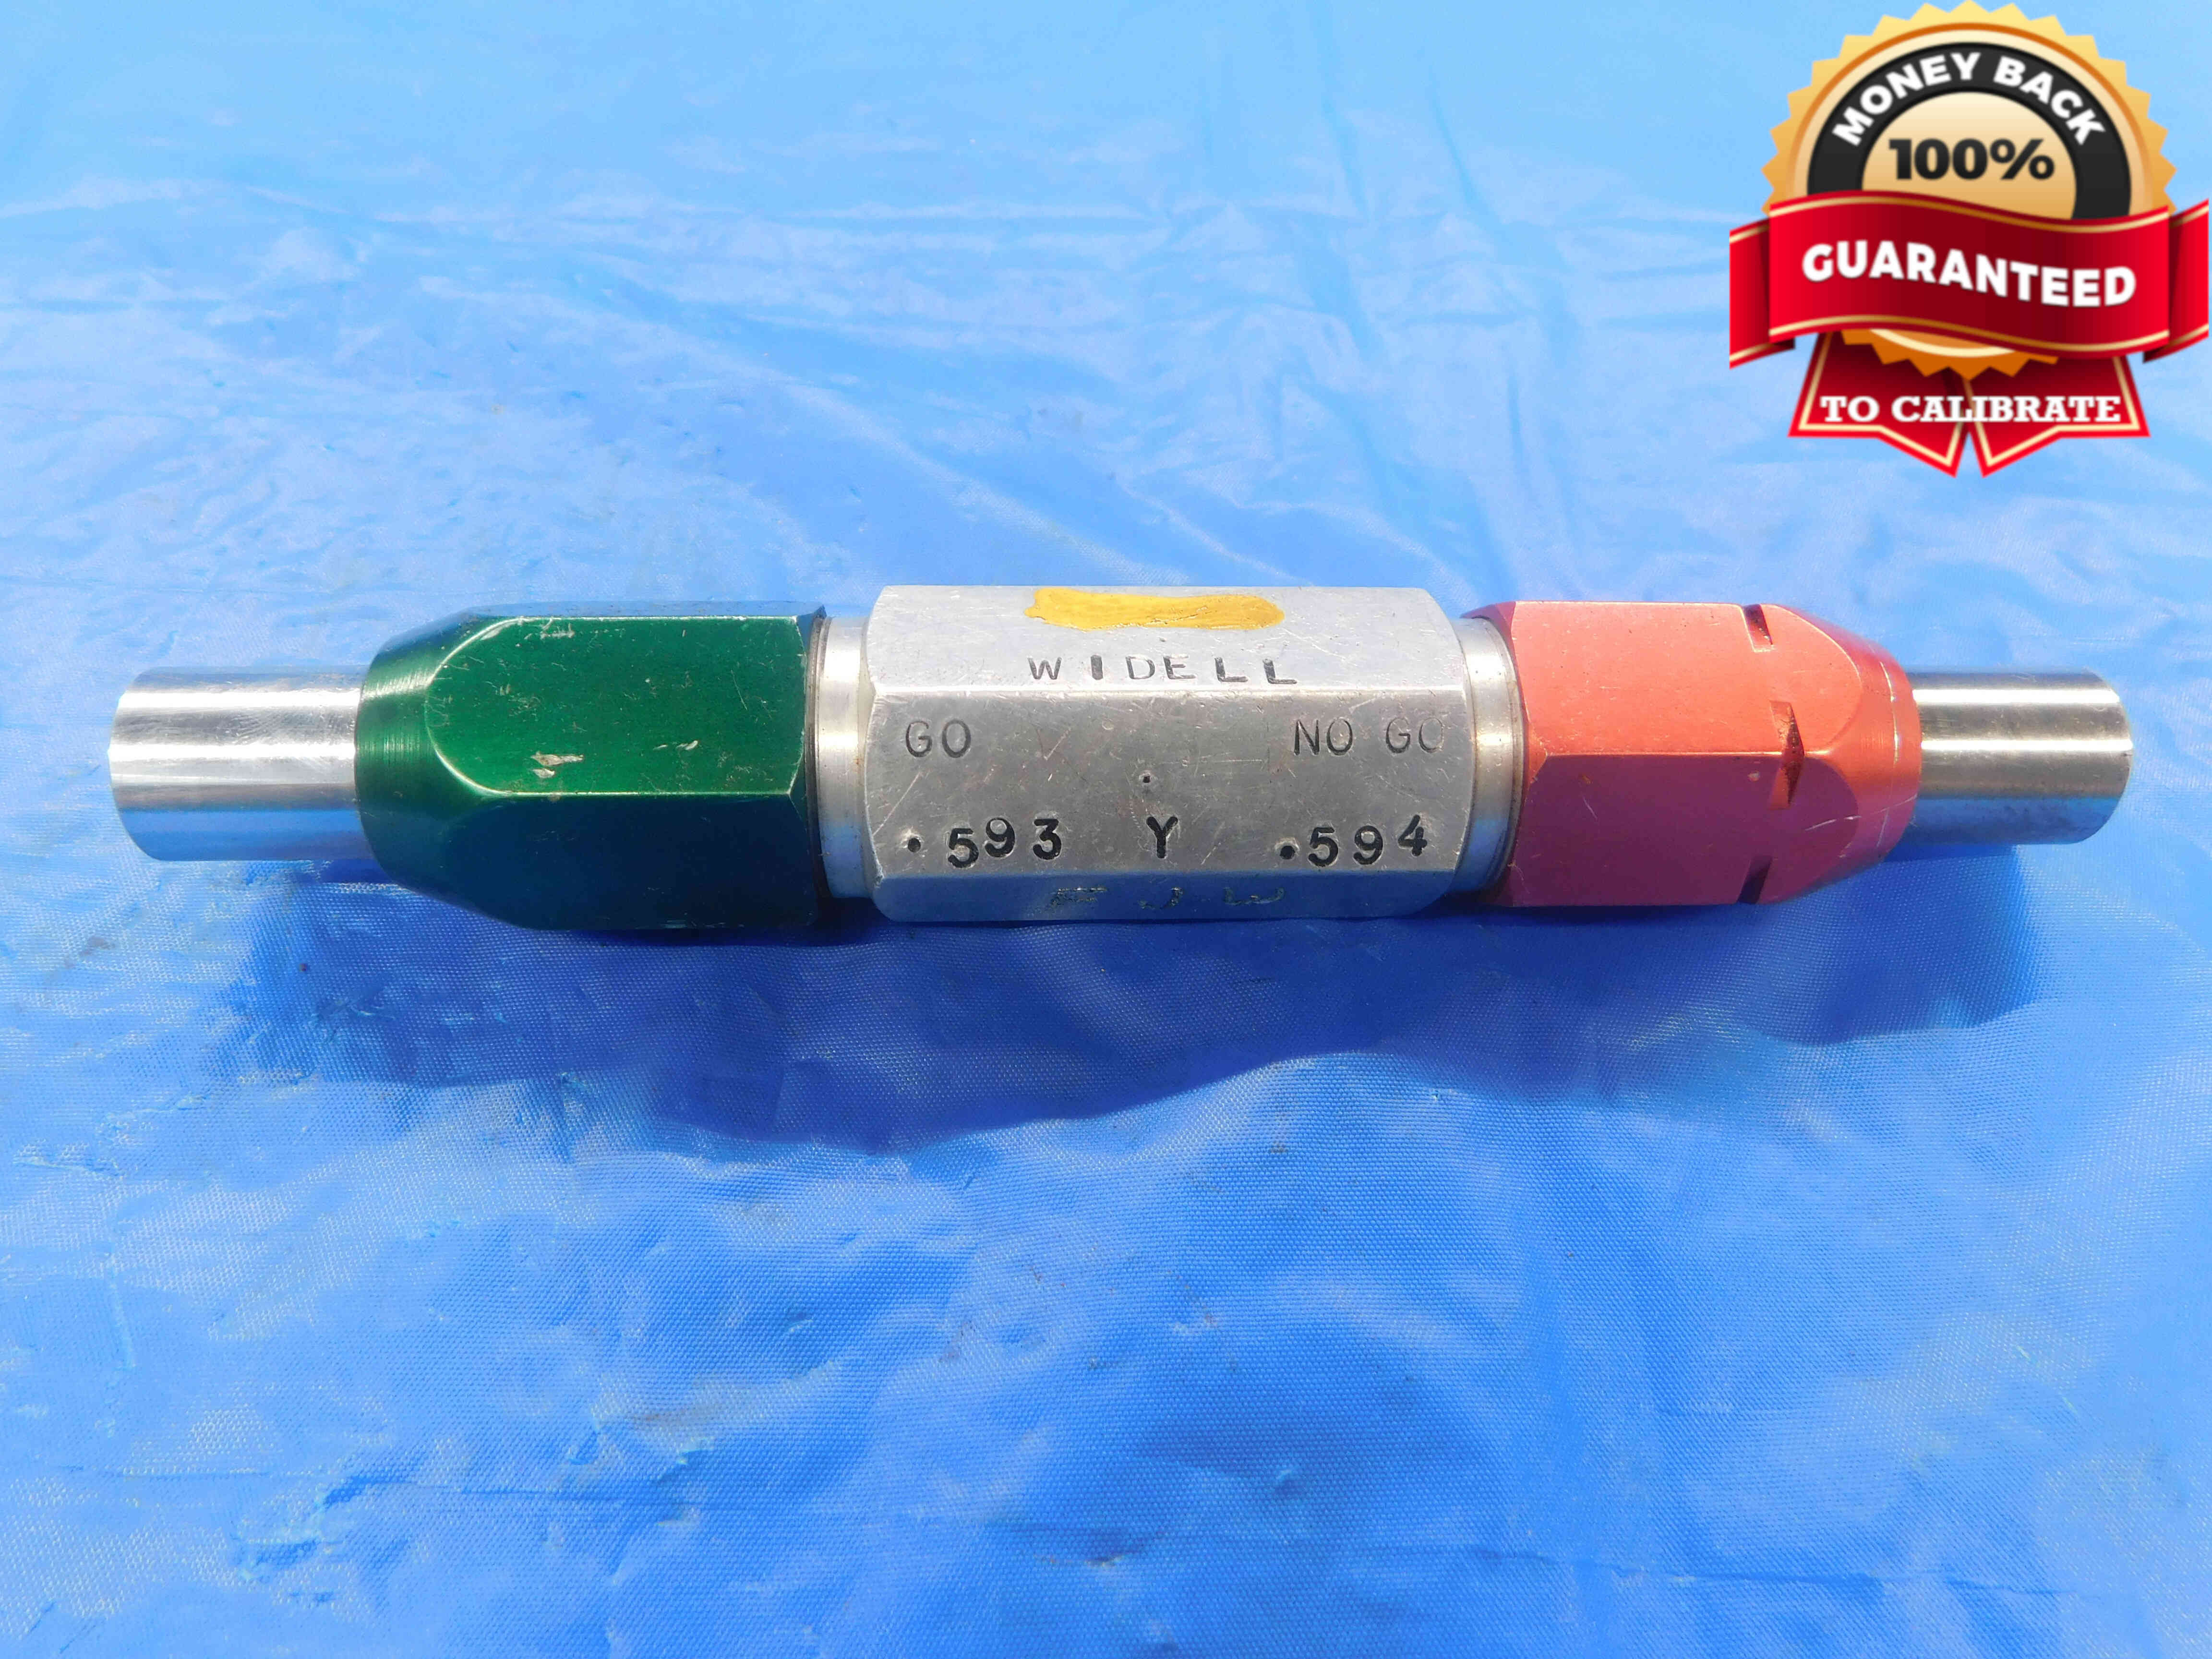
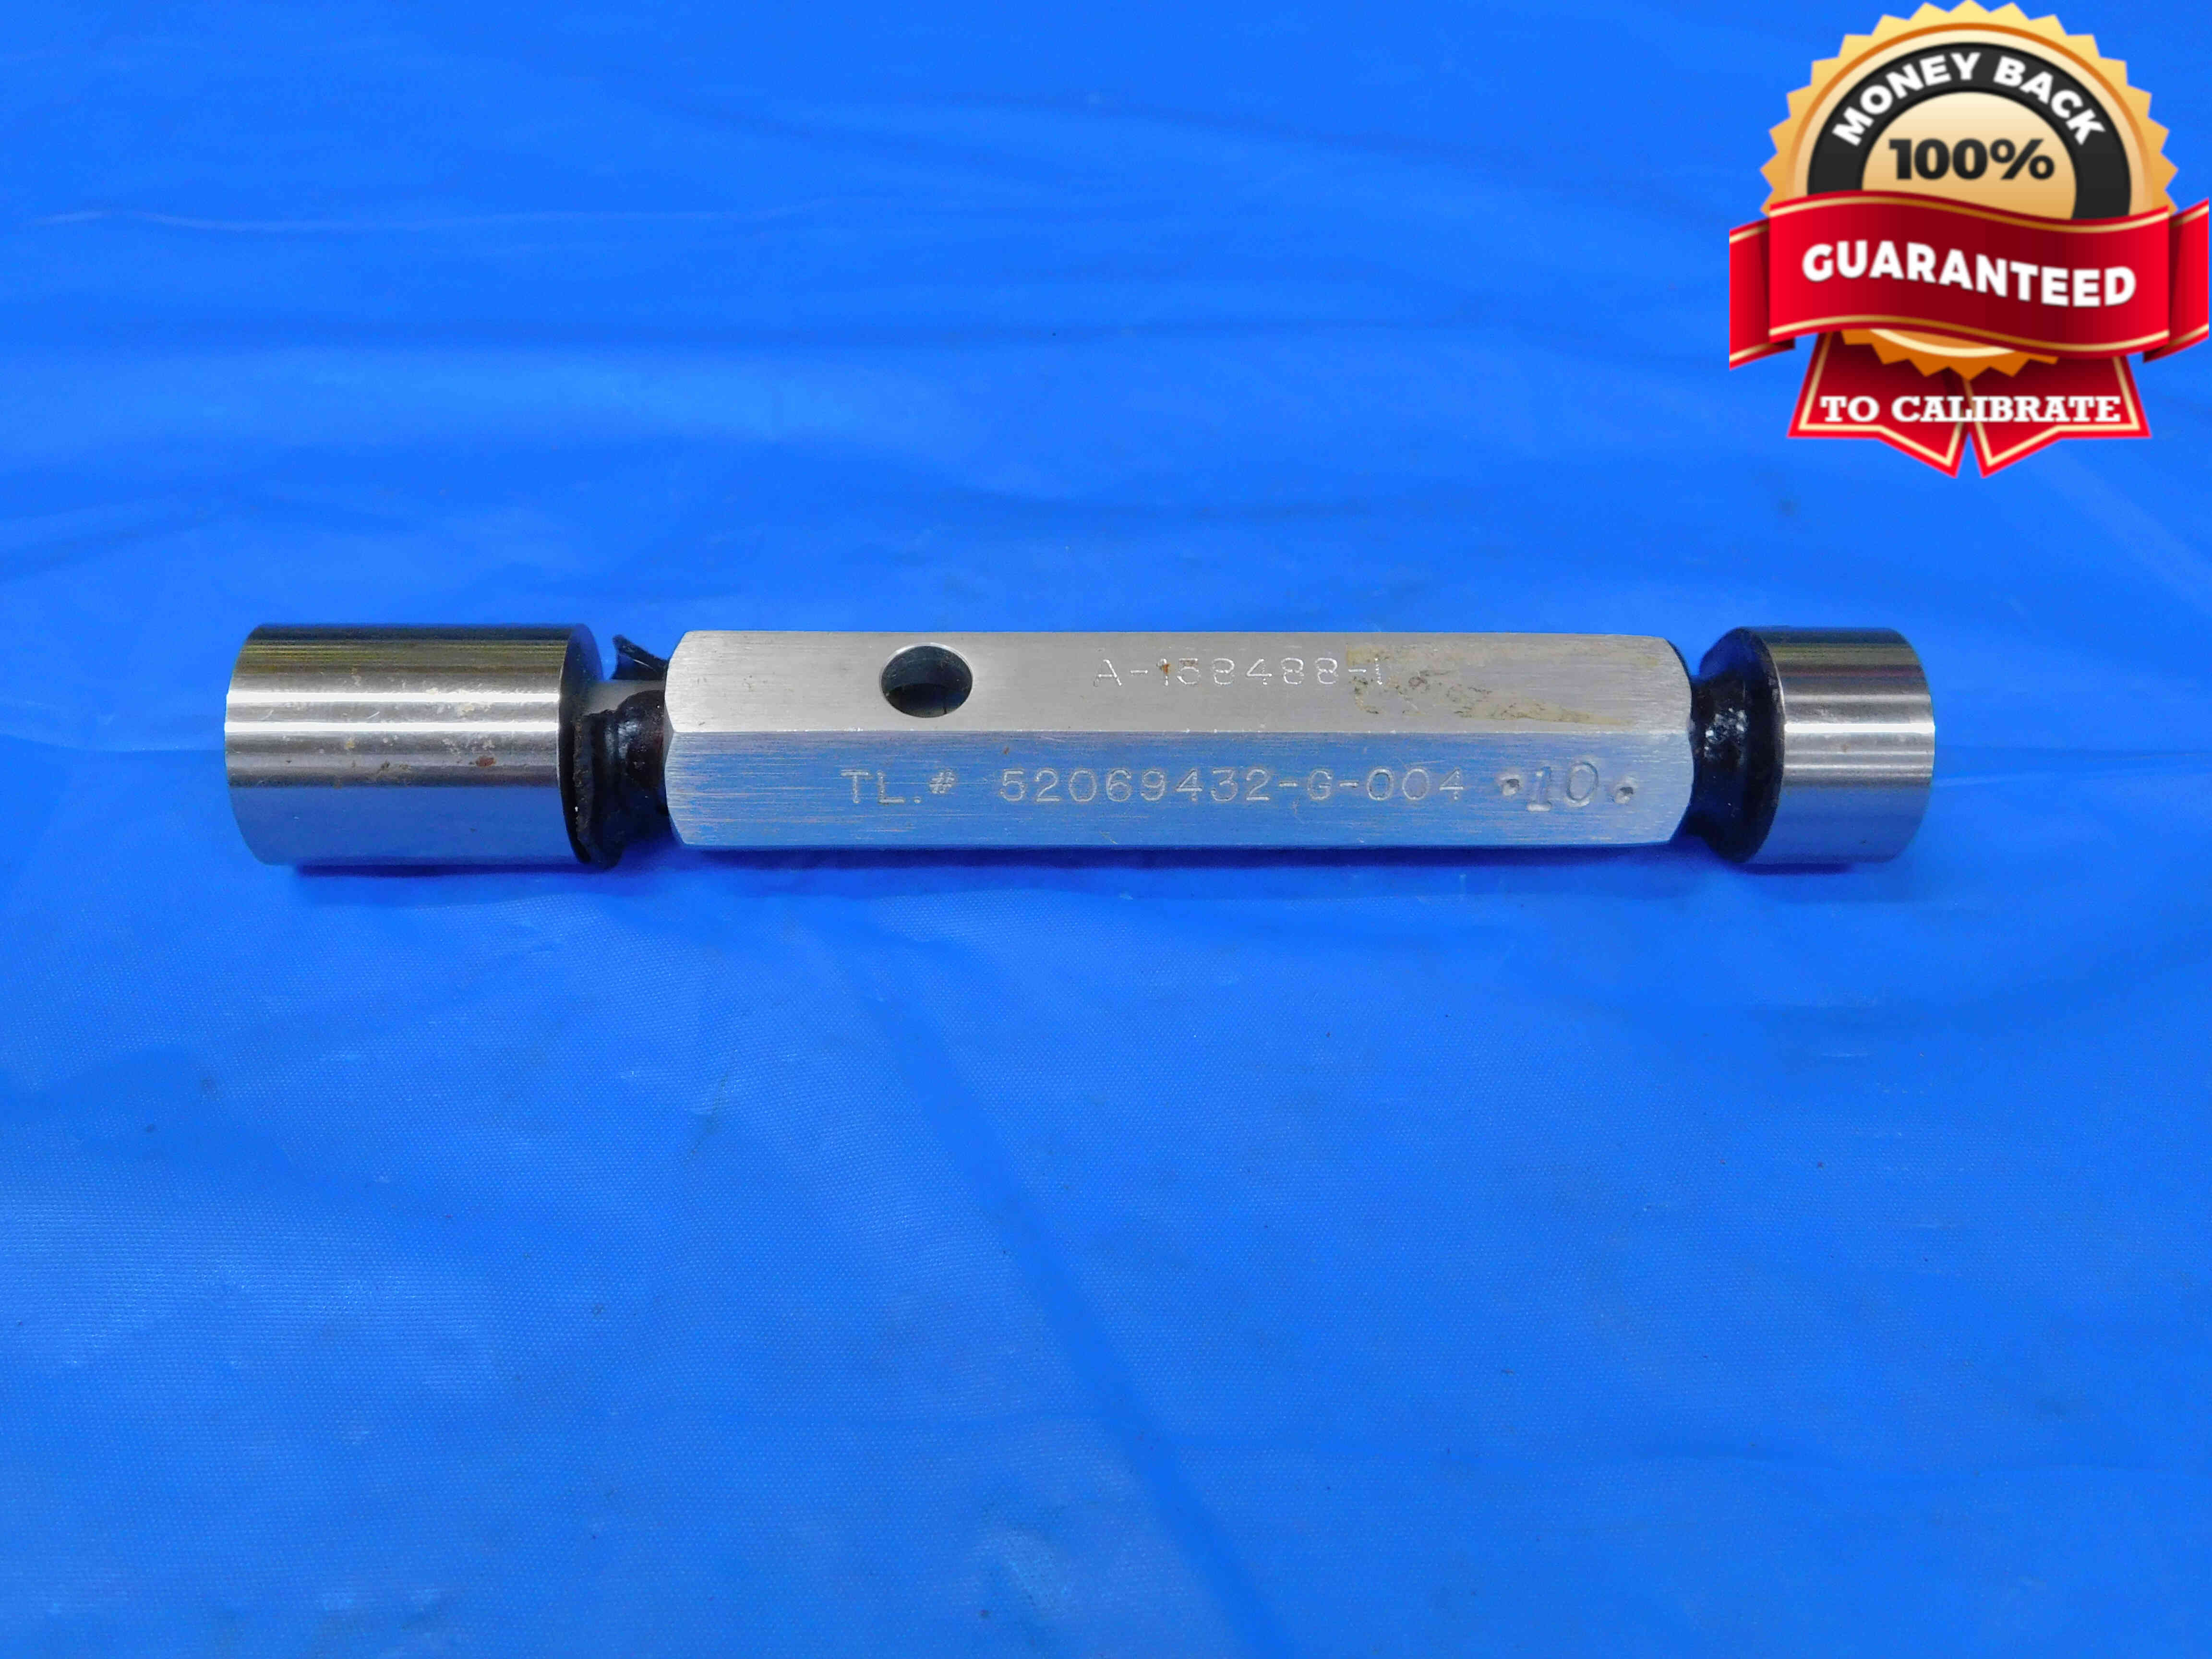
Plug Gages: Position the gage in the center of the frame, with the "Go" member on the left side and the "No Go" member on the right. Ideally we want as much of the labeled information visible as possible. The O.D.'s are the most important and should always be visible, followed in importance by the class, and then the brand. Whether or not the class and brand can be included in the picture will depend on the individual gage and where this information is located.
Plug Gages will sometimes have the O.D.'s labeled on the ends of the members. In this scenario you will need to take additional pictures of the O.D. labeling as shown in the second example below. Another scenario where you may need to take an additional close-up picture of the O.D. labeling is if the gage is particularly large and the labeling on the handle cannot be easily read in the picture because of how zoomed-out it is.
Large plug gage members are sometimes listed individually, without a handle. In this case the gage will be pictured more like a ring gage, as described in the next section and shown in the 3rd example below. Be sure to include a side view of member, like it would appear if it were attached to handle.
If there is any damage to the gage - especially to the members - you will need to take an additional picture clearly showing the damage, using a pen to point to the damaged area. If you believe you may need additional pictures for any other reason, contact your trainer to verify if it is necessary.
Refer to the examples below:
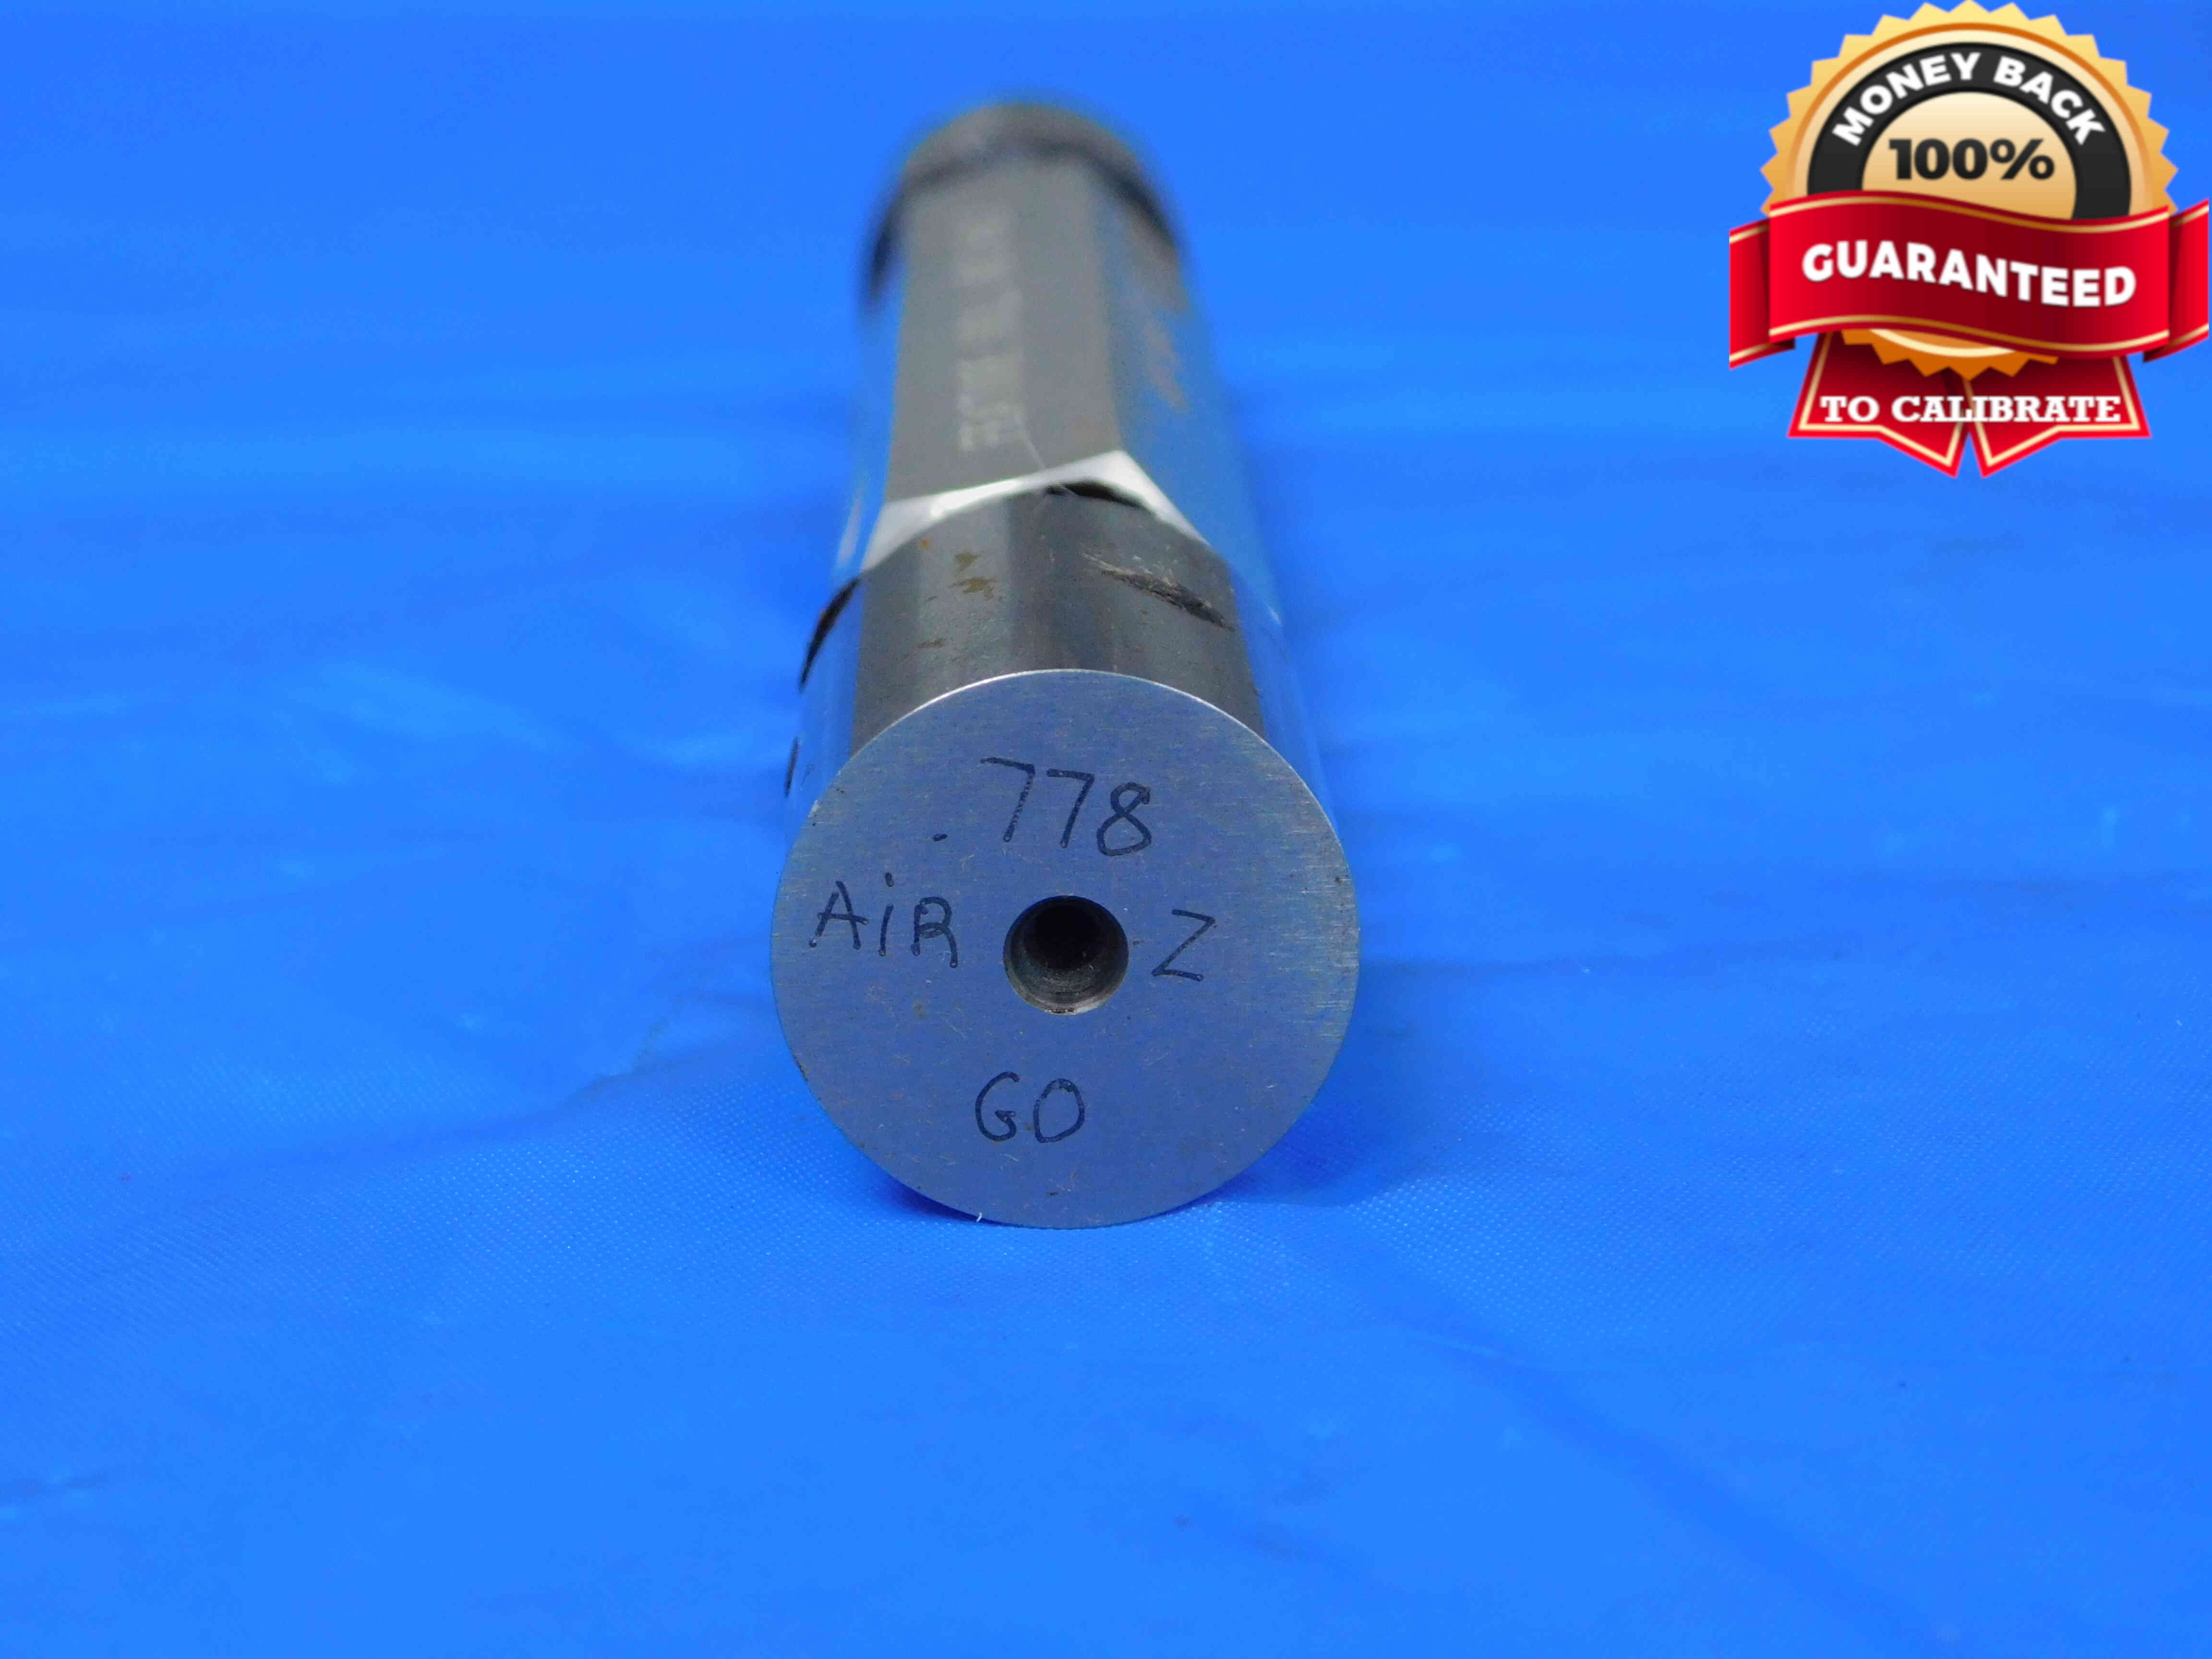
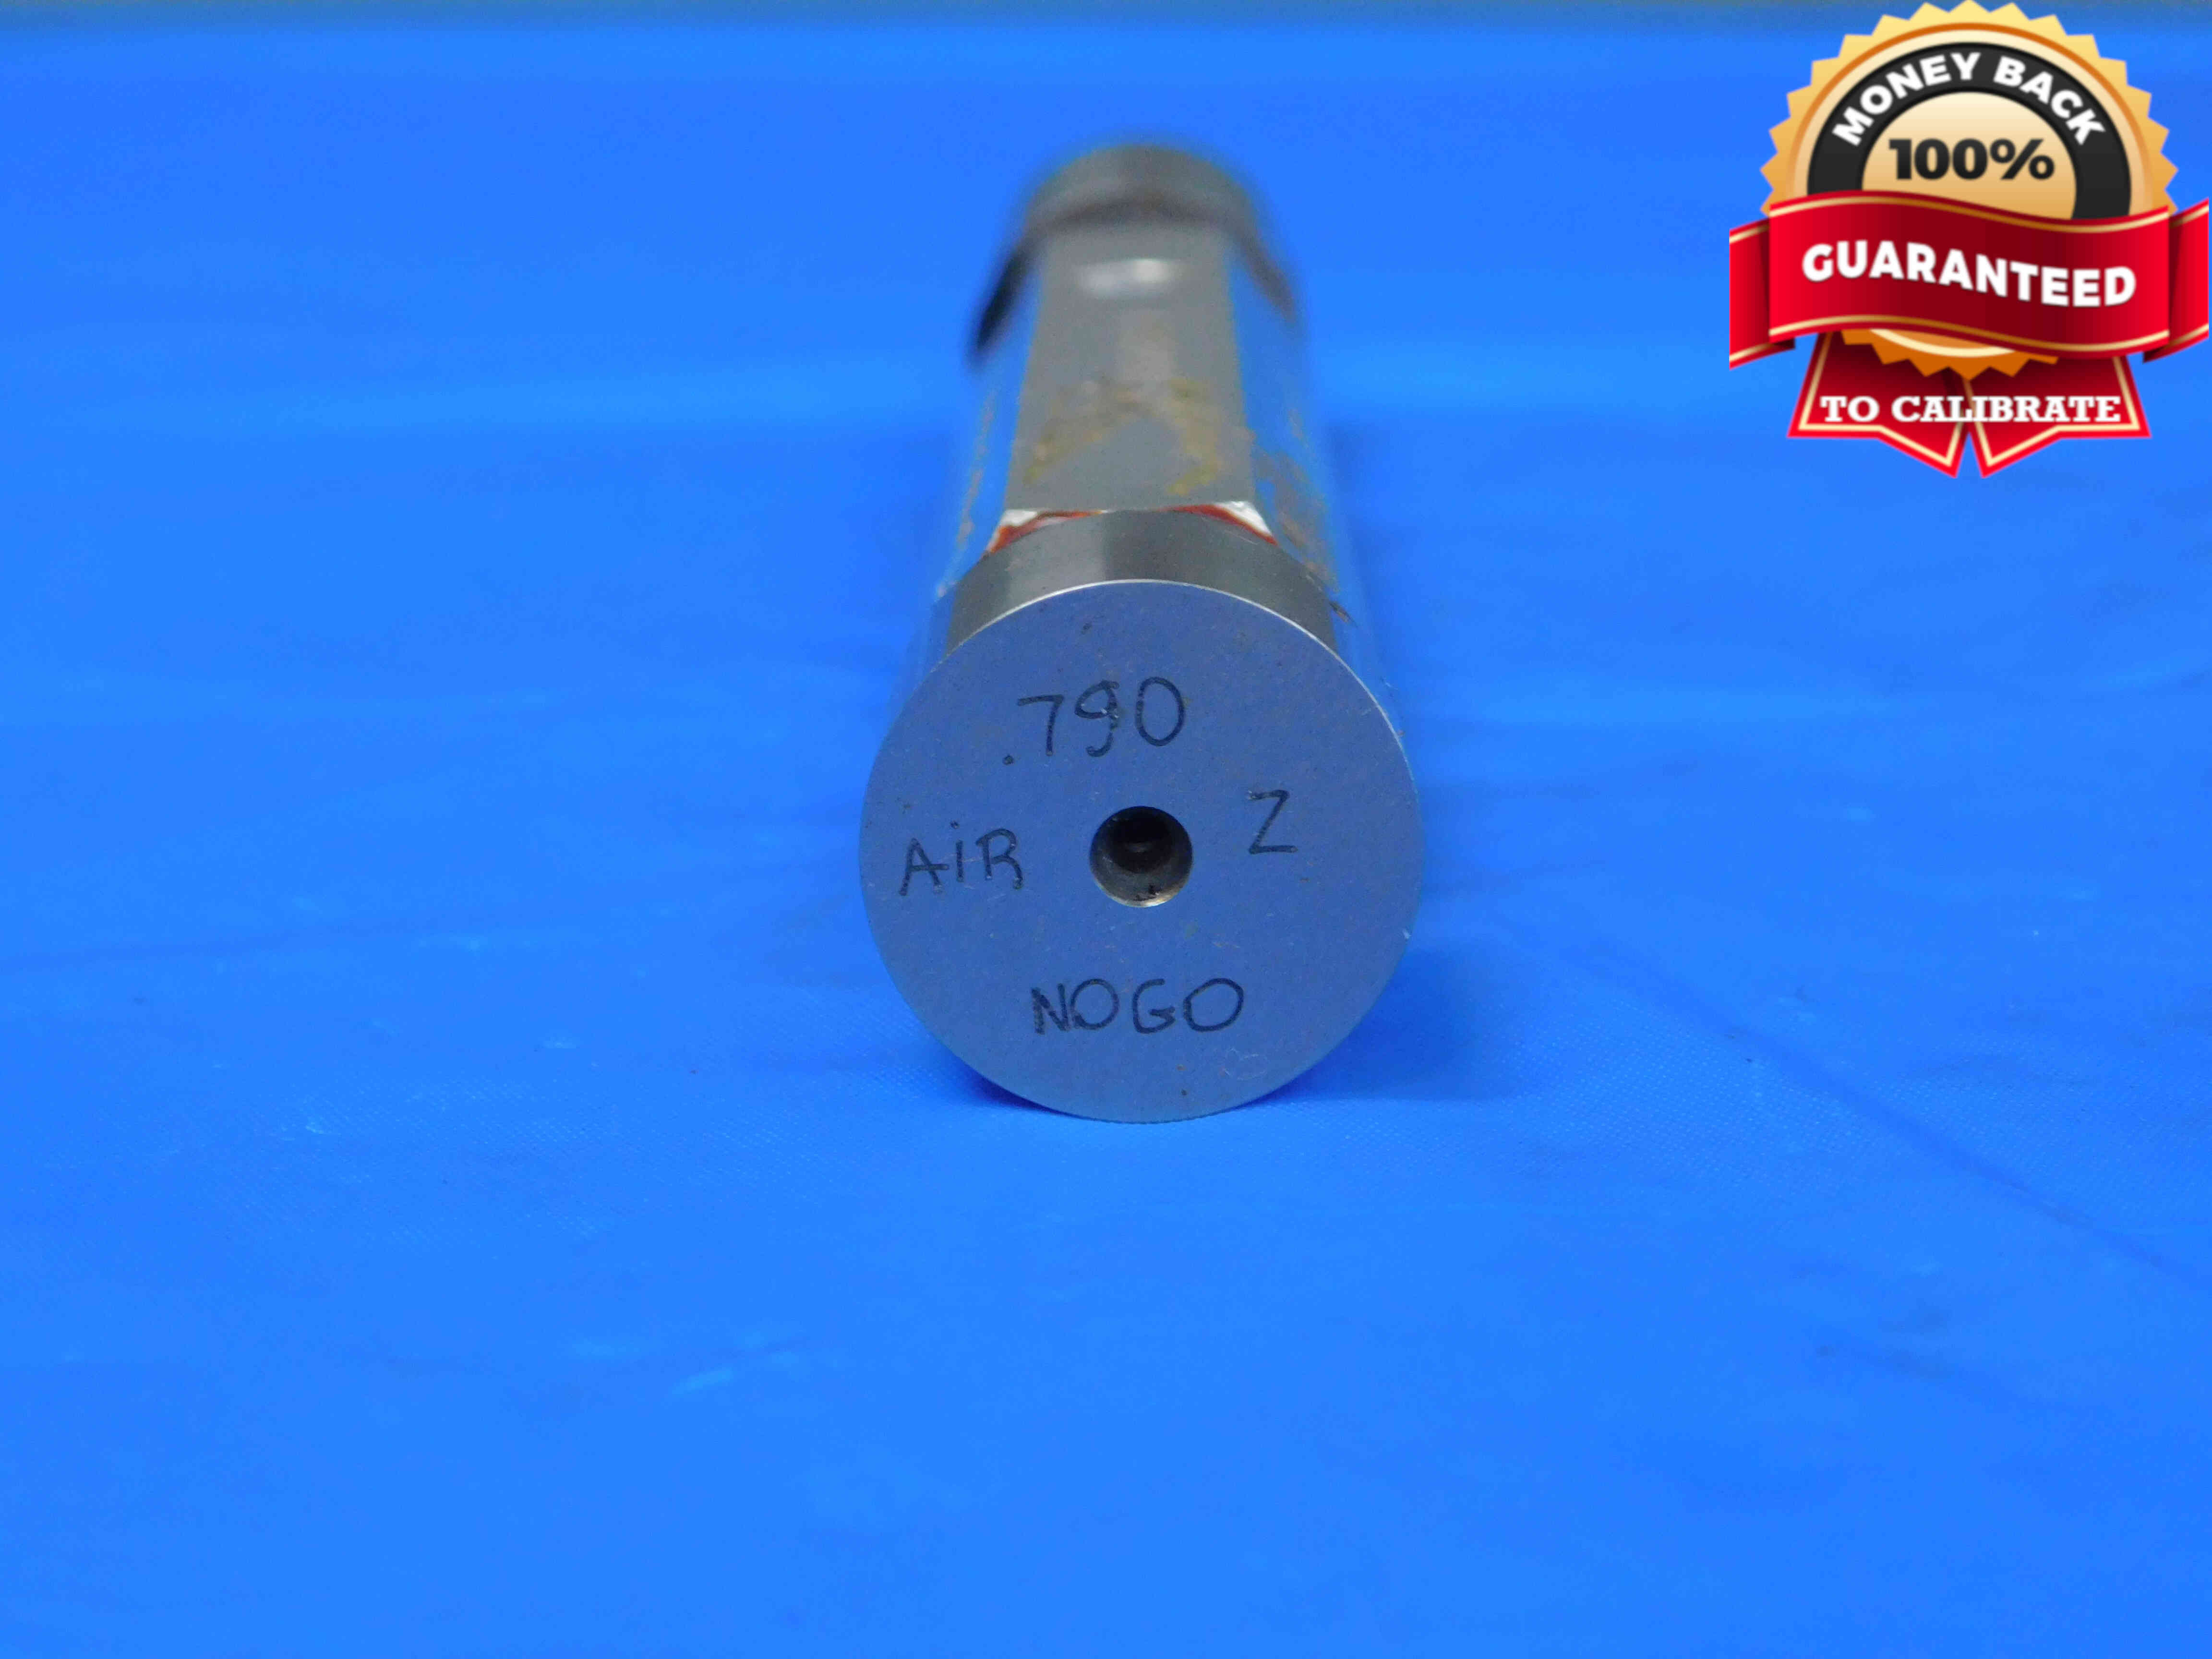
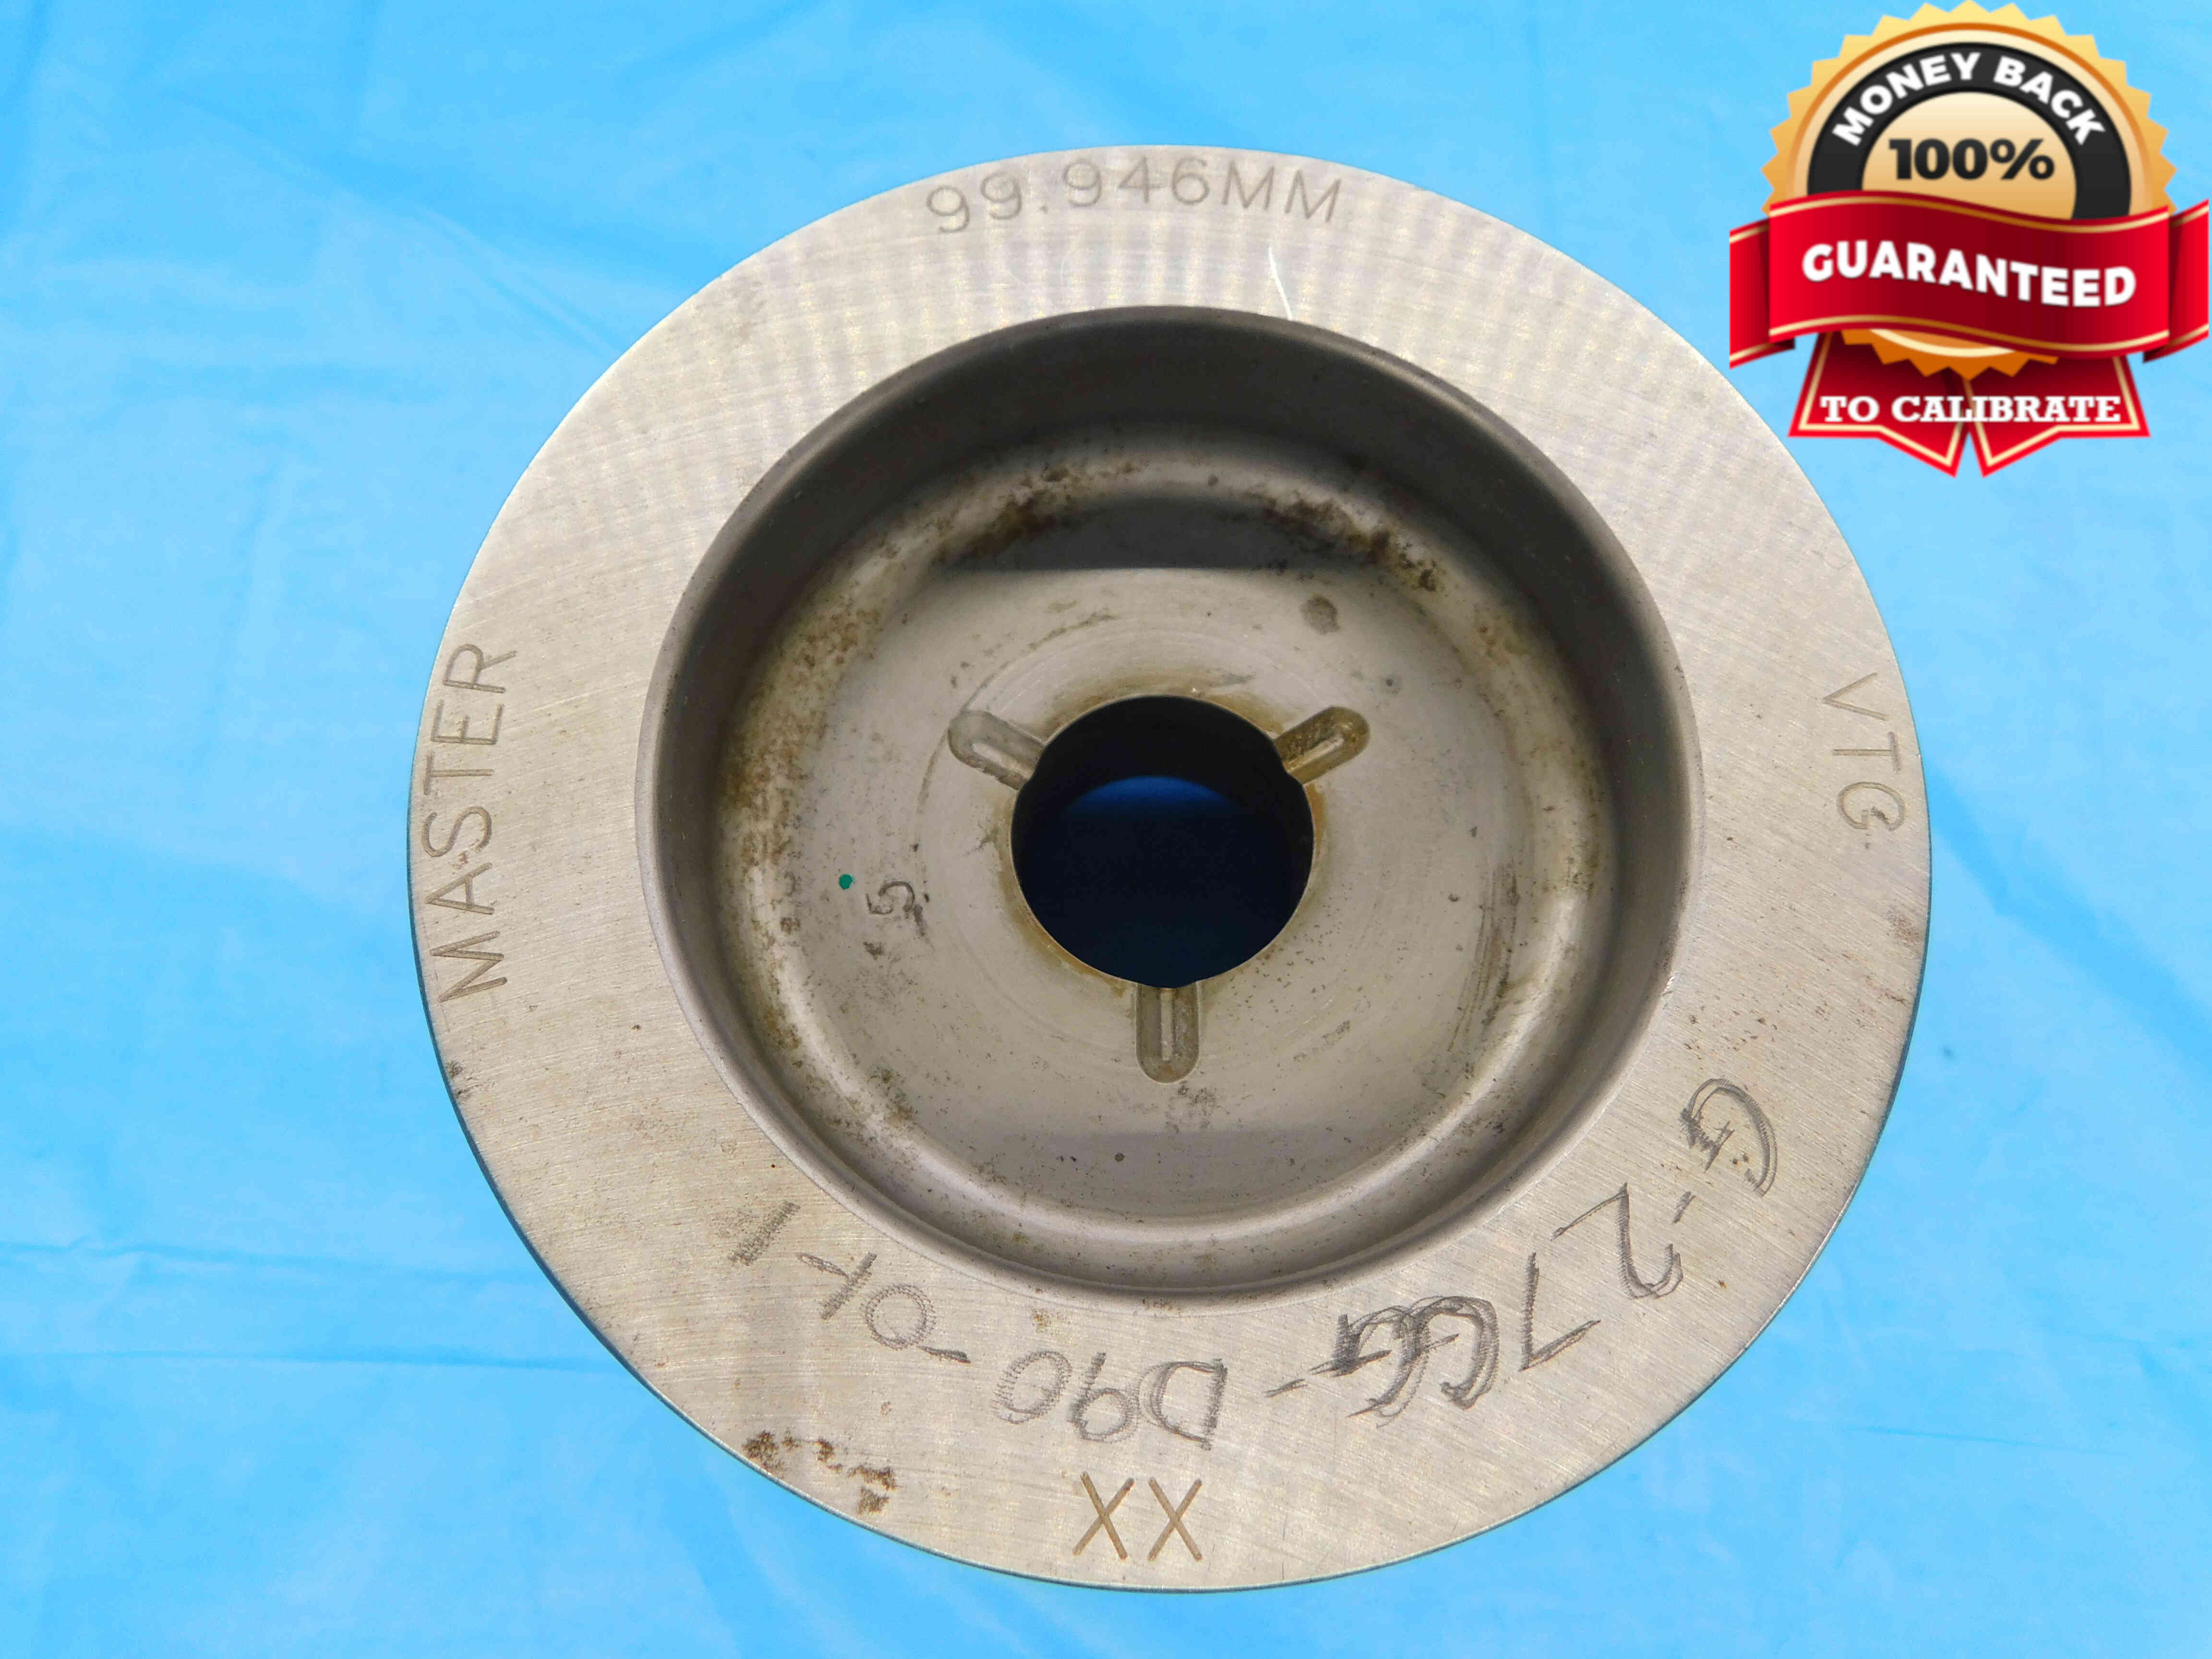
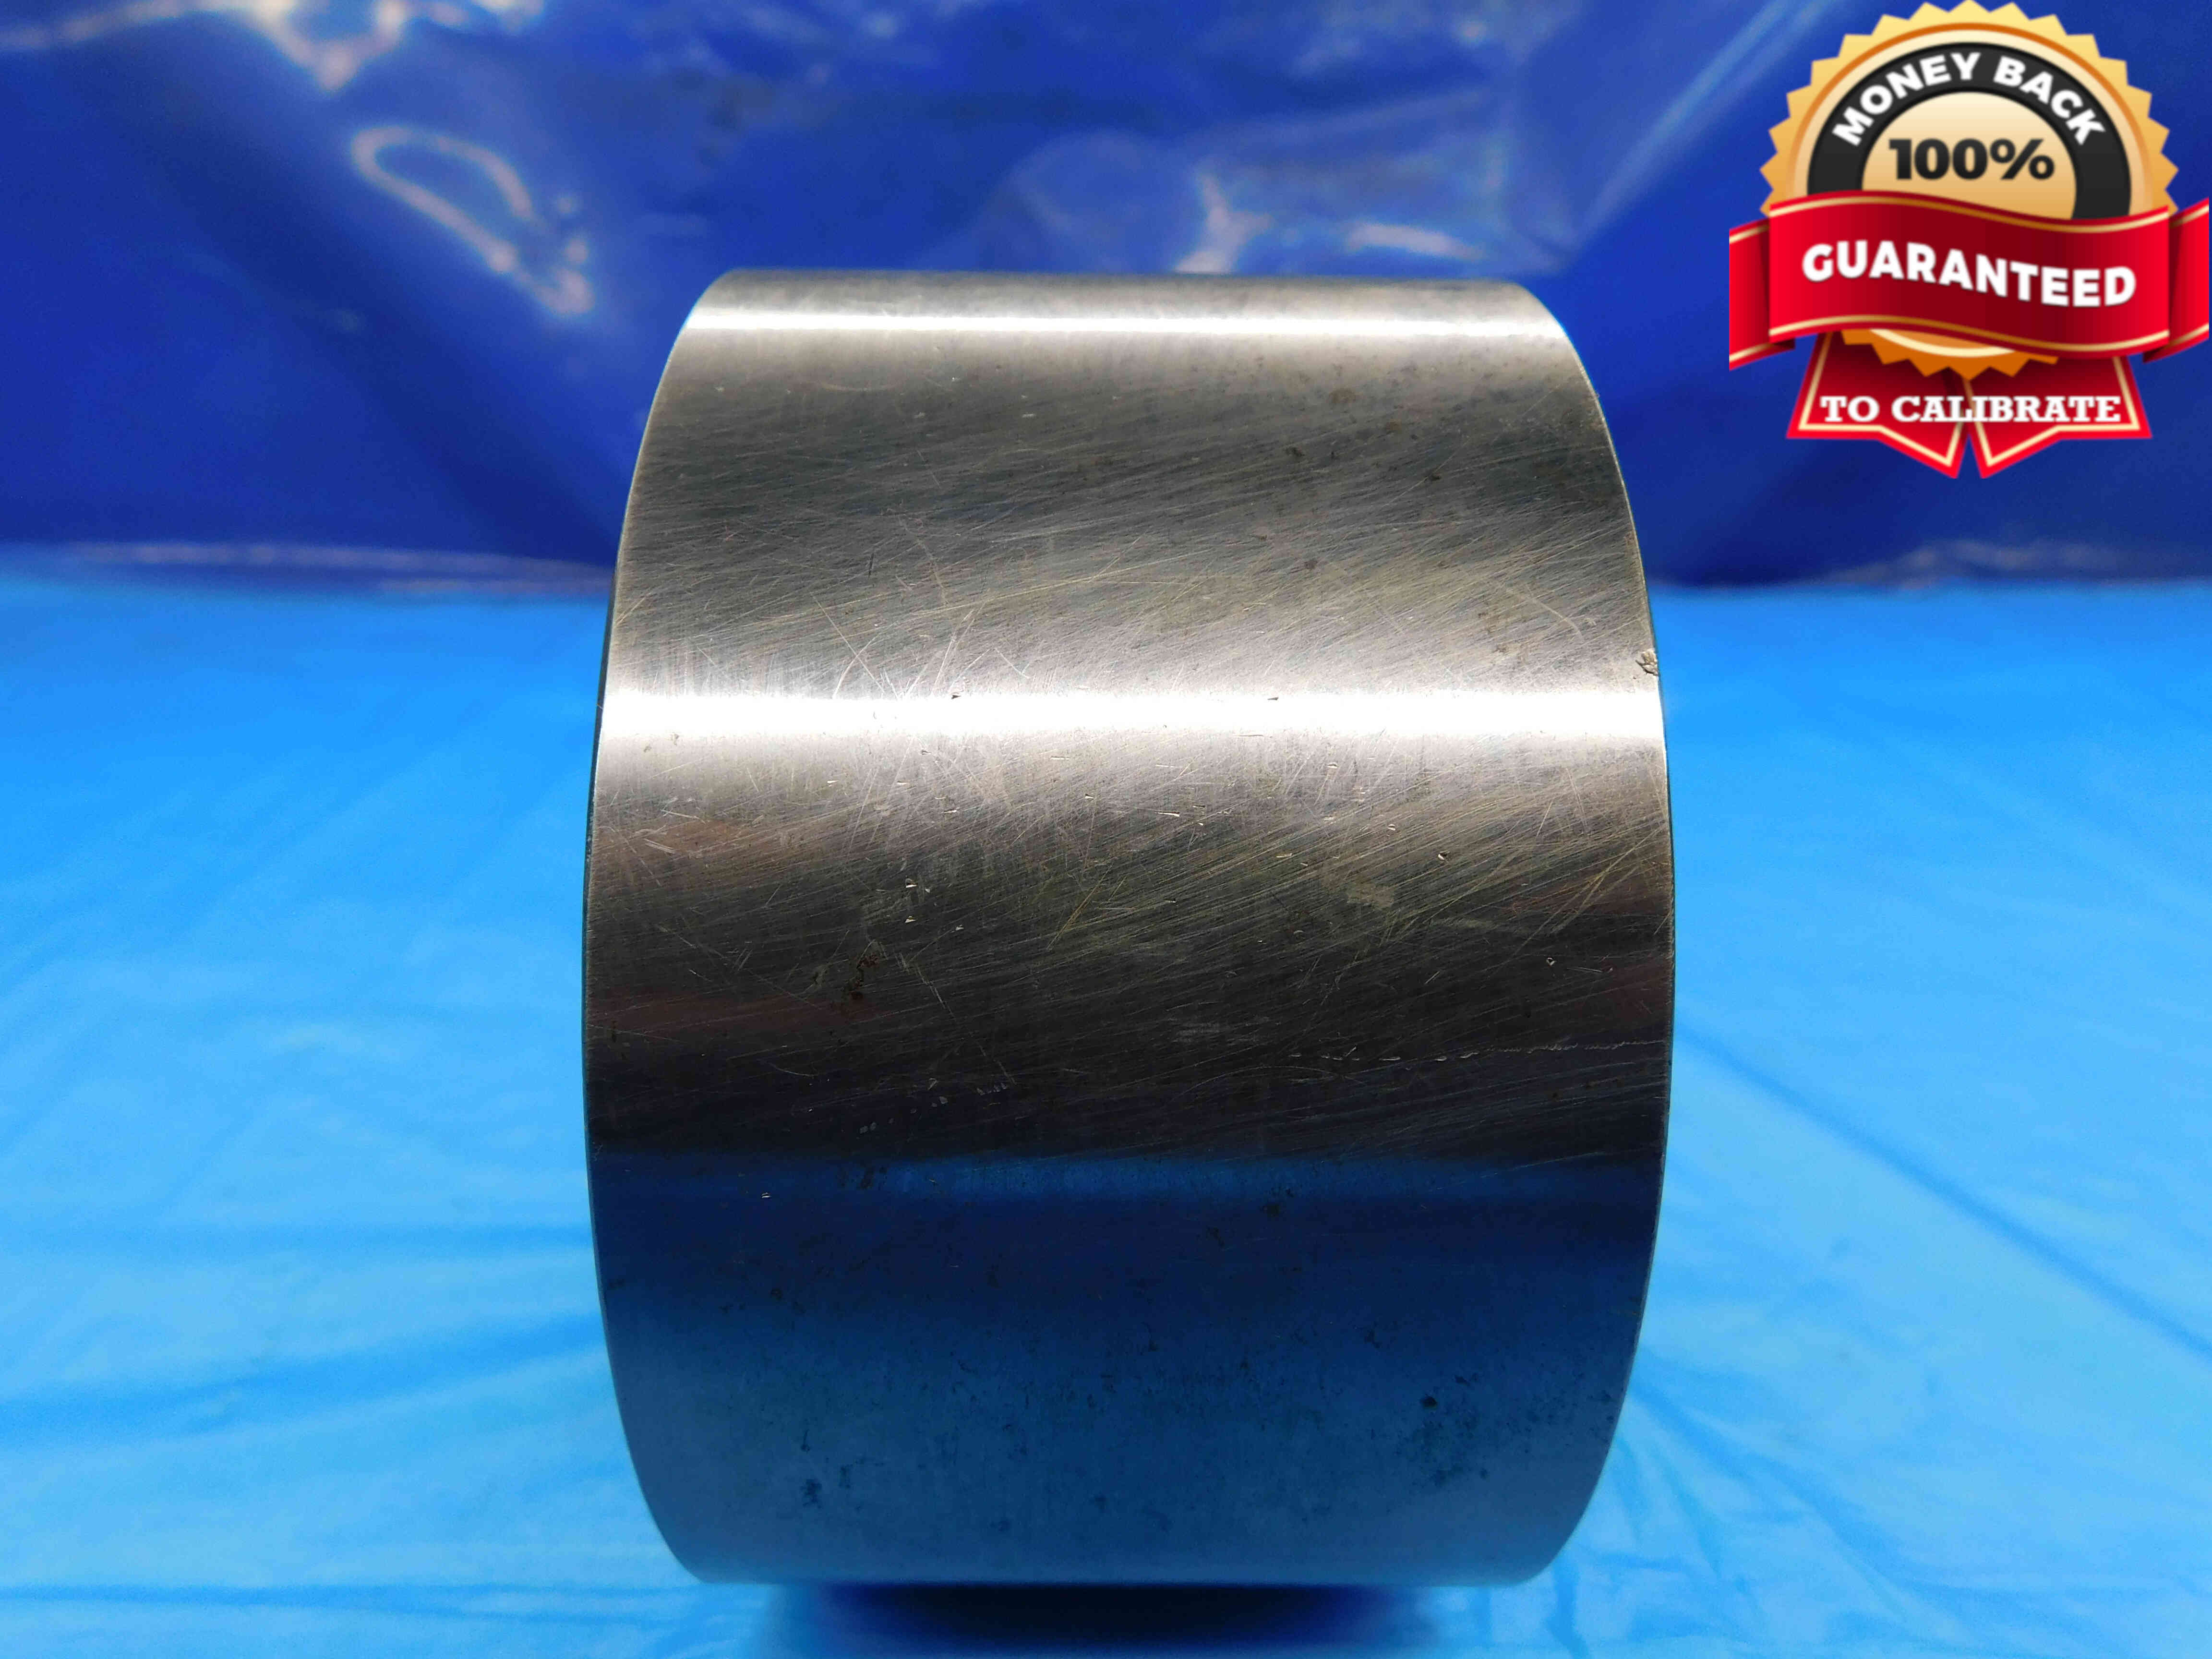
A note about large plug members: You may look at this third example and think that it is a ring gage. While it does appear to have an inner diameter like a ring gage, this is just a hole for the screw that attaches the member to a handle. If you're not sure, look at the labeled size - in this case, 99.946mm (which is nearly 4 inches) is much larger than the diameter of the hole in the center of this gage, which should tell you that it is in fact a plug gage member with an OUTSIDE diameter of 99.946mm, and not a ring gage.
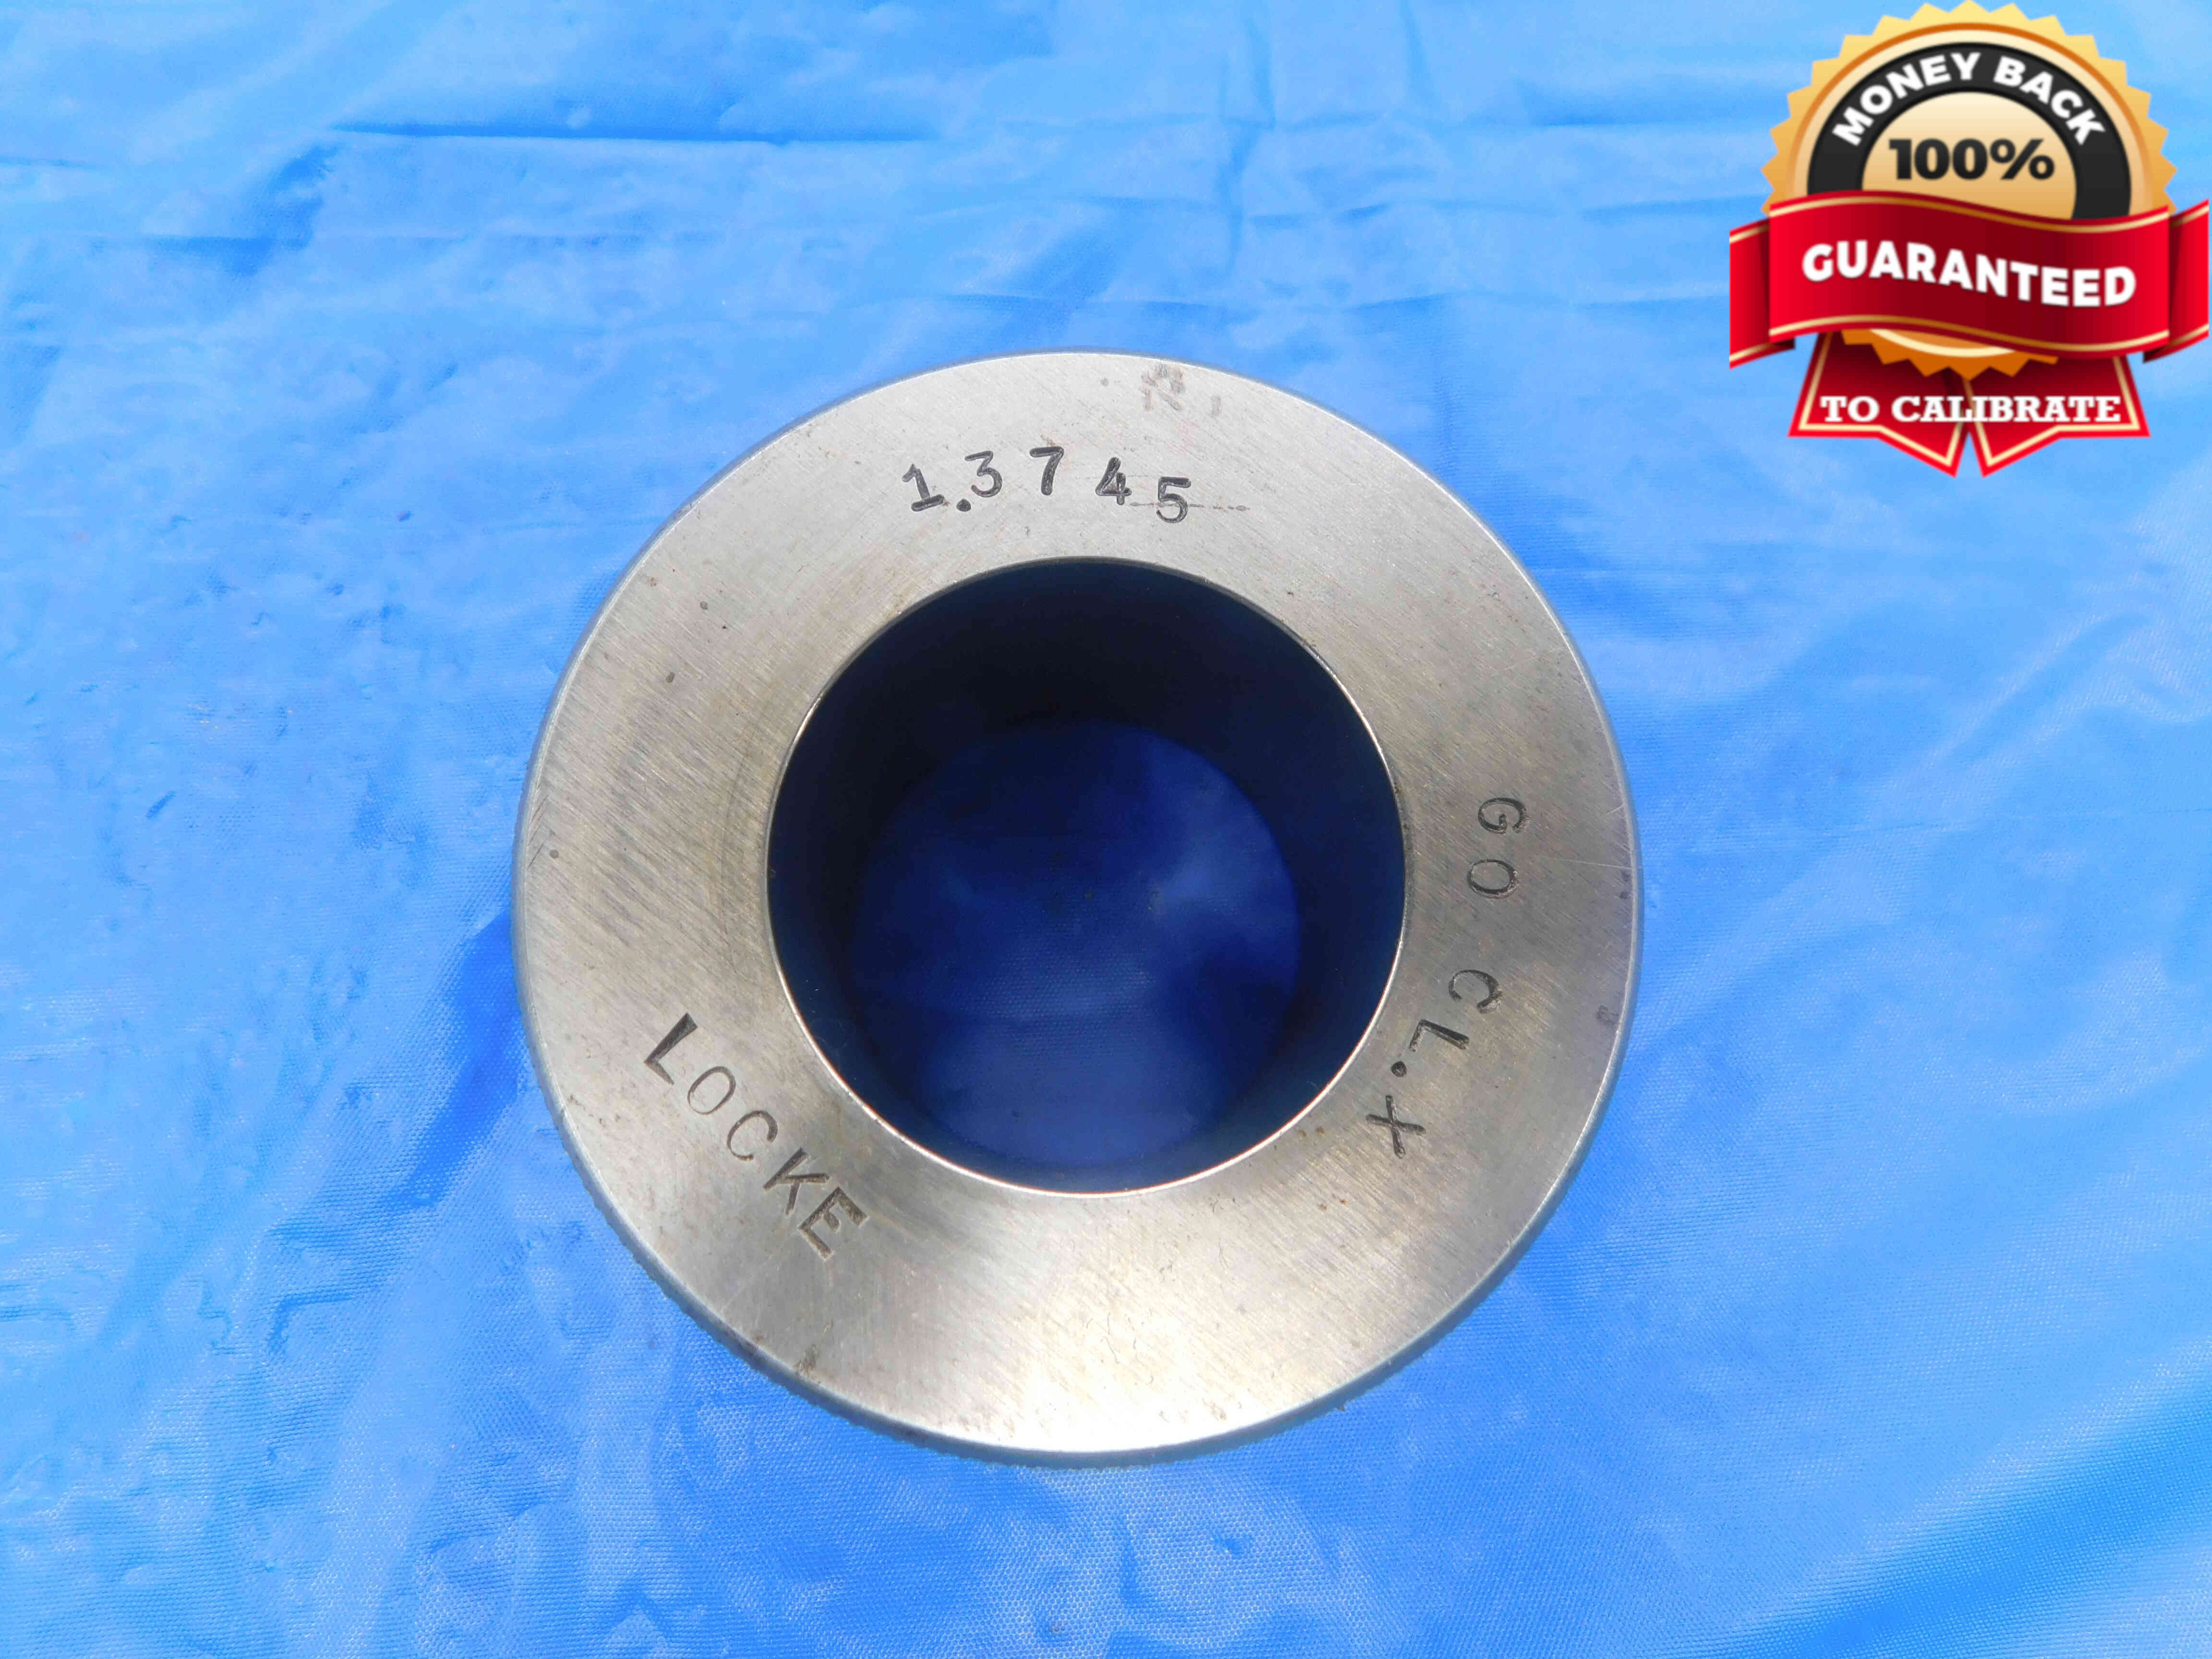
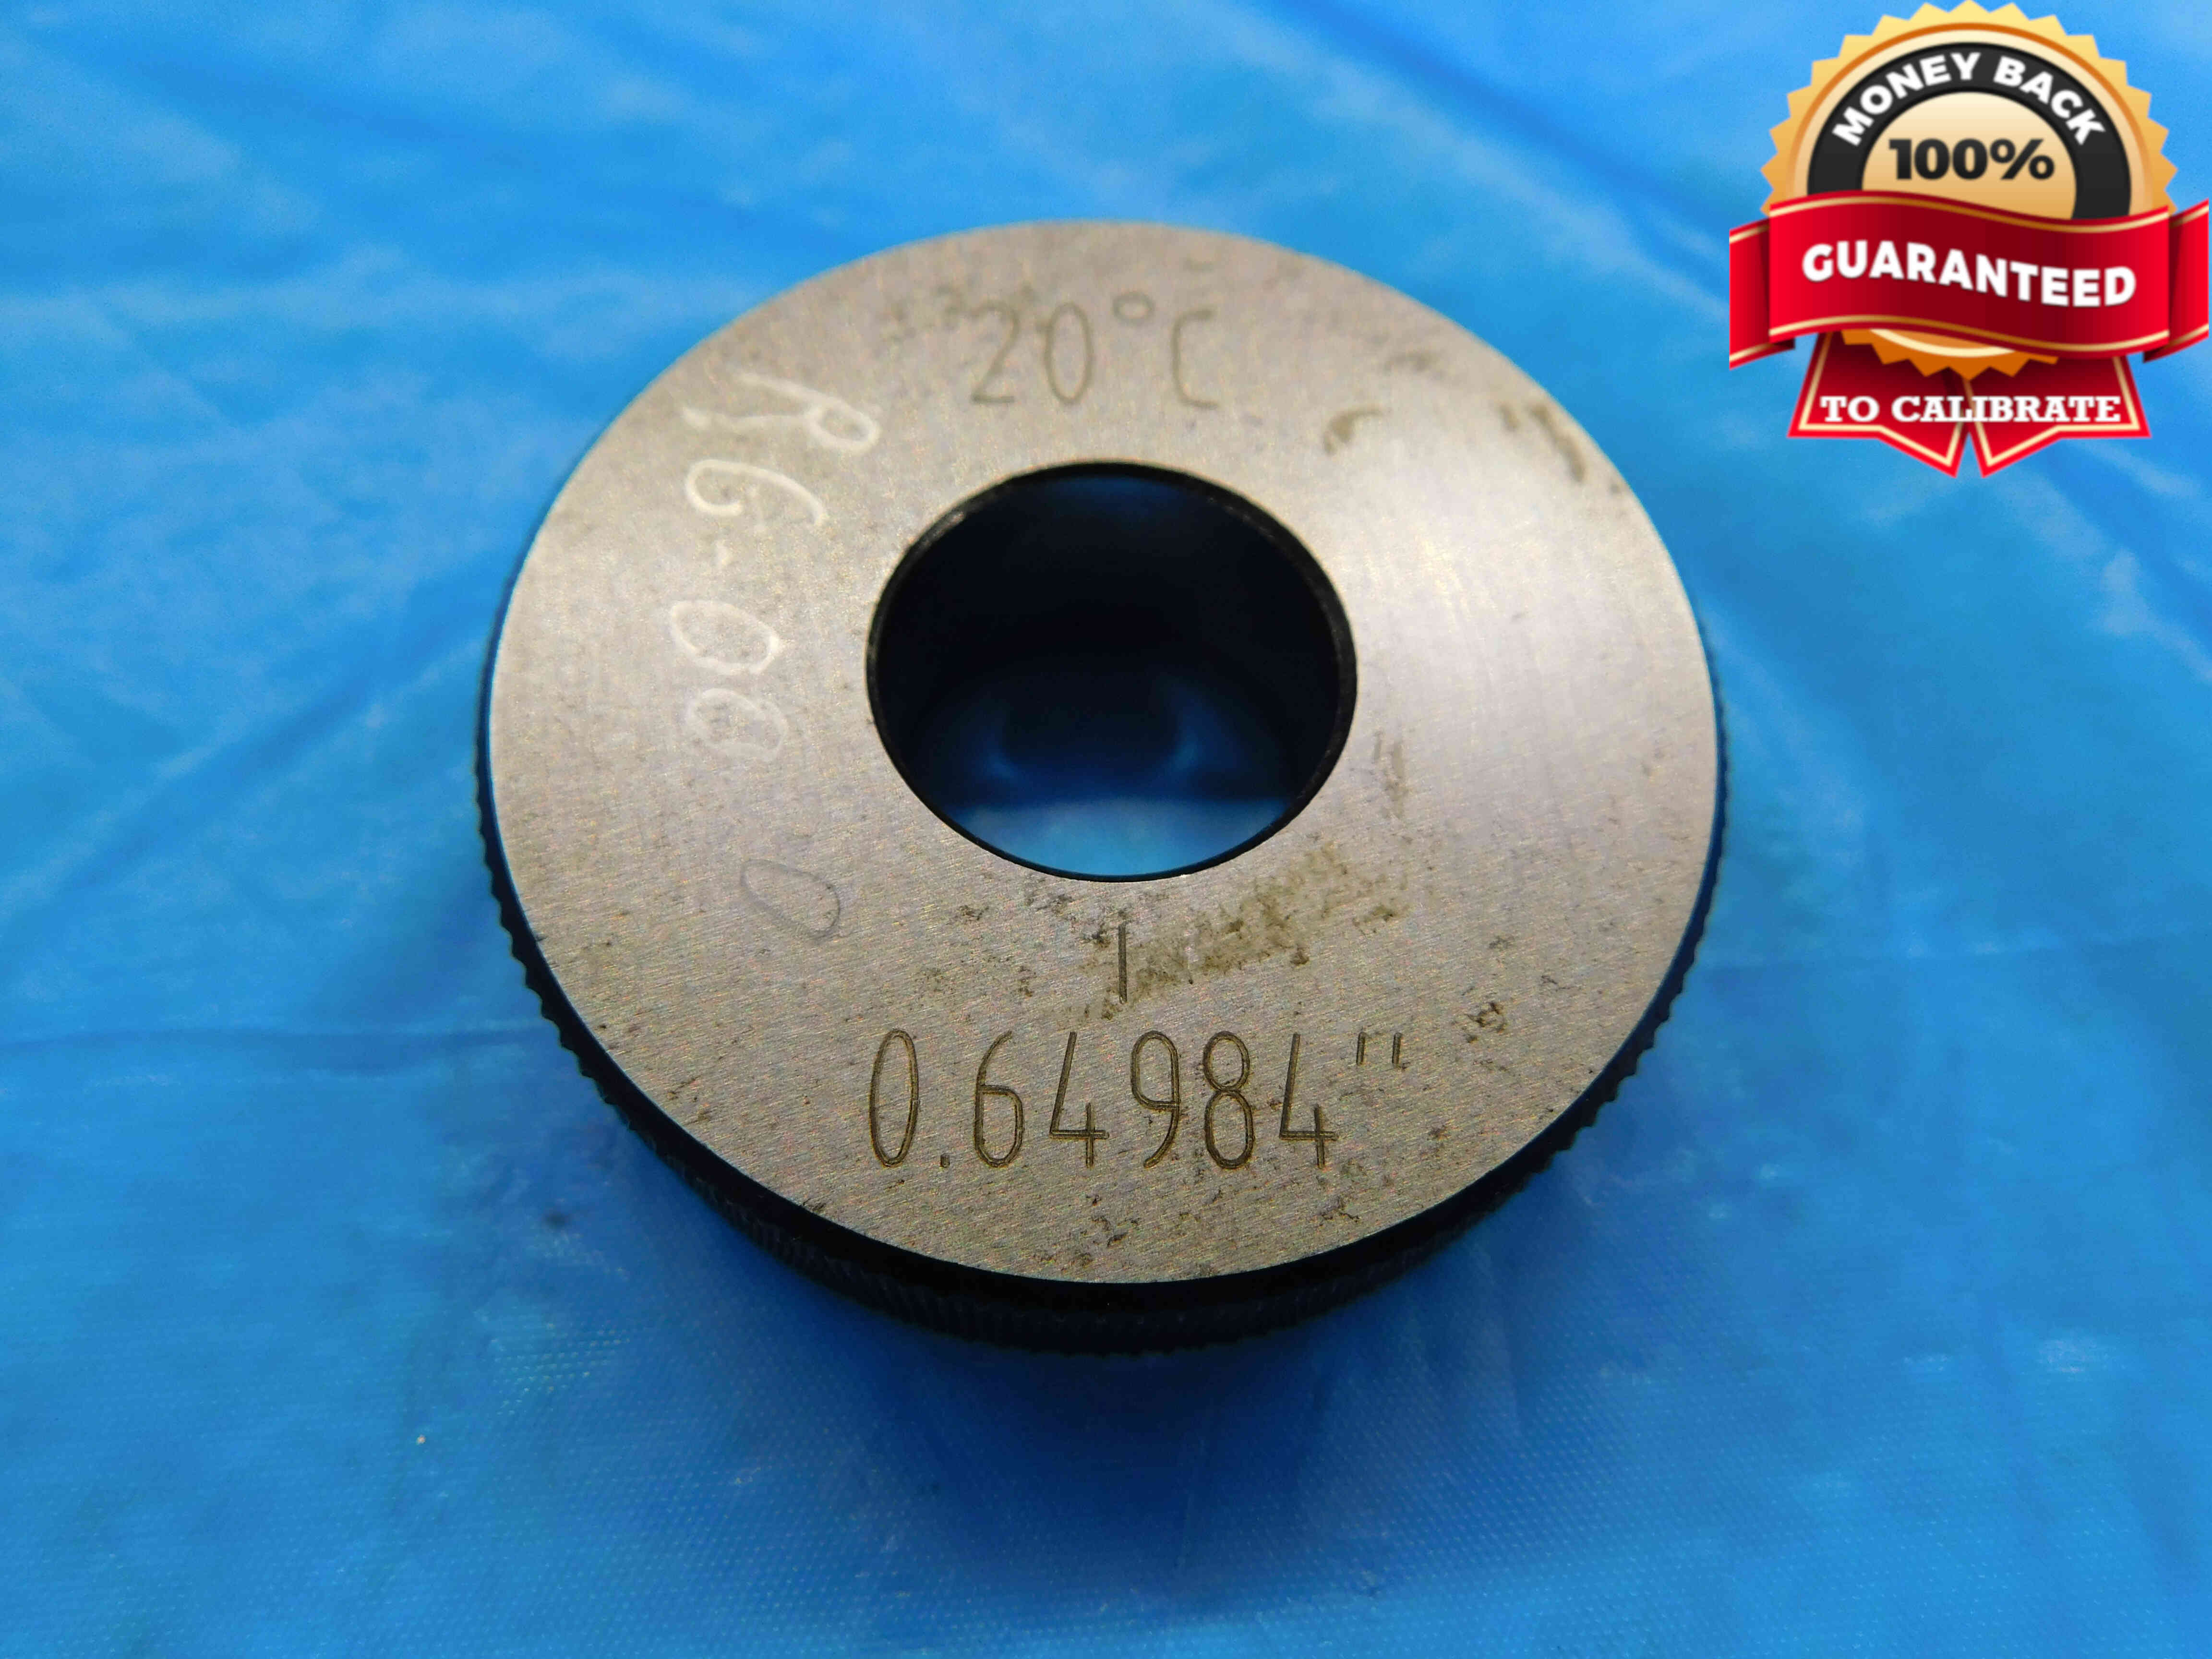
Ring Gages: Position the gage in the center of the frame, with the I.D. labeling at either the top-center or bottom-center of the gage (whichever positions it right-side up - the examples below show both possibilities). This picture should be taken from a top-down angle in order to reduce glare and provide the best readability for the labeling.
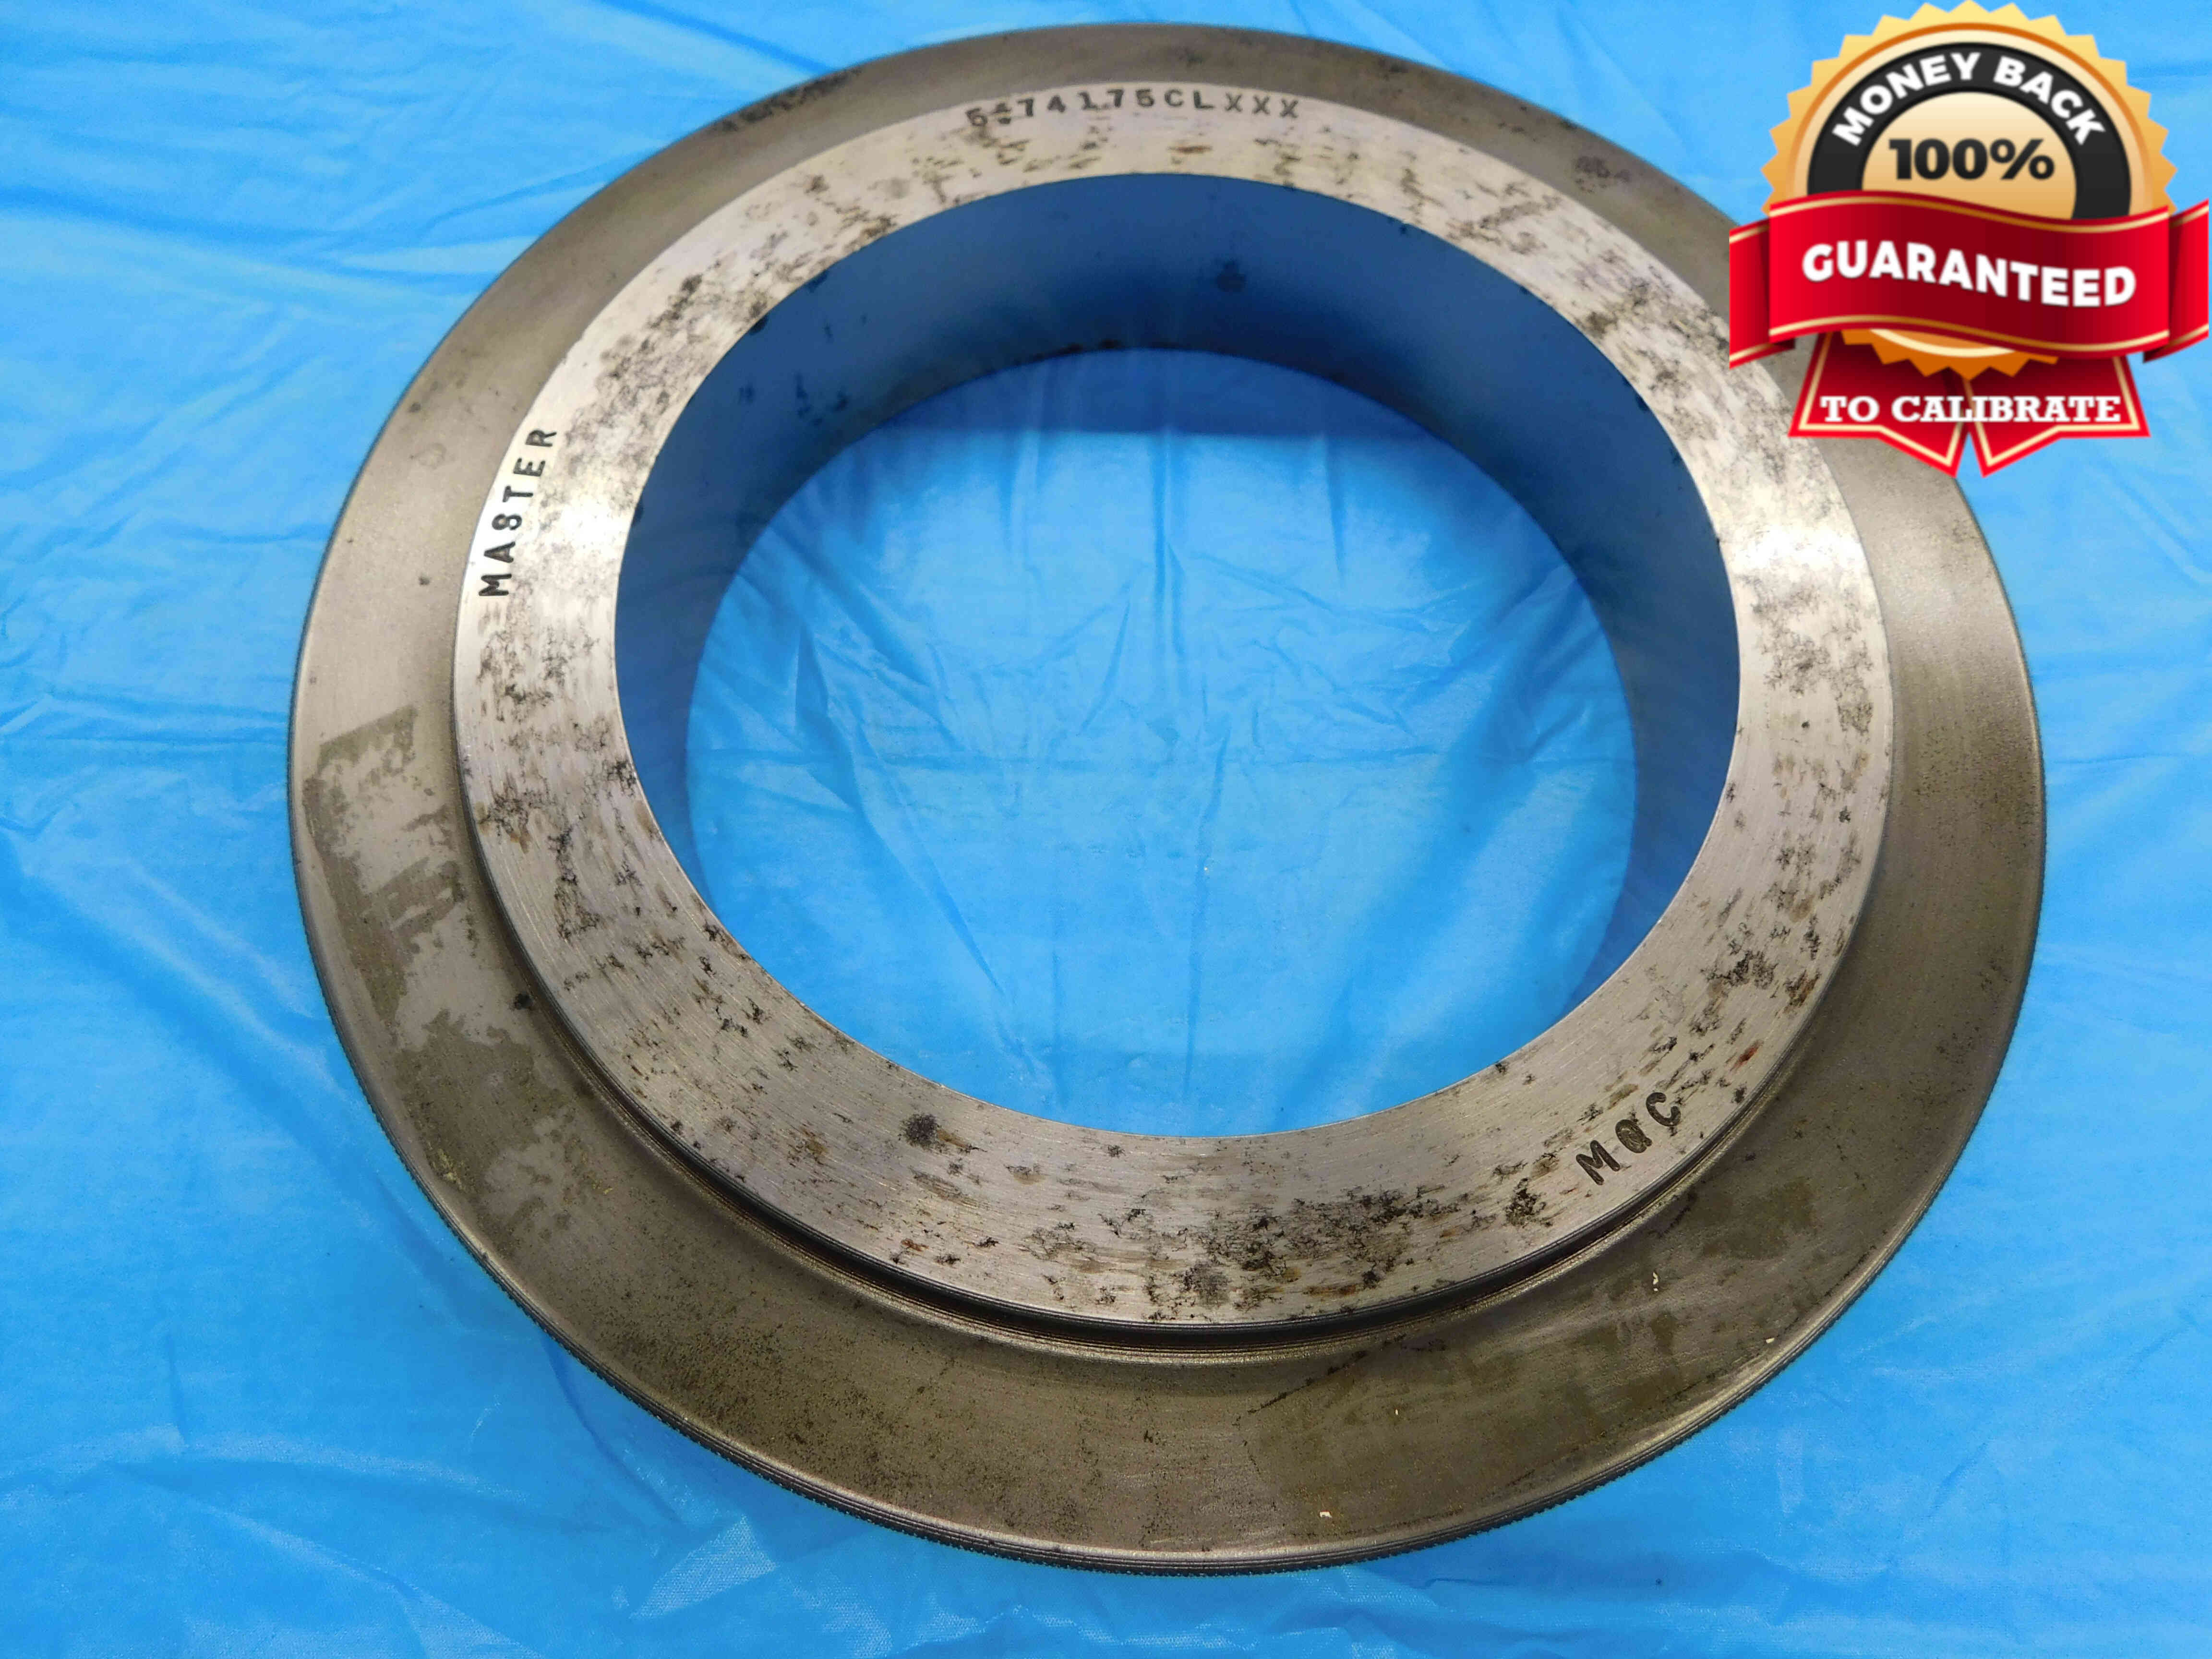
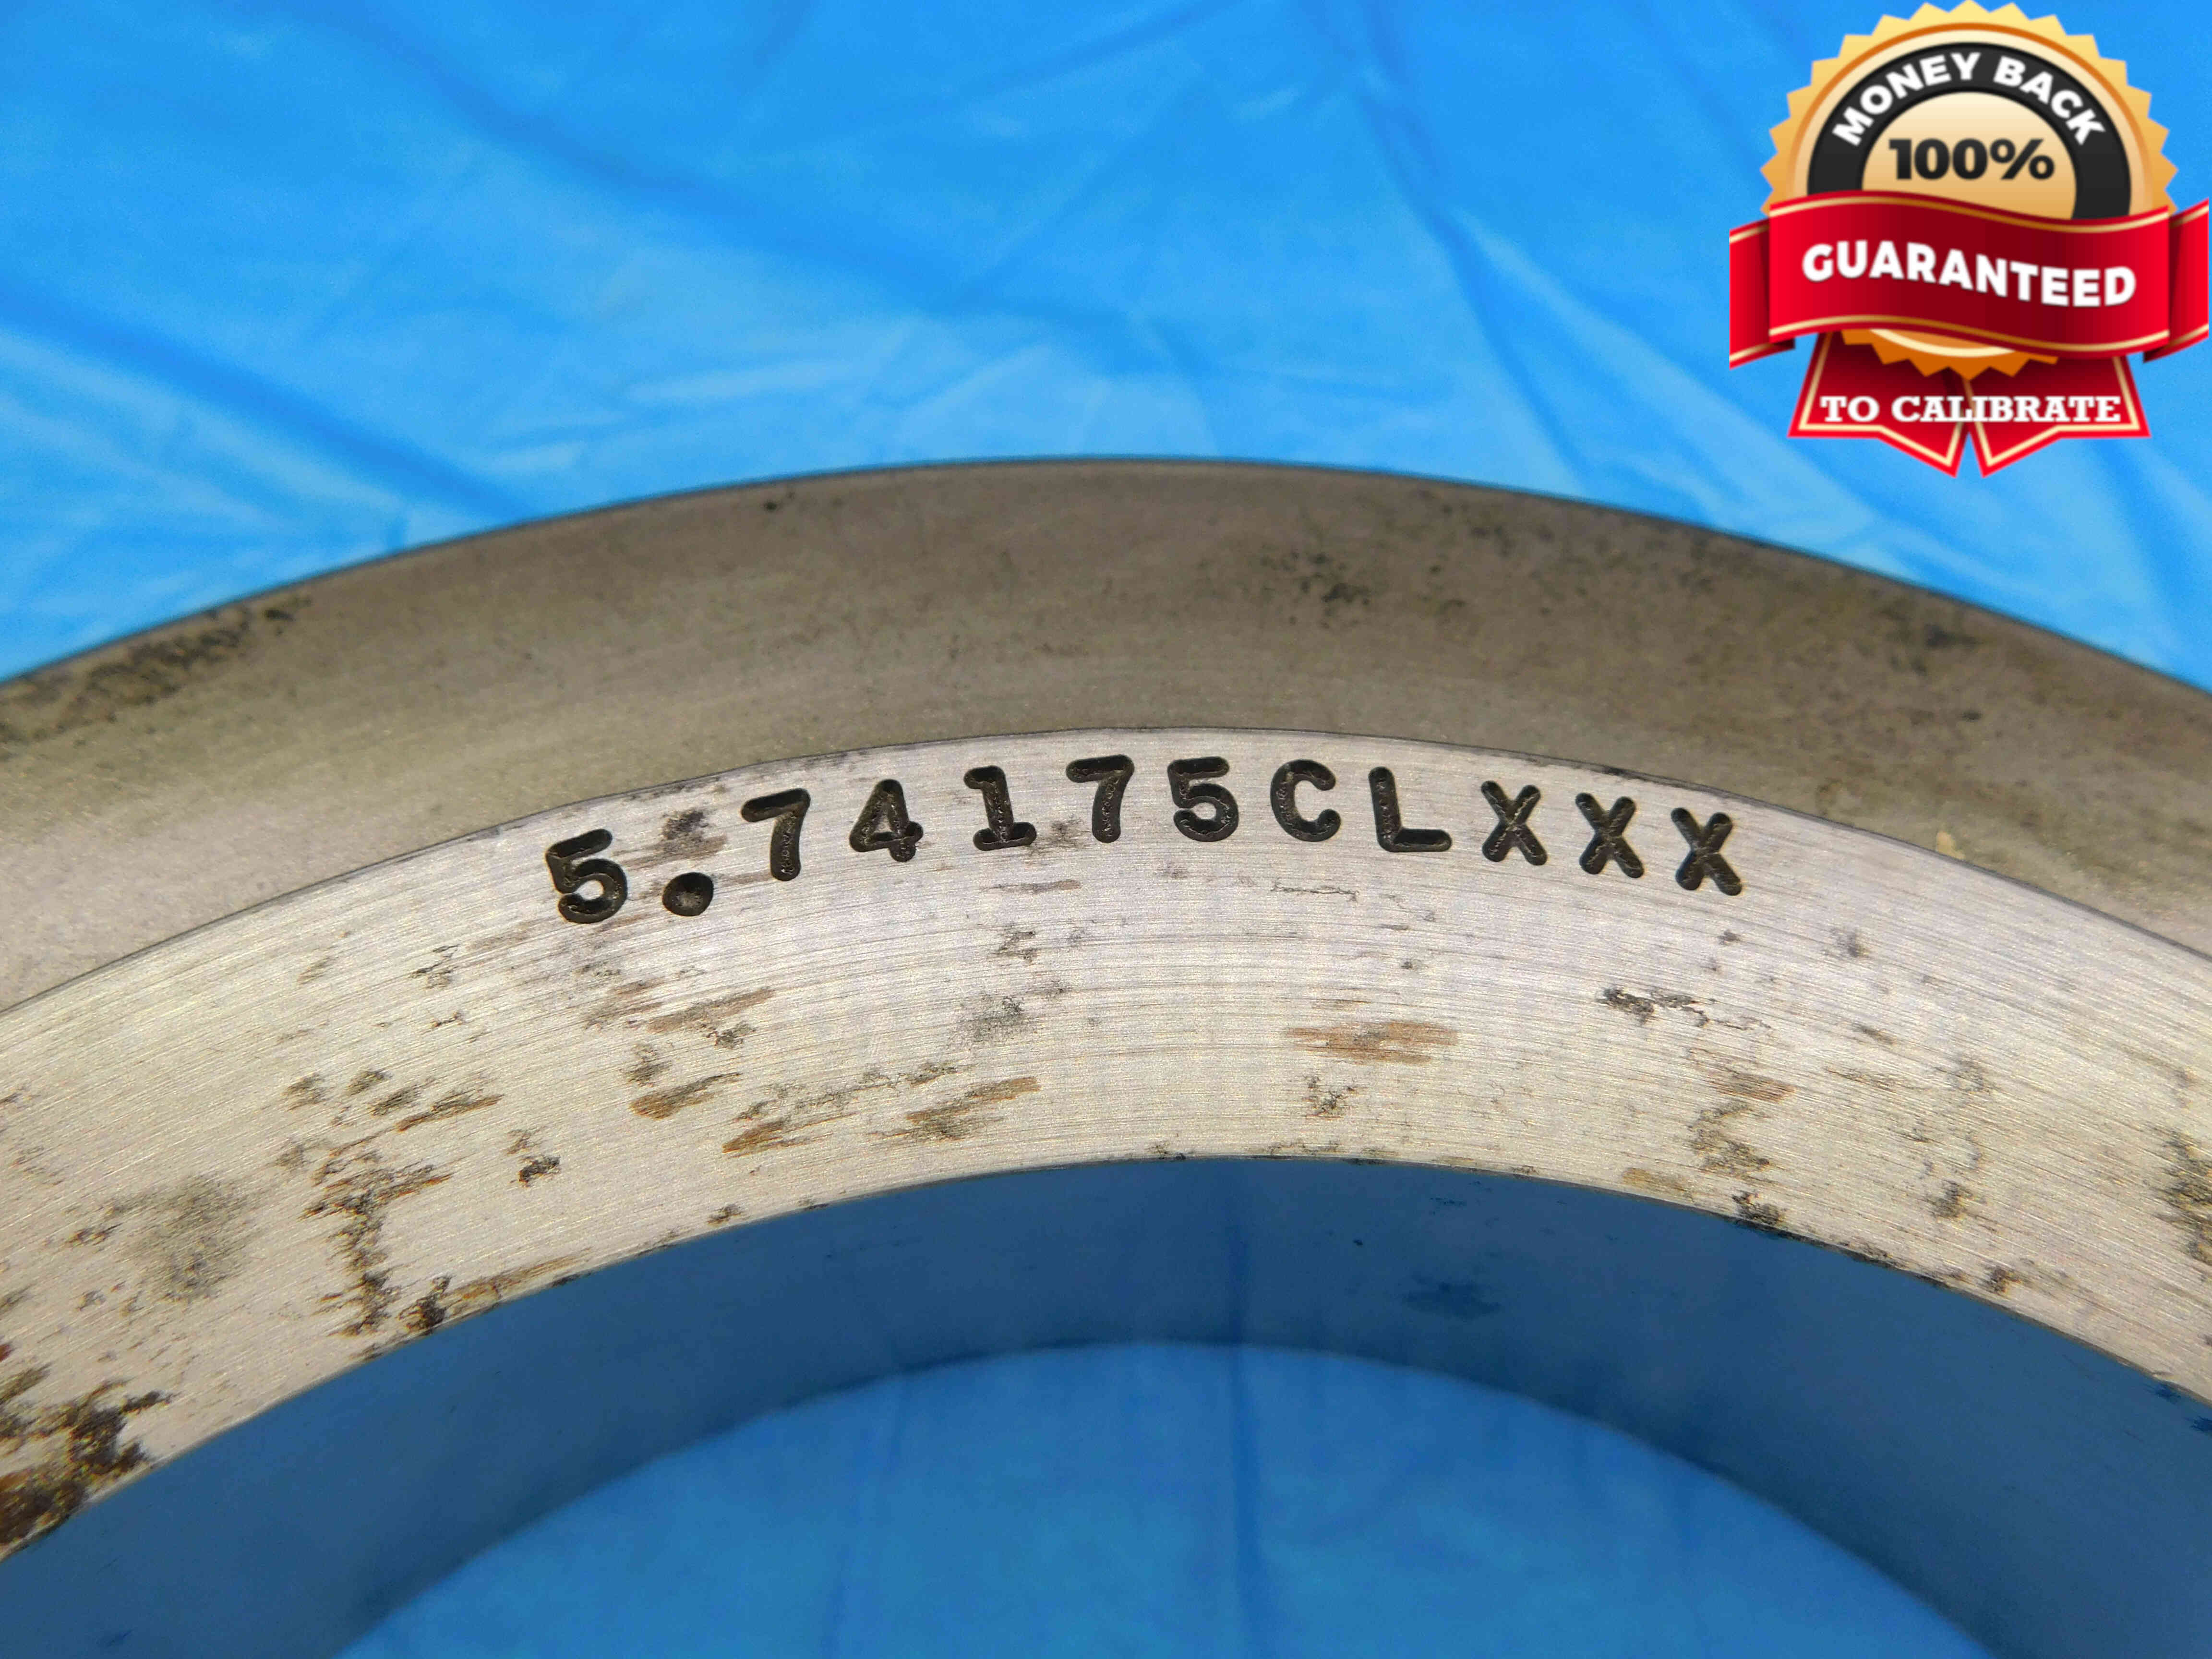
If the I.D. labeling is not clearly readable in this picture for any reason (such as on a large ring where the picture has to be zoomed out too far to be clearly legible), you will need to take a second picture with a close-up of the labeling such as in the 3rd example below.
If there is any damage to the gage - especially to the inside bore - you will need to take an additional picture clearly showing the damage, using a pen to point to the damaged area. If you believe you may need additional pictures for any other reason, contact your trainer to verify if it is necessary.
Refer to the examples below:
Watermarking Plain Gage Pictures
You have probably noticed that the example pictures shown above are watermarked with a "Guaranteed to Calibrate" badge. Be sure to select the Gage watermark option when running your pictures through the Batch Image Tool.
One brand to look out for is Vermont Gage, often abbreviated as VTG. These gages are more sought after due to their perceived higher quality and will often be worth more. If the gage does not have a labeled brand, click the "Unlabeled" button to the right of this cell. Make sure that this cell is not left blank, or the listing will not upload properly. Note: Items are often labeled with the country of origin (USA, China, Japan, Poland, etc). This should NOT be entered as the brand, and furthermore should not be included in the listing at all EXCEPT for USA which can be used as a filler.
It should be fairly obvious if a gage is metric, since the size will be labeled with an "M" or "mm". Simply enter the letter Y in this cell if the gage is metric, or an N if it is not metric. Entering a metric gage as non-metric (or vice-versa) will lead to incorrect pricing and other errors so always double check that this is correct.
Outer Diameter (O.D.) / Inner Diameter (I.D.)
The Outer Diameters (plug gages) and Inner Diameter (ring gages) are the most important aspect of a plain gage. This information will always be labeled for you and should be entered exactly as it appears on the gage - do not round, add or remove extra zeroes, or make any other changes to the labeled size.
For plug gages, you will often have two O.D.'s - a "Go" O.D. and a "No Go" O.D, which are entered in separate cells in the template. The two O.D.'s will usually be labeled as "Go" and "No Go", but if they are not, the sizes themselves will tell you which is which - the "Go" O.D. will always be the smaller number, and the "No Go" O.D. will be the larger number.
If a plug gage only has a single member, the O.D. should be entered in the first "O.D." cell regardless of whether it is Go or No Go, and the "No Go O.D." cell should be left blank.
A gage's Class refers to its tolerance - in other words, how far in either direction the actual O.D. / I.D. measurement can vary from the labeled size. This is a very small number (as low as .00001") which is represented by a letter - XXX, XX, X, Y, Z, or ZZ, with XXX being the smallest variance and ZZ being the largest.
The class may be notated in the labeling along with the word "Class", the abbreviations "CL" or "Tol" (Tolerance), or just the class by itself. If the class is not labeled, this can be left blank as there is otherwise no way for us to determine this information.
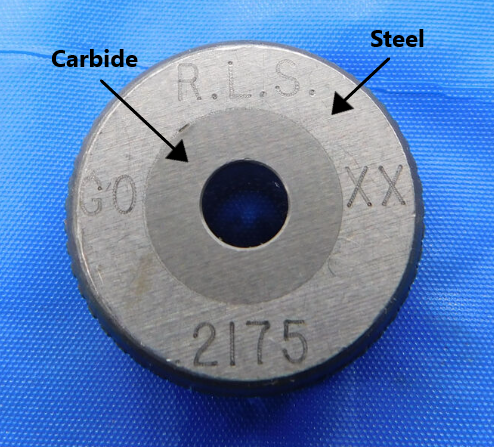
While most plain gages are made from tool steel, you may occasionally encounter one that is made from carbide. Carbide is much harder than steel and is preferred for certain applications due to its increased resistance to wear and heat.
Carbide has a darker, less shiny appearance than steel and is much heavier, which will usually be the most obvious indication that an item is carbide. For ring gages, typically only the center of the ring will be carbide and the rest will be steel, such as in the picture below:
Contact your trainer if you are not sure whether or not a gage is carbide.

Every slot has a Condition box as shown in the picture above. When listing plain gages, always select one of these five conditions - this will impact the pricing of the gage, and there can often be a big difference in price range from Excellent to Budget.
This is a mostly subjective decision which does not necessarily have one correct answer. The most important thing to consider is the condition of the plug gage members / ring gage inside bore. Damage to a plug gage handle, or rust / scribing on the face of a ring gage should also be taken into consideration, but are not quite as important. Contact your trainer for guidance if you are not sure about the condition of a plain gage.
The "Filler" section is used to add other relevant information to the title which is not covered by the other sections. Plain gages typically do not require any fillers, but you may occasionally run into special gages with uncommon properties that need to be added to the listing - for example, if a gage is chrome-plated, "Chrome" should be entered as a filler so that it is included in the title.
General fillers that can be added to any plain gage with extra title space include "Setting" for rings and "Inspection" for plugs. "Check" also works well as a general plain gage filler.
Keep in mind that titles have a maximum of 80 characters, and if you are adding fillers you may need to manually remove some information from the title in order to make room. Contact your trainer if your title is over 80 characters and you are not sure what to remove.
Additional Specifications & Special Condition
The Additional Specifications section is used for any secondary labeling or additional measurements that do not fit in the other sections of the listing. For the vast majority of plain gages you will not need to enter anything here, but if there is ever any special aspect of the gage that needs to be described this is the place to do so.
The Special Condition section should be used for any special notes about the item's condition such as damage or modification. Try to be specific when describing the condition, and reference pictures that point out the damage / modification if applicable. Like the Additional Specifications section, for most plain gages this section will be left blank.
Once all information is entered, click here for the next steps.
