
Cleaning Adjustable Boring Bars
Use WD-40 and a Scotch-Brite pad to remove any rust or residue from the boring bar, taking care not to remove any labeling while doing so. Wipe down with a dry rag to remove any excess WD-40 before picturing.
Picturing Adjustable Boring Bars
Click here for info on how to upload pictures
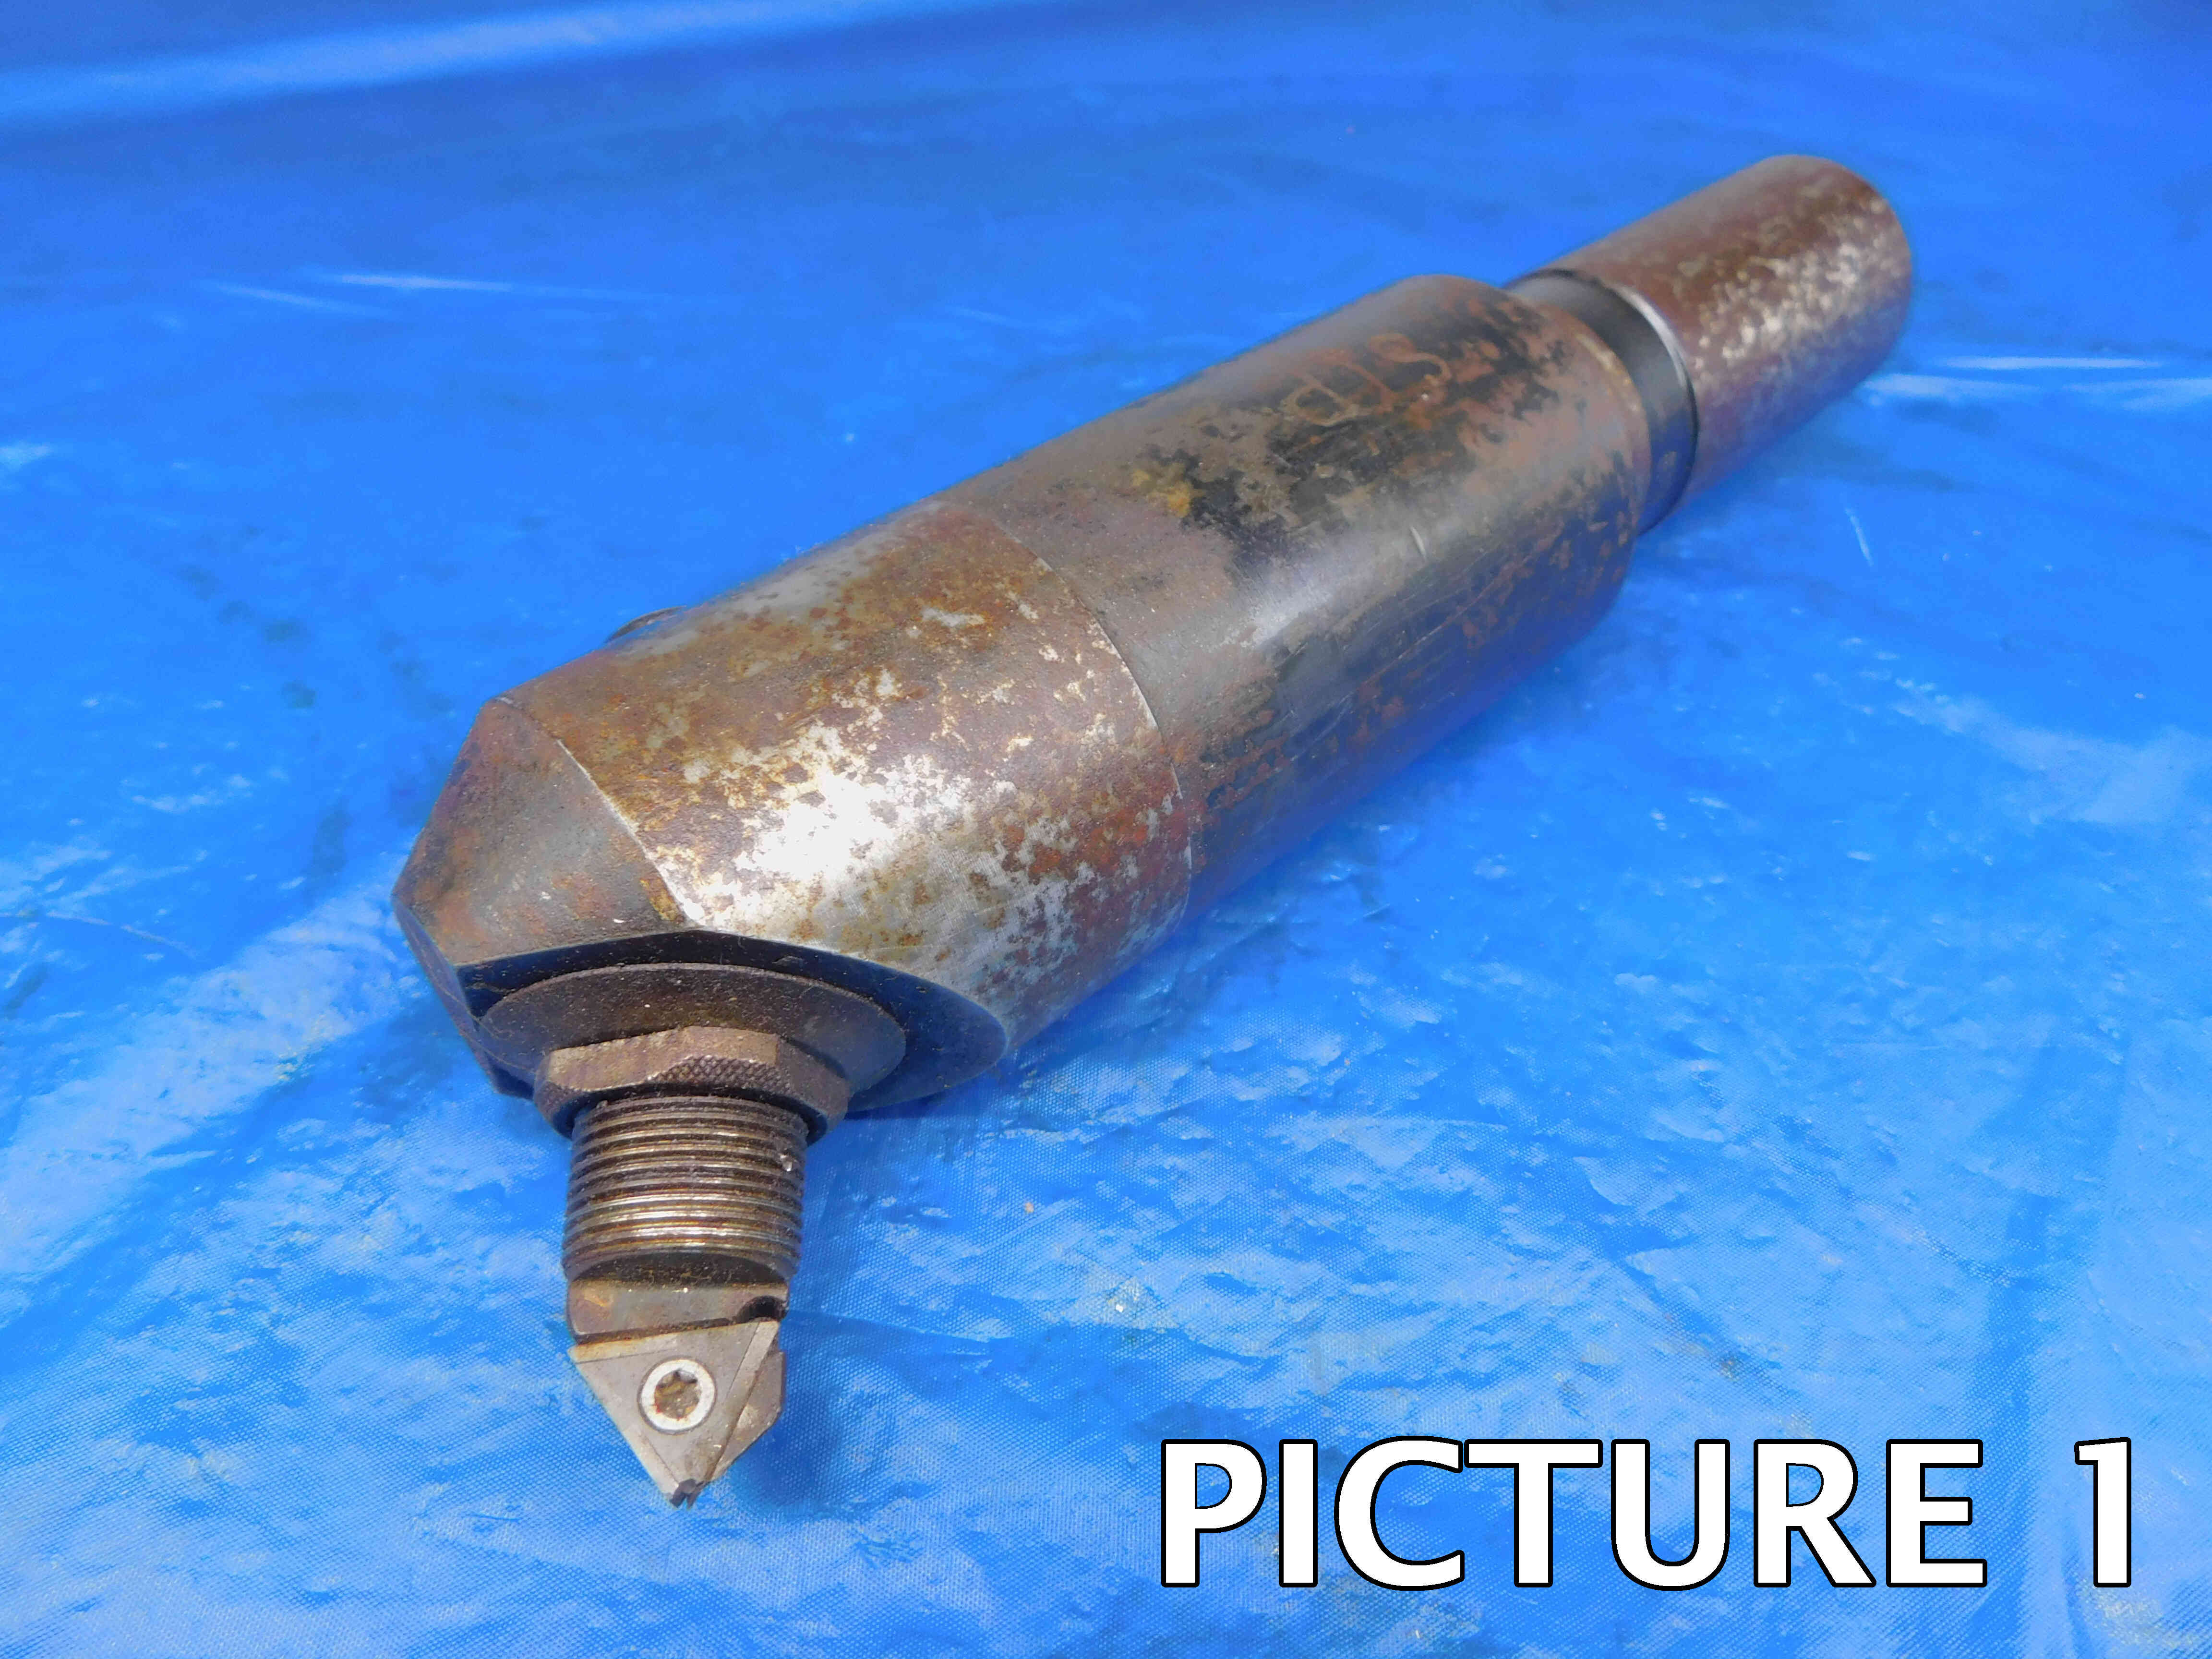
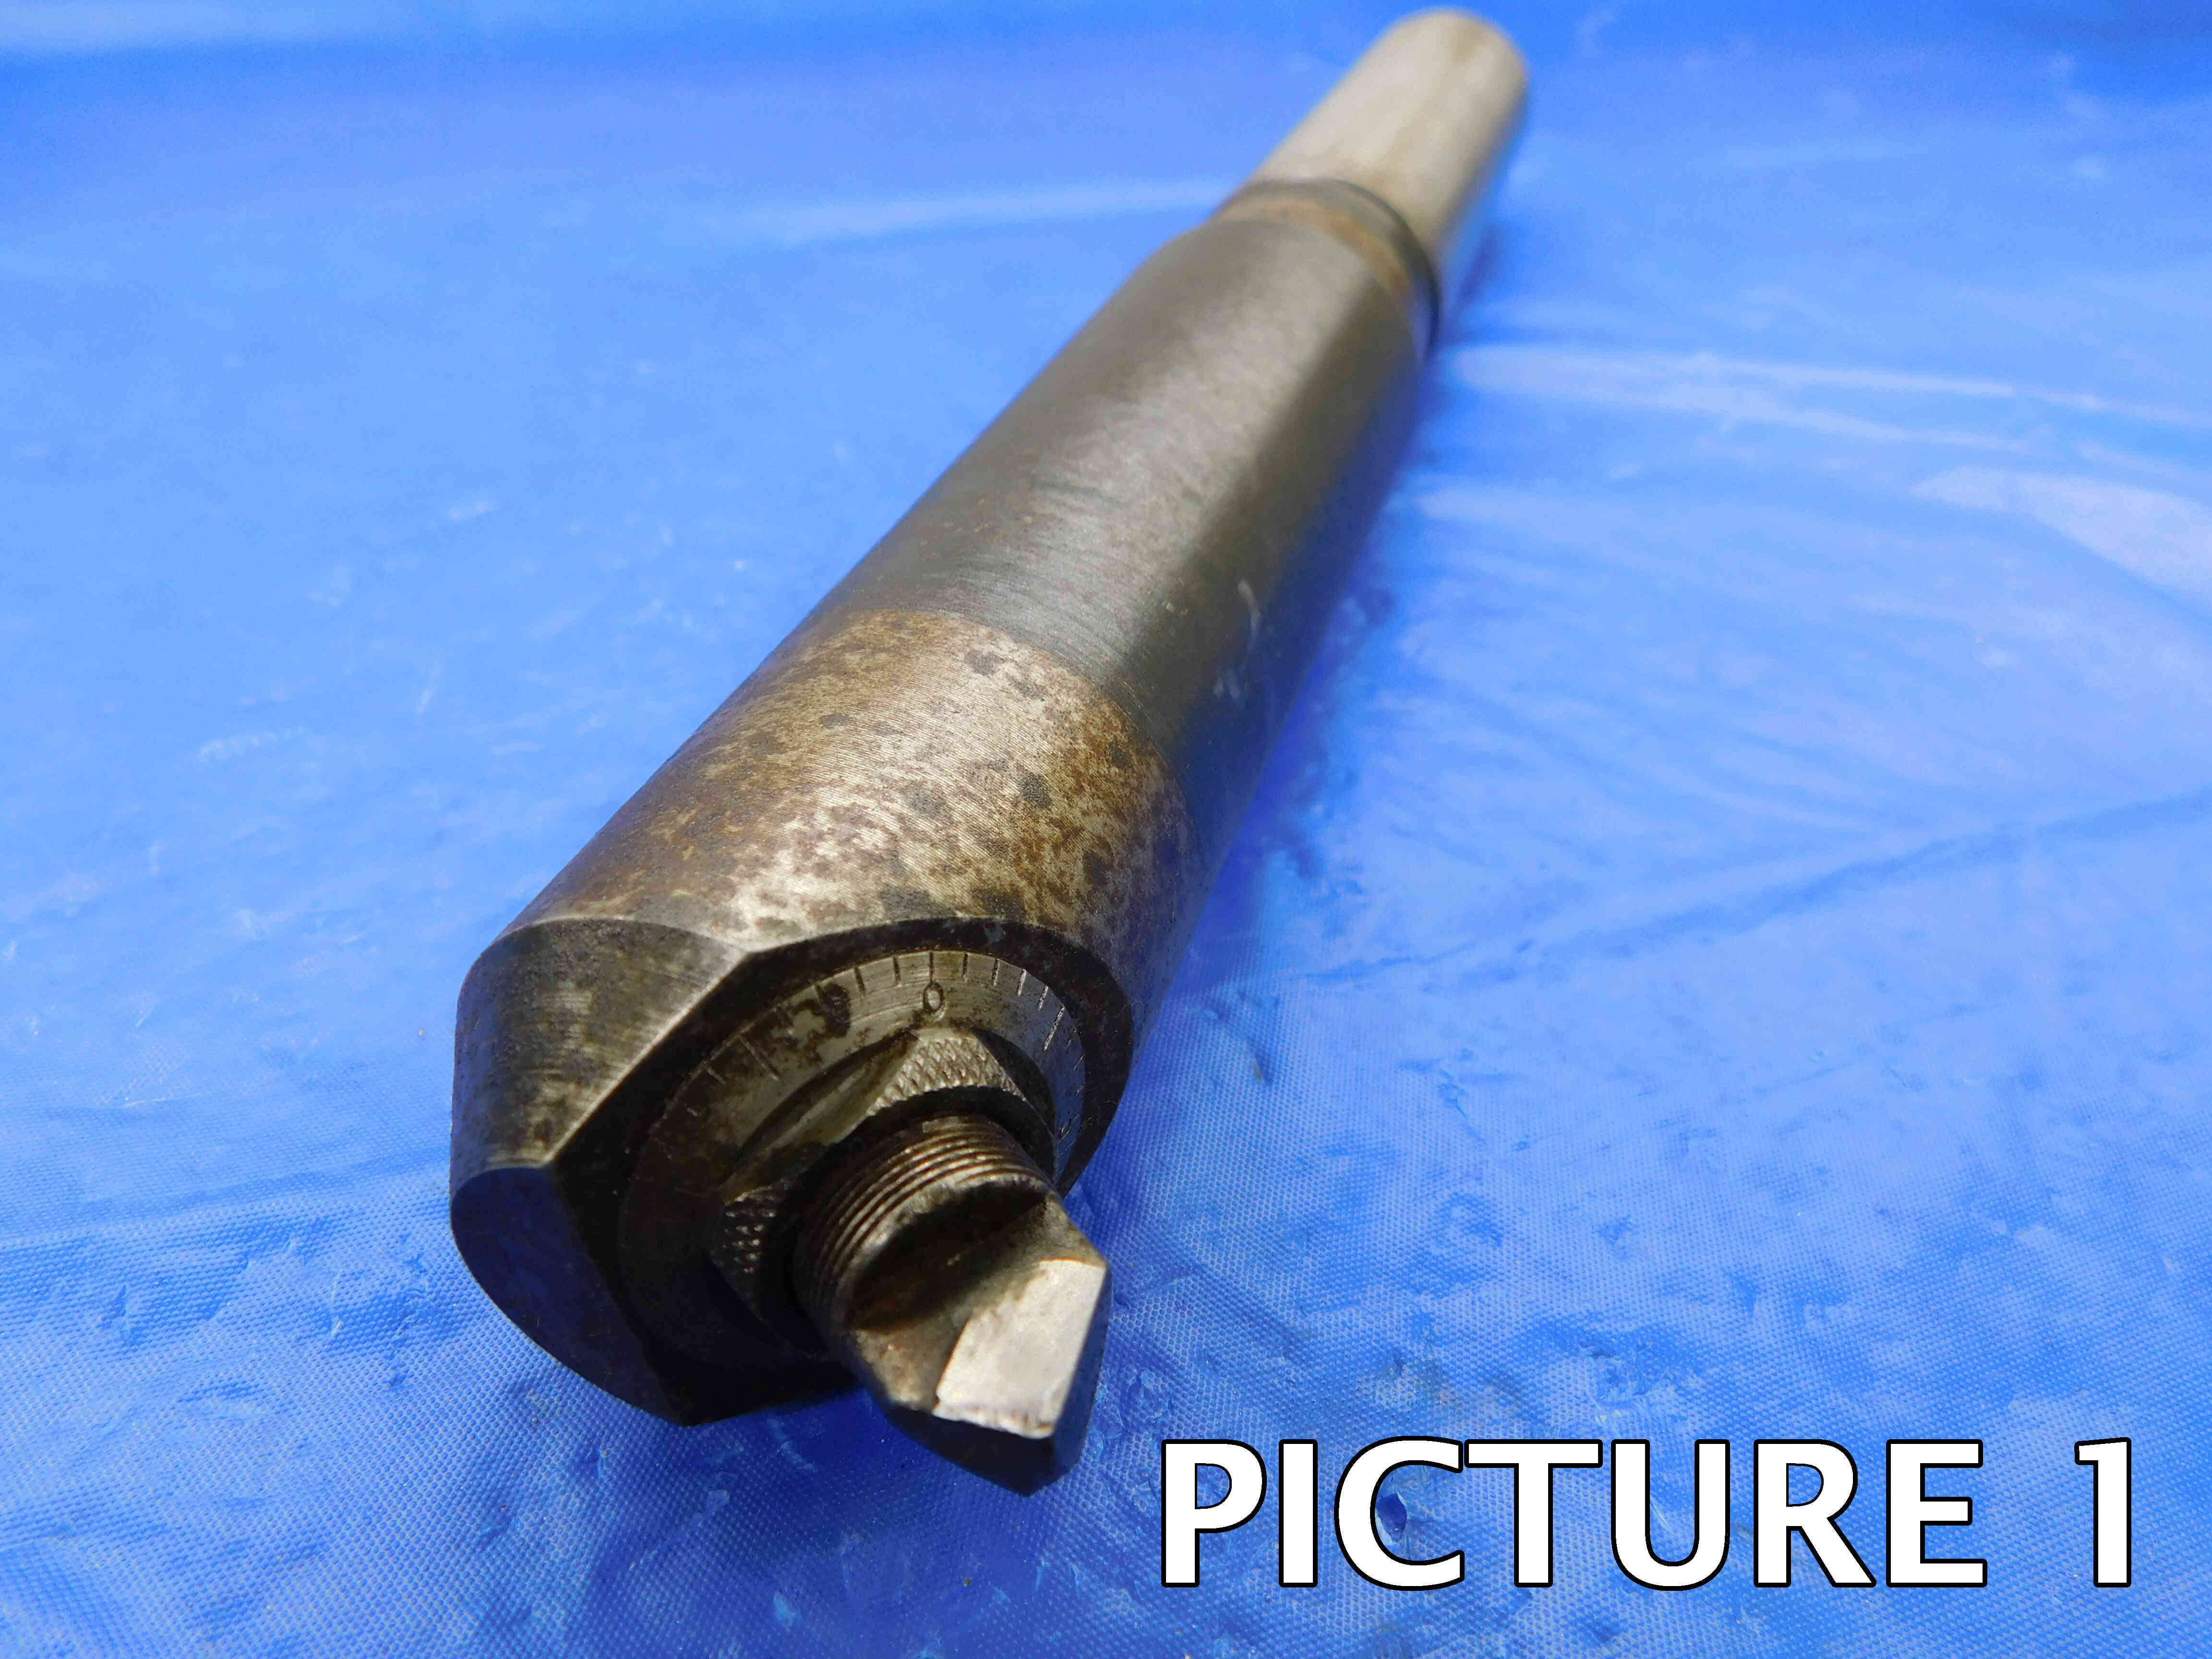
1st Picture: A three-quarters (or "3D") angle of the boring bar, with the working end toward the camera. If there is an insert cartridge, make sure that the insert pocket / carbide tip is fully visible in this picture and that the shape of the insert / pocket can clearly be seen in this shot. Make sure there is sufficient space between the boring bar and the tape measure so that the tape measure is not covering up any part of the boring bar. Any packaging should also be included in this picture.
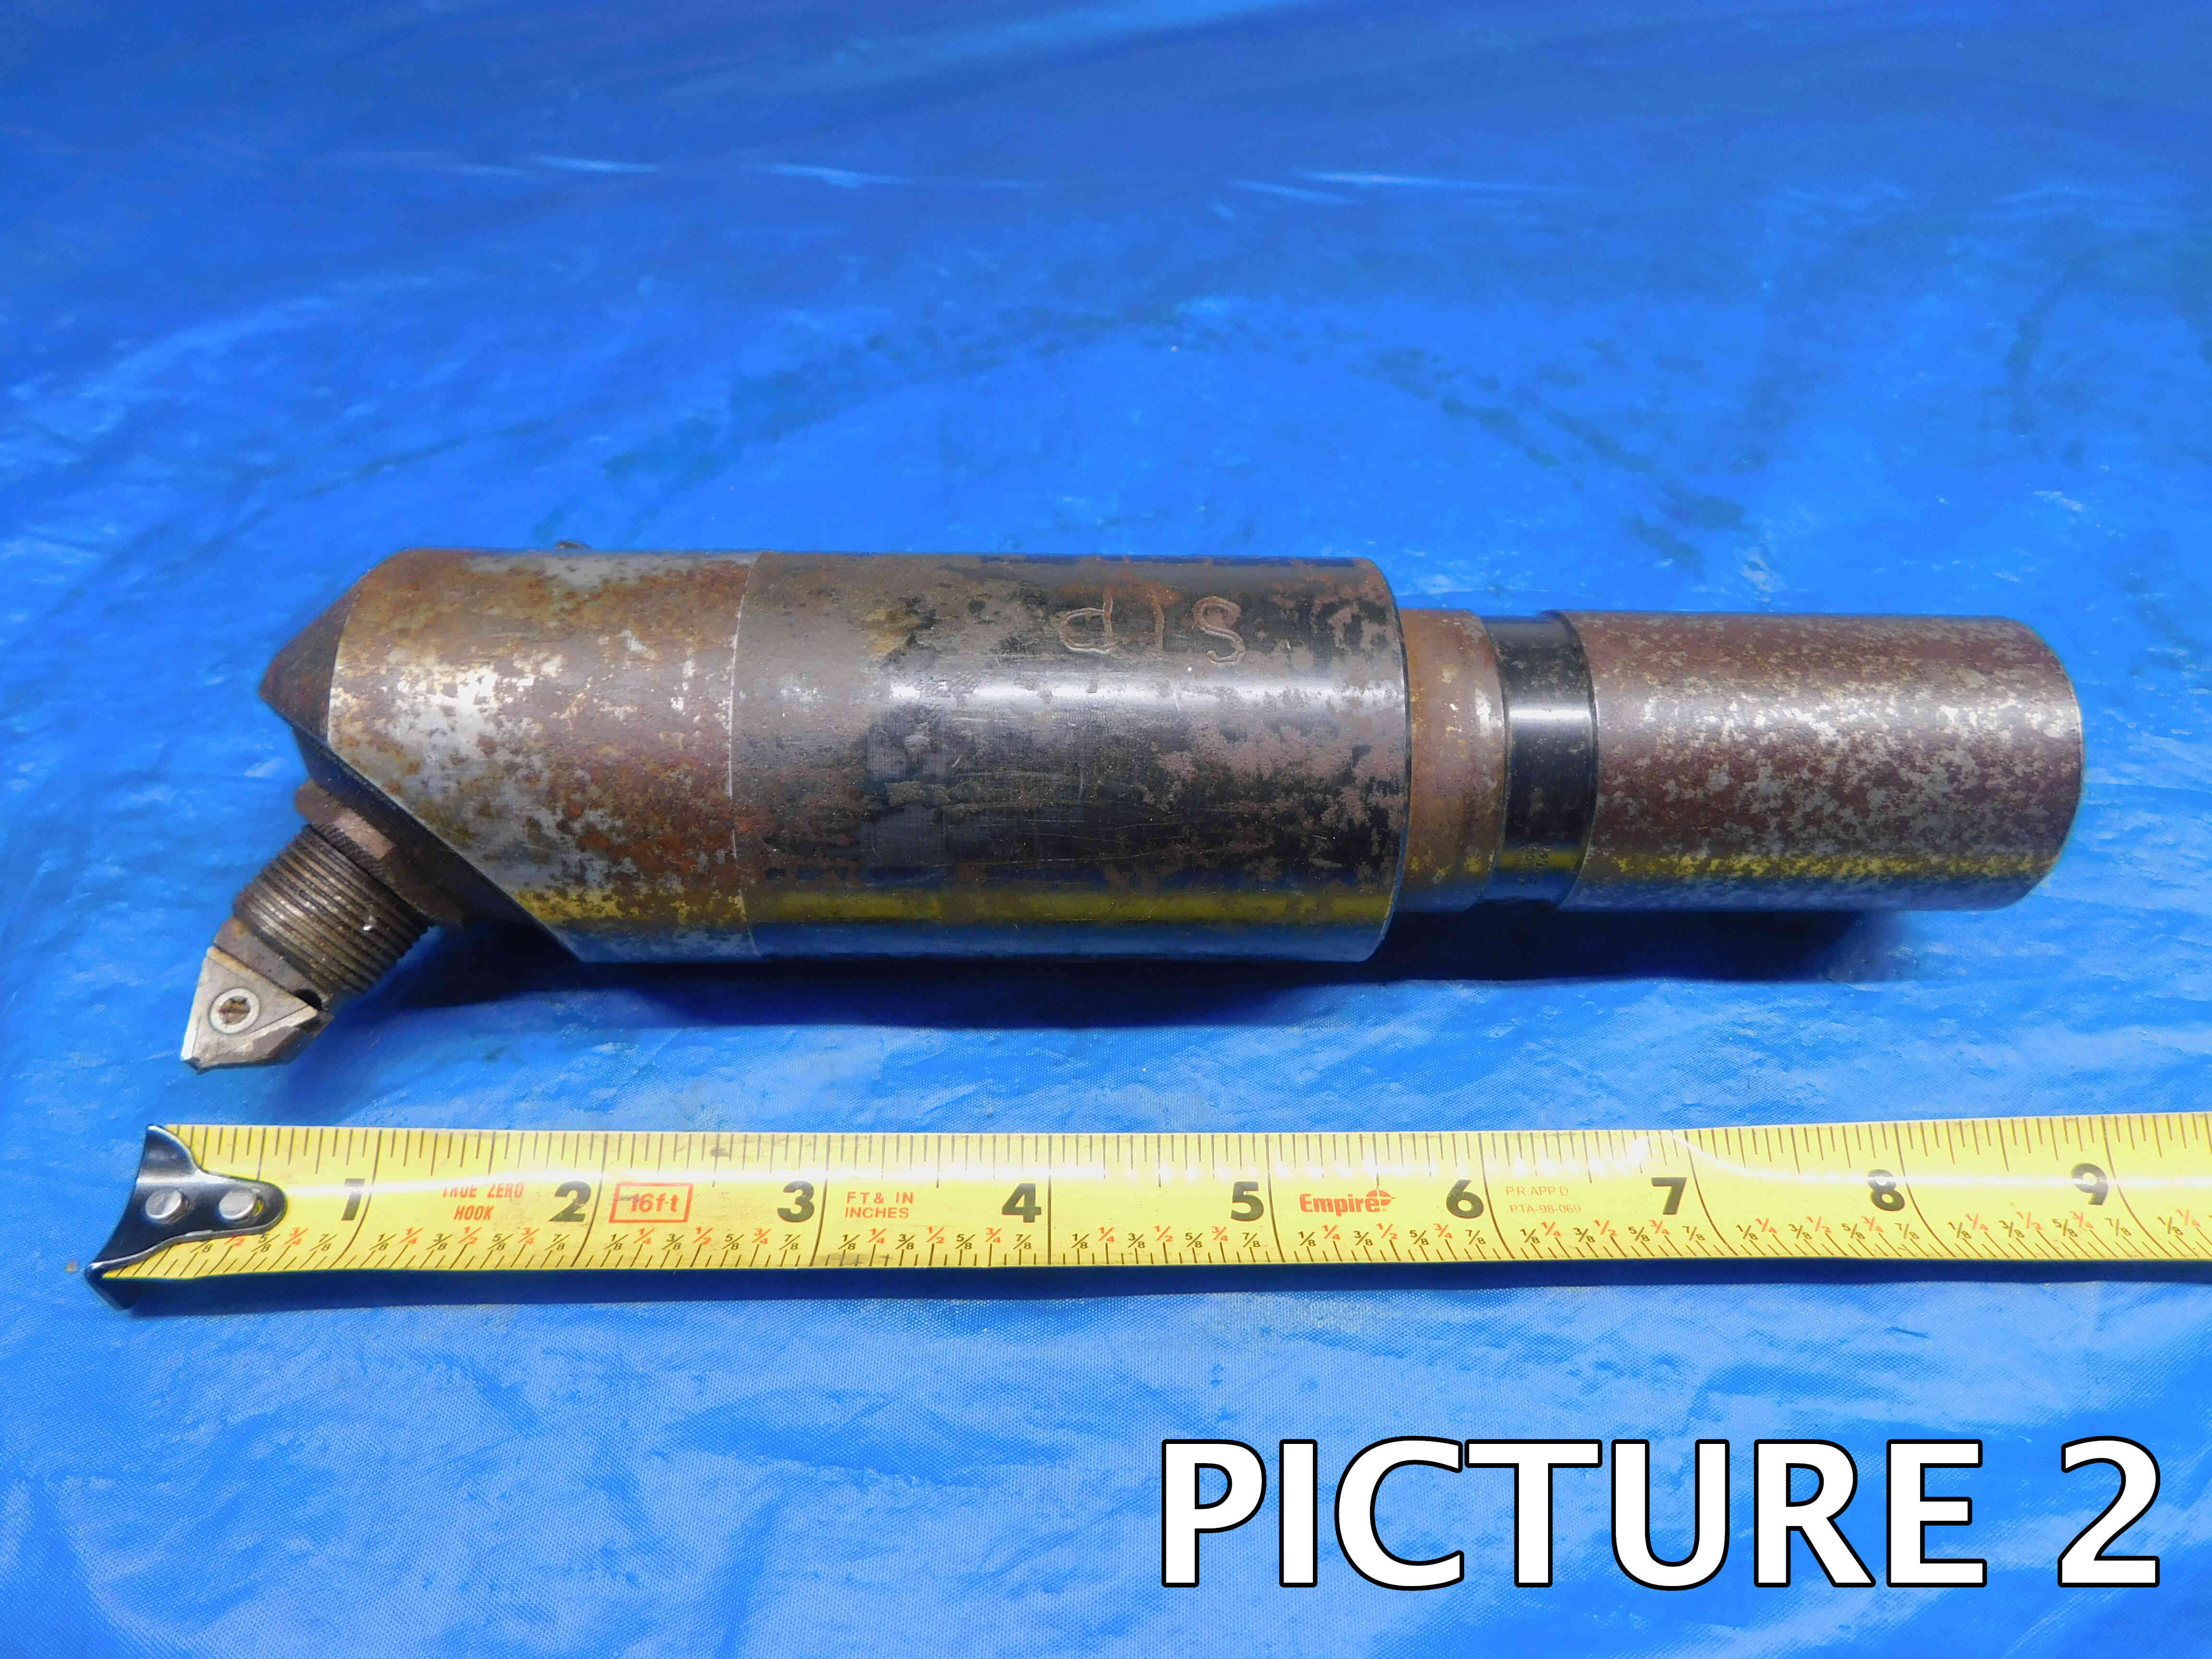
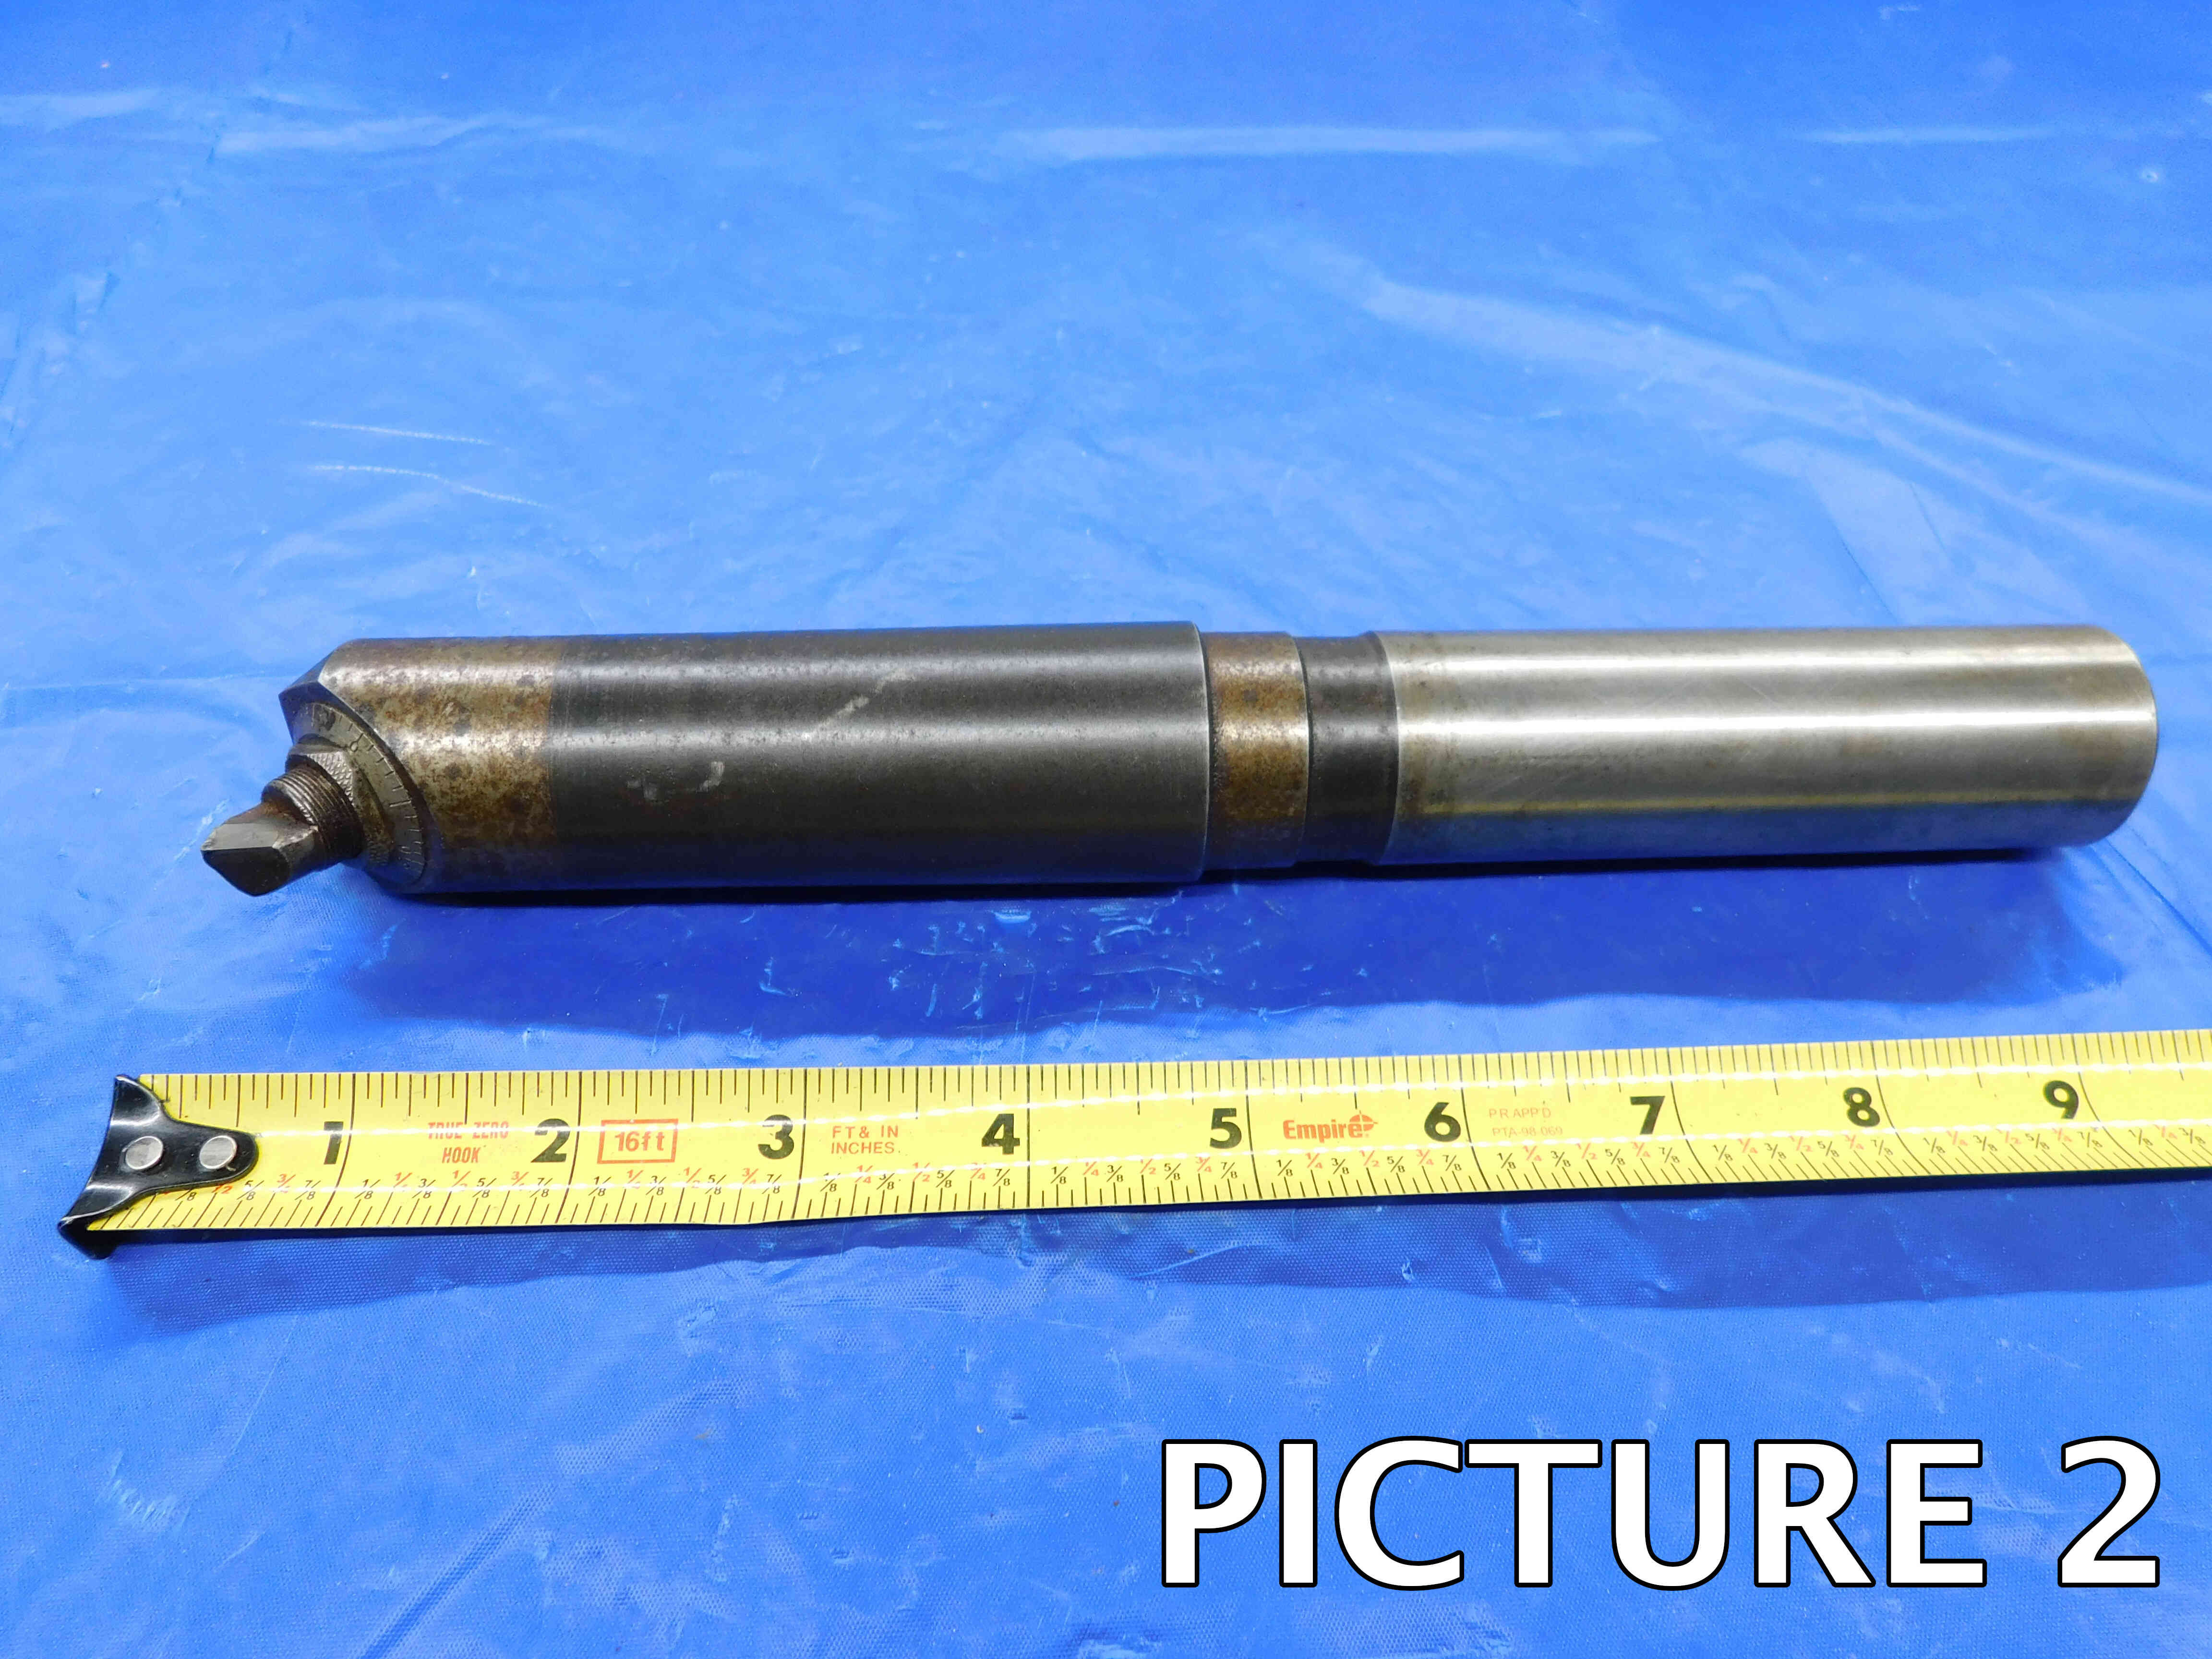
2nd Picture: A side view of the boring bar, with a tape measure at the bottom of the frame to provide size reference. Like the first picture, the insert / carbide tip should be fully visible in this shot, if applicable. If there is labeling on the boring bar, it should be visible and readable (i.e., right-side up) in this picture if possible. Any packaging should be included in this shot as well.
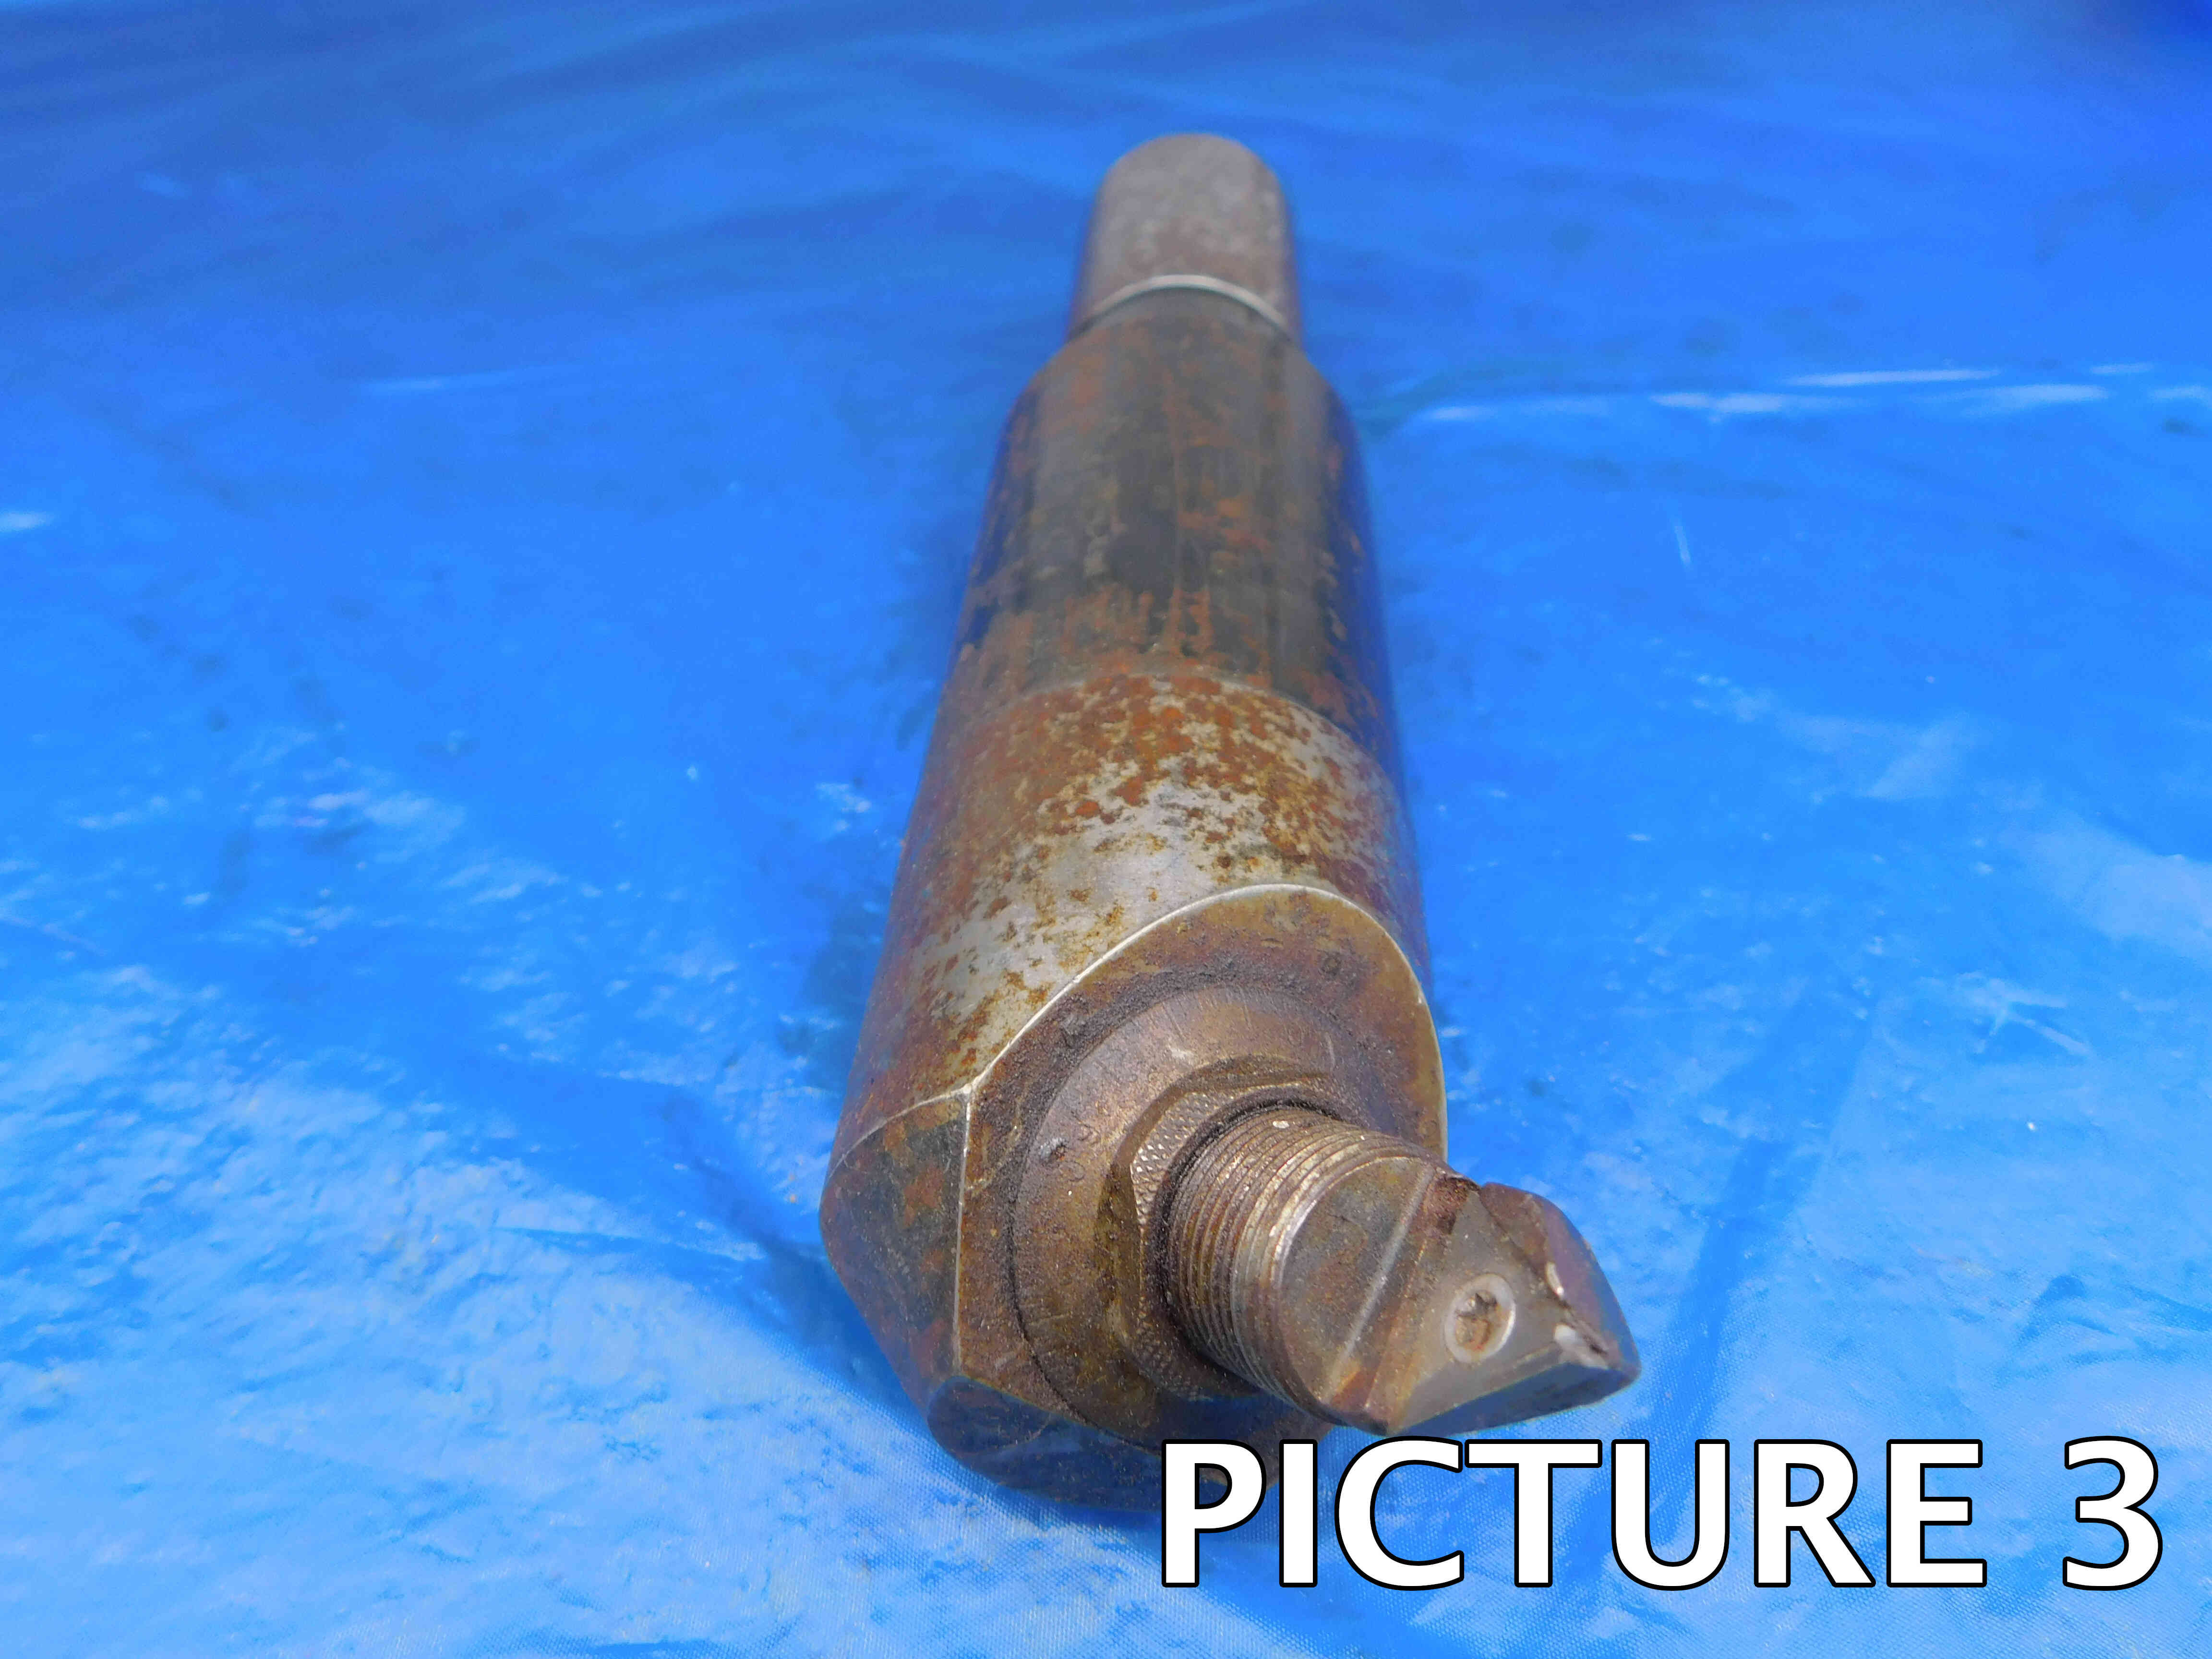
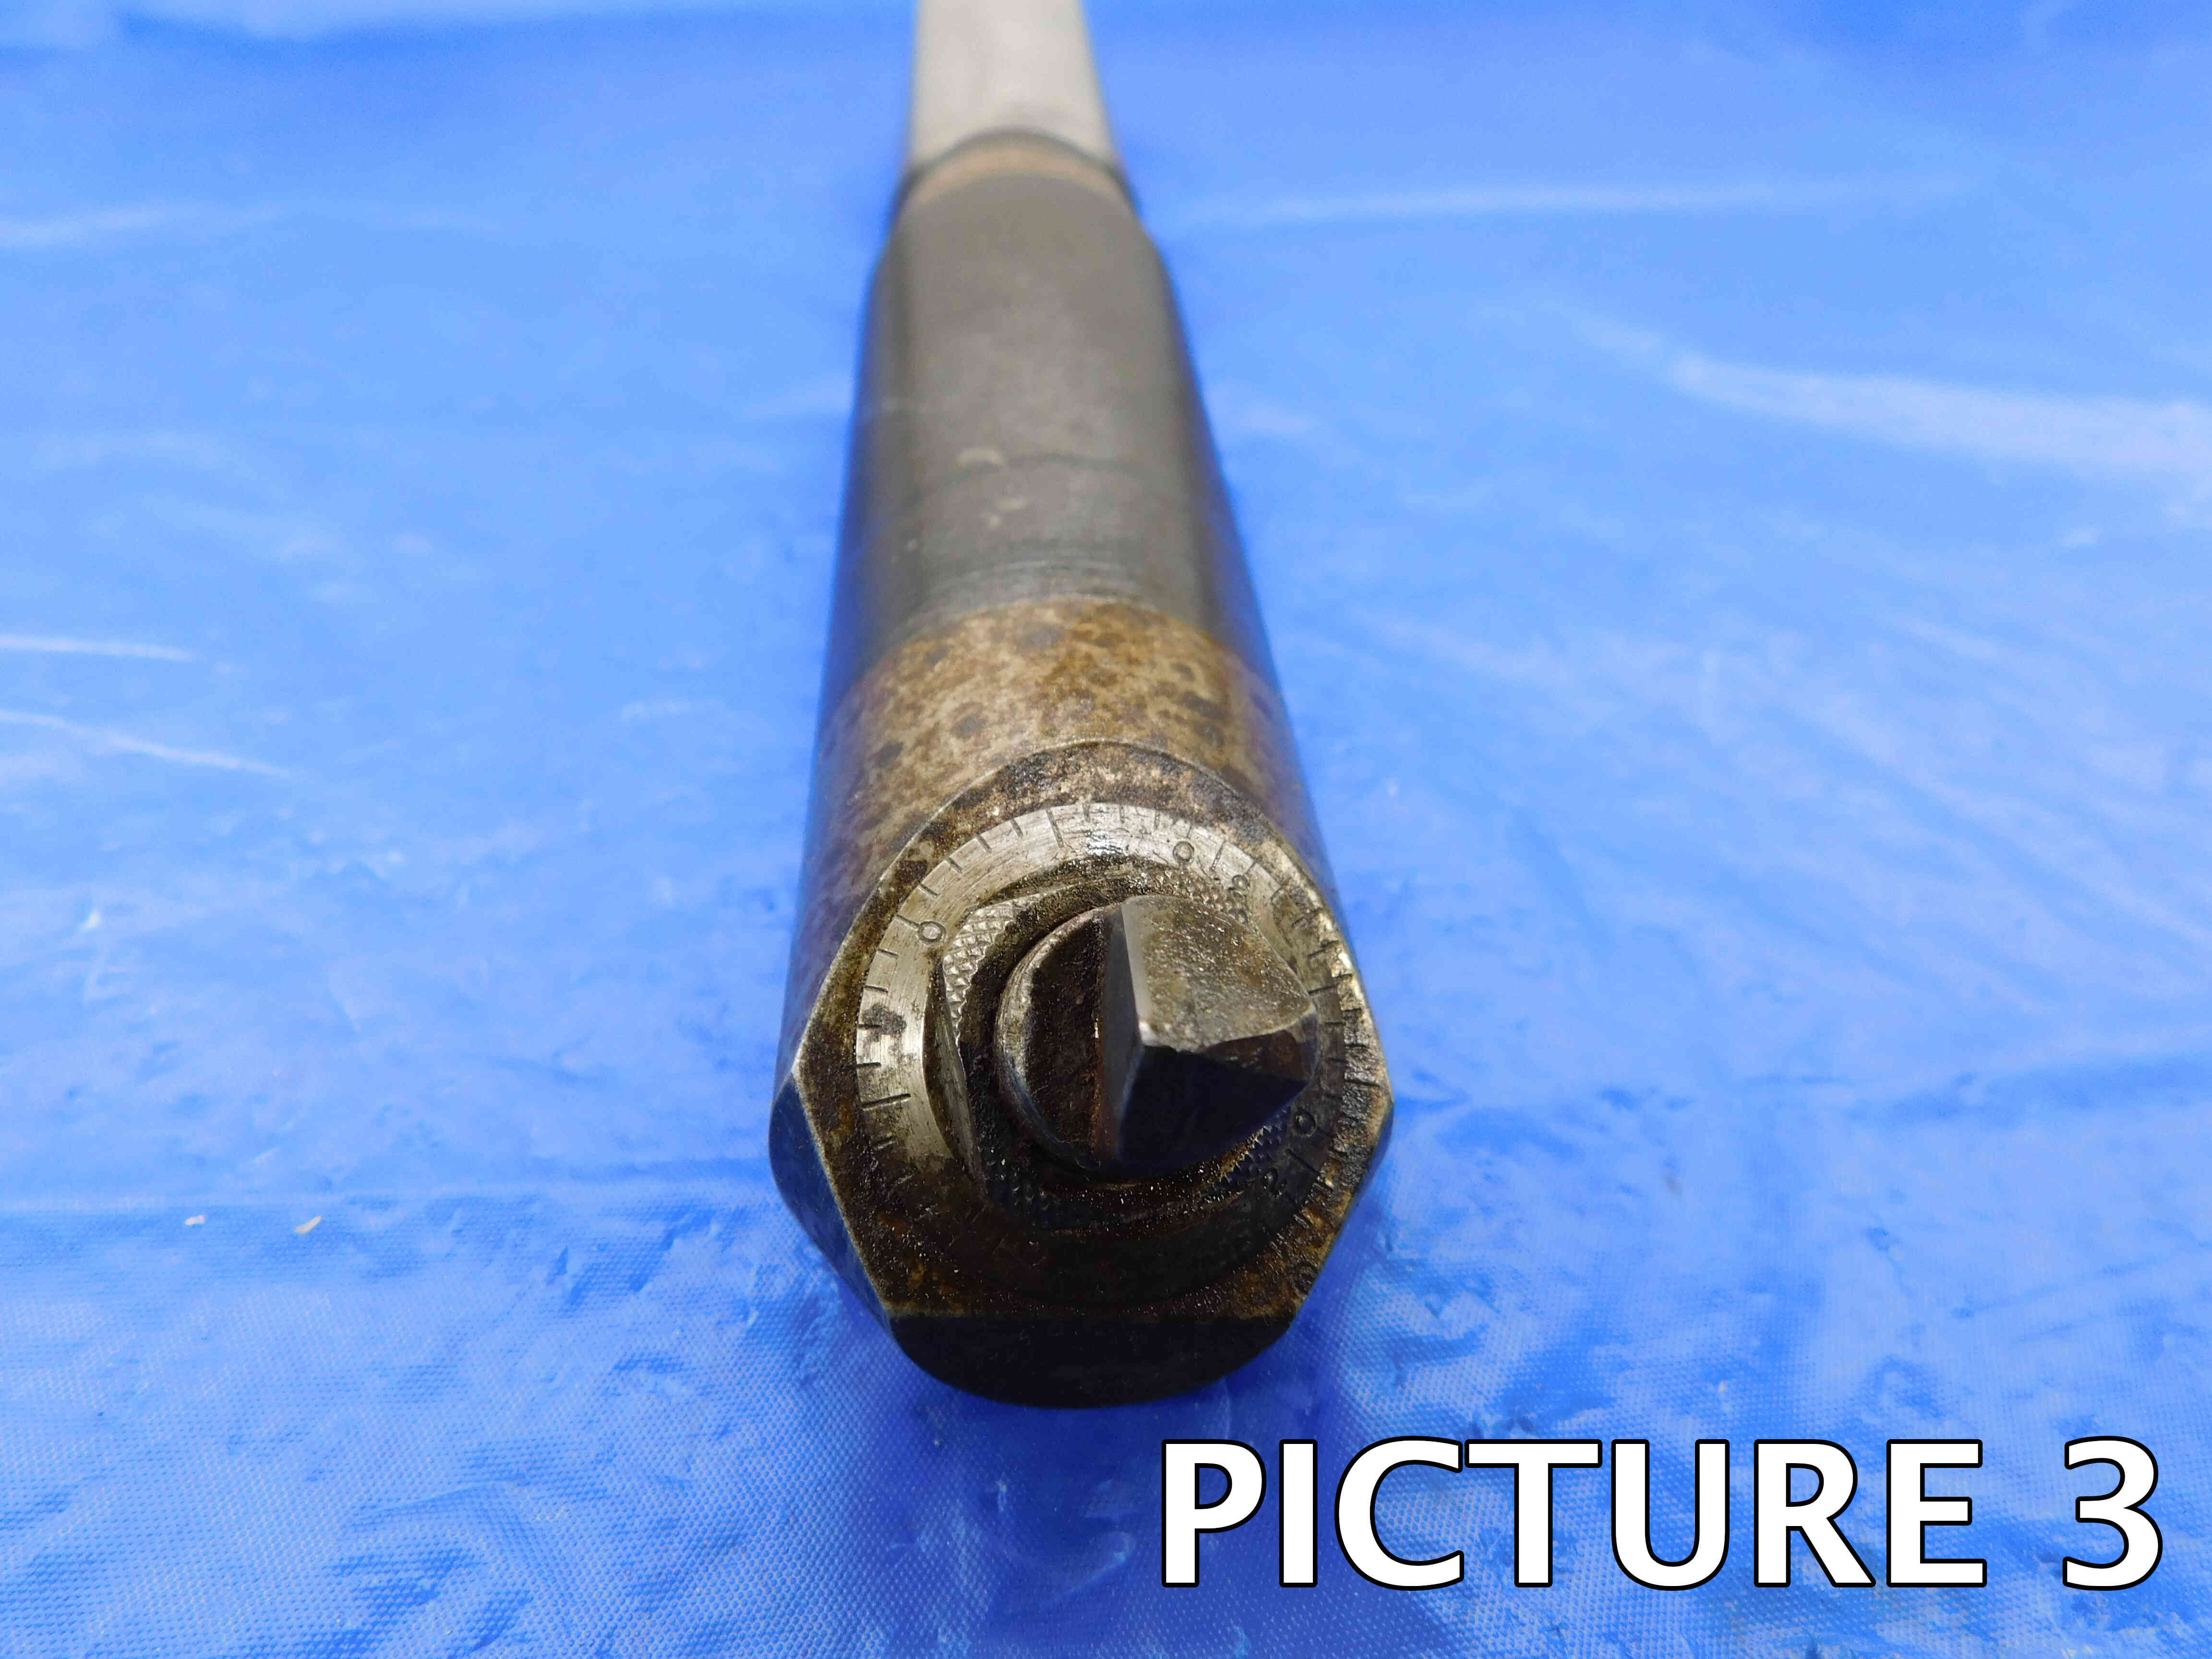
3rd Picture: A close-up, head-on shot of the working end.
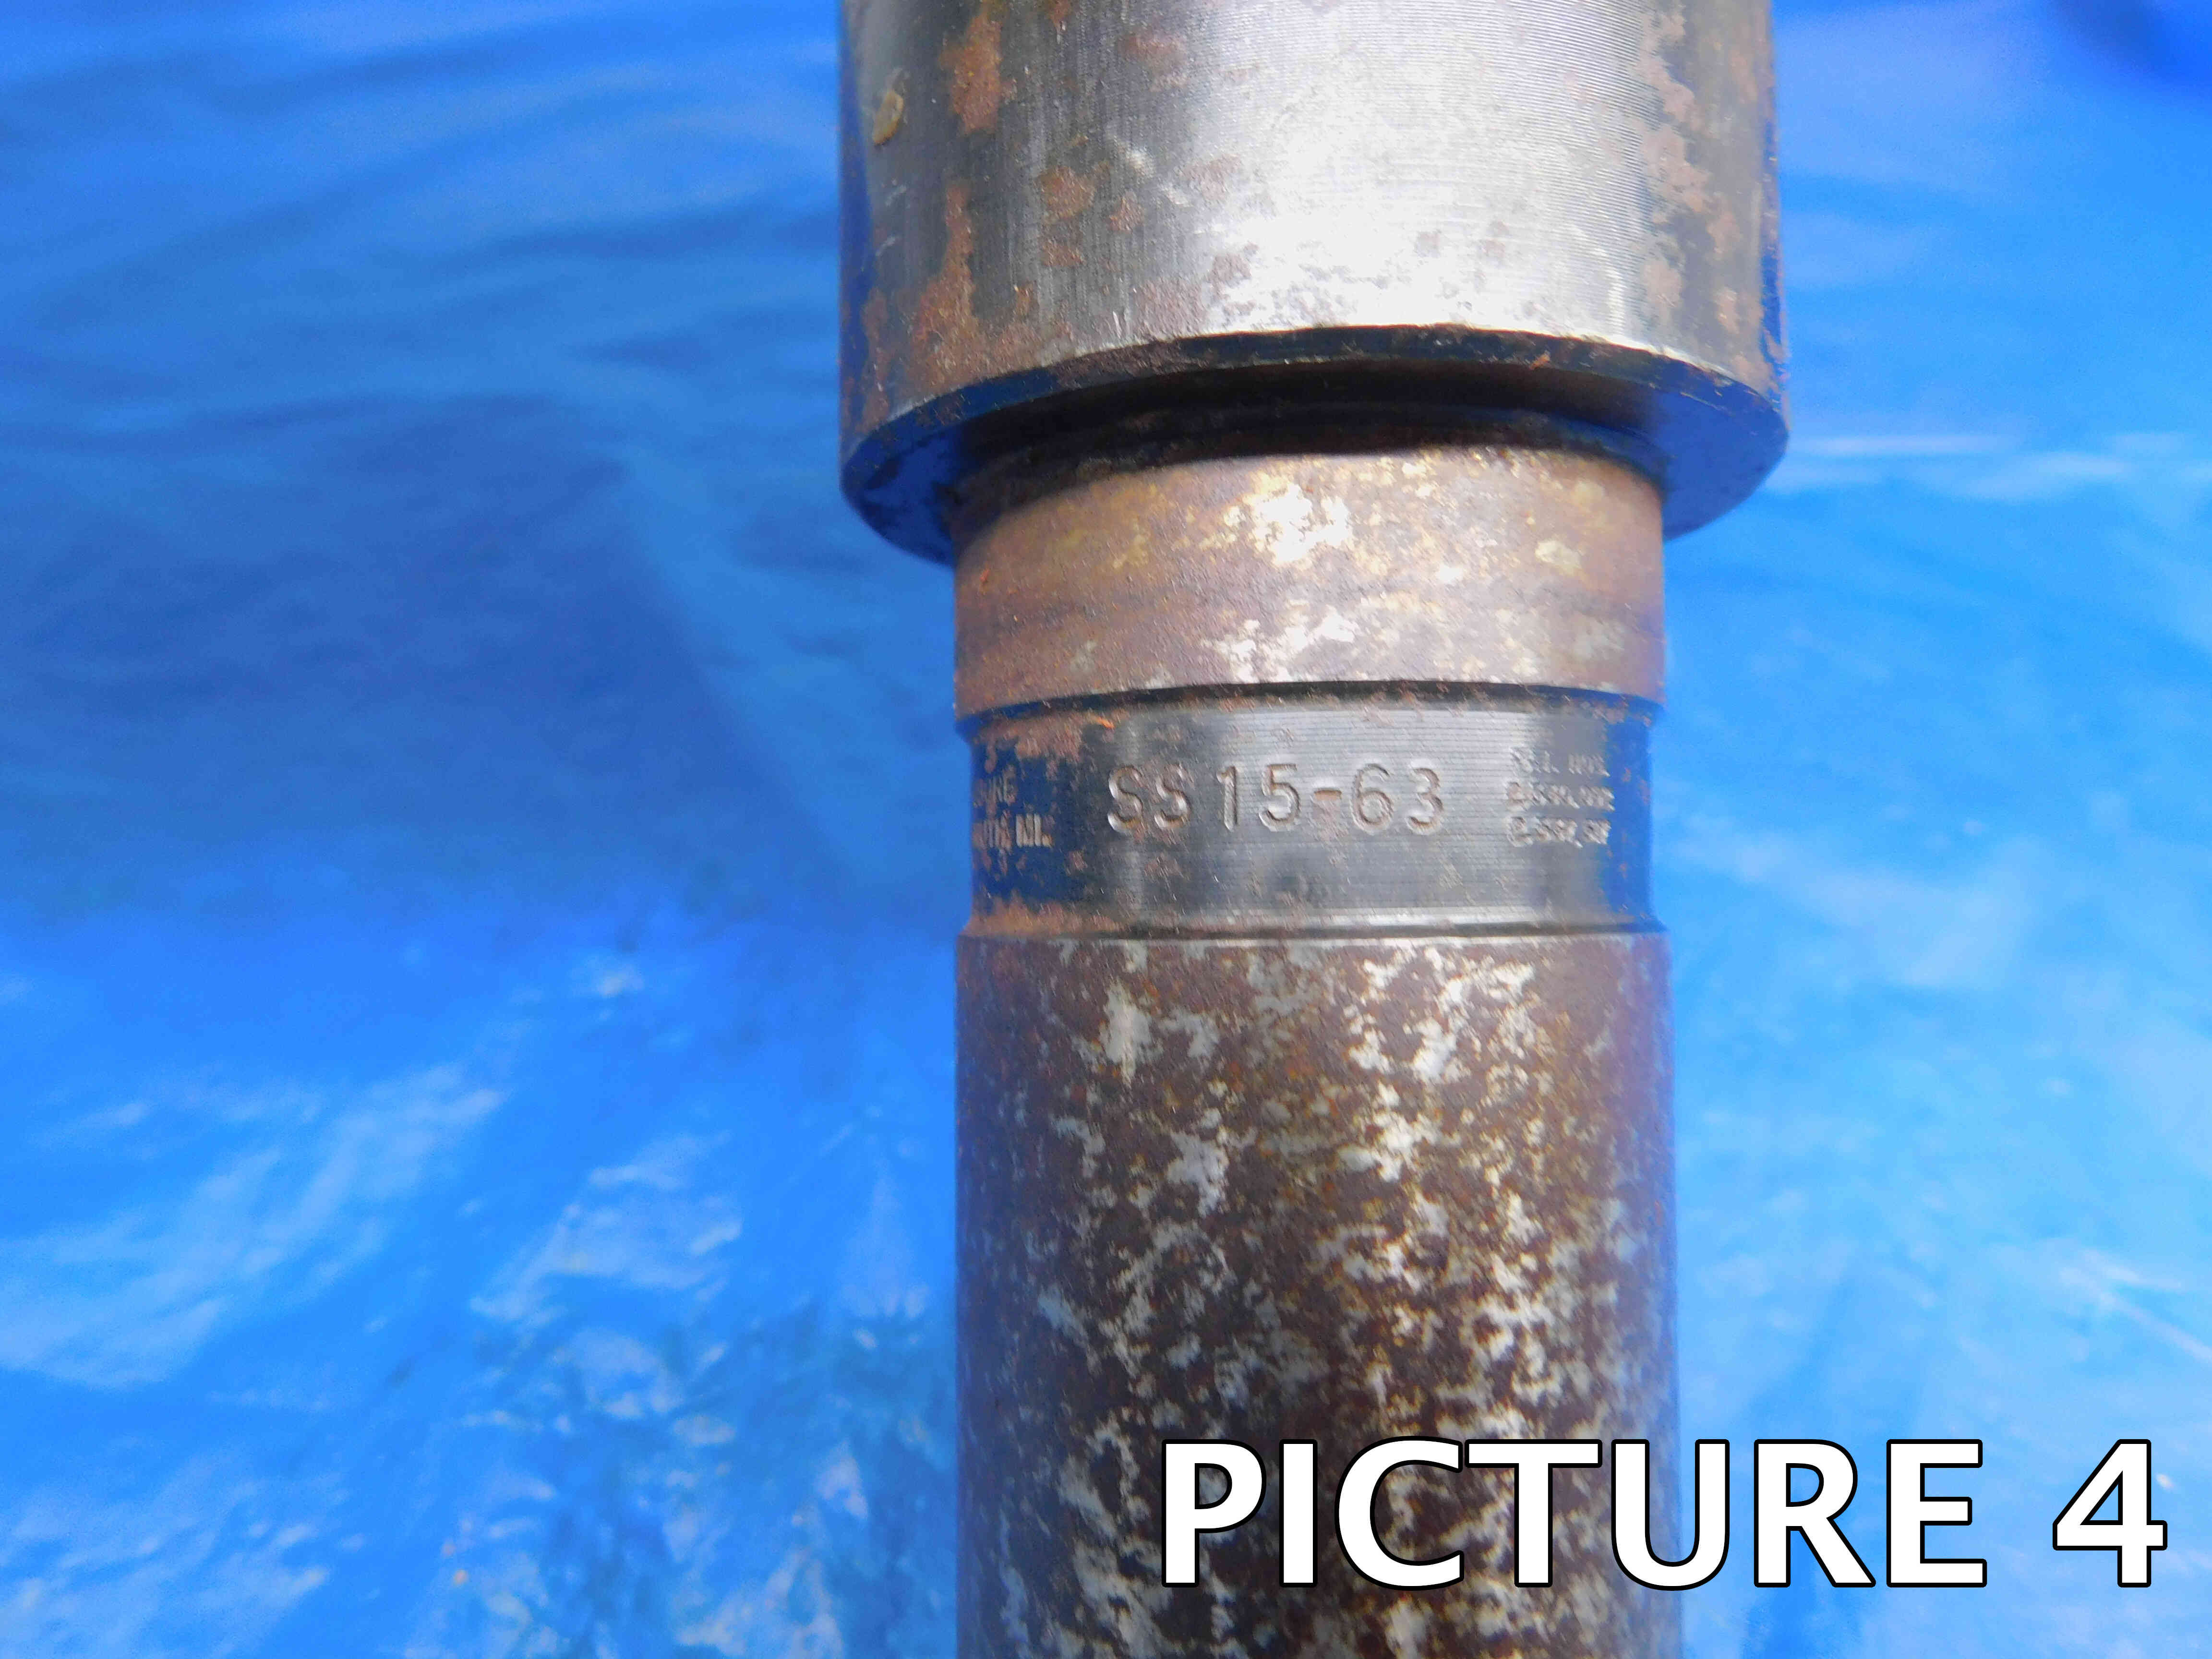
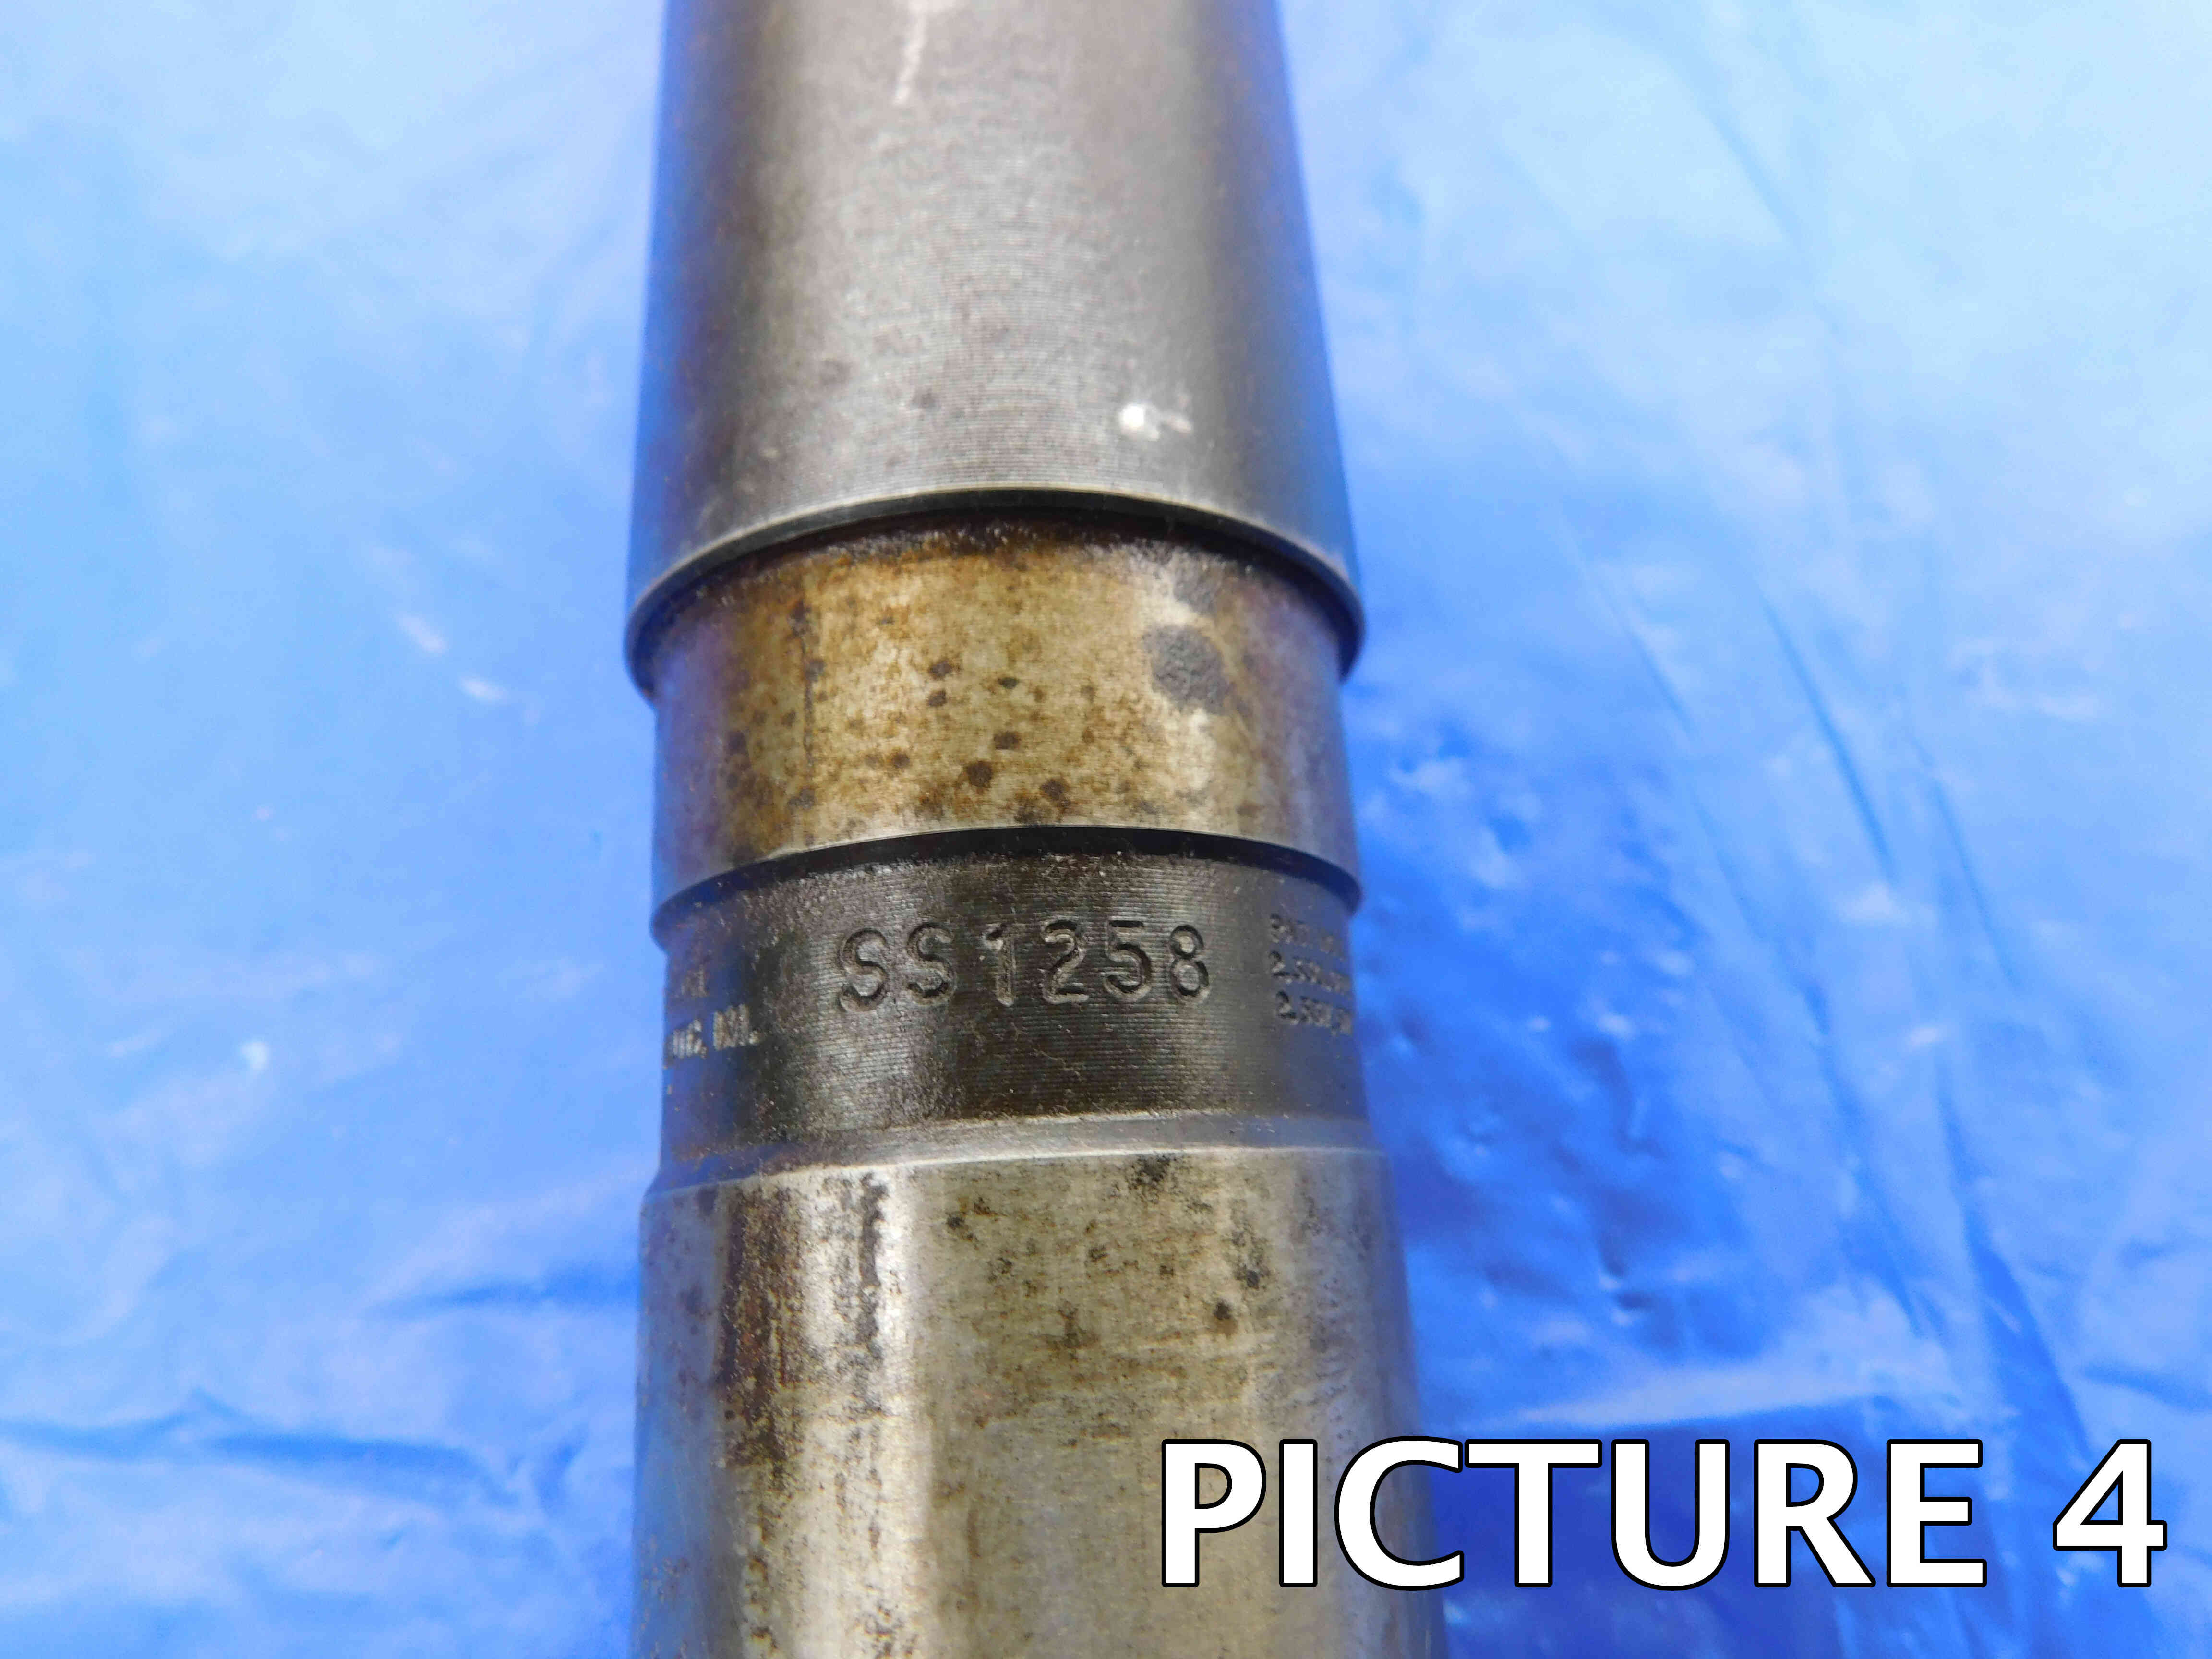
4th Picture: A close-up shot of the labeling. If there is no labeling present, skip this picture.
Additional Pictures: Any damage or modification to the insert cartridge or shank must be clearly pictured. Use a pen to point to the damaged / modified area. If you believe additional pictures are needed for any other reason, contact your trainer to verify if it is necessary.
Please refer to the pictures below for examples:
Listing Adjustable Boring Bars

If there is no brand listed and the cartridge looks similar to the photo above, the brand should be assume to be Devlieg Microbore. This is most common manufacturer of this style of adjustable boring bars, and many people refer to these as "Microbores" even if from another brand. If there is no labeled brand, click the "Unlabeled" button to the right of this cell. Note: Items are often labeled with the country of origin (USA, China, Japan, Poland, etc). This should NOT be entered as the brand, and furthermore should not be included in the listing at all EXCEPT for USA which can be used as a filler.
Adjustable boring bars will often have labeling on the shank, however this labeling may not give much information as many of the Devlieg Microbores are quite old and may be discontinued.
Adjustable boring bars may have three type of shanks: a straight shank (such a 1"), a Morse Taper shank (such as MT #3), or a taper tool holder shank (such as CAT50). Straight shanks & Morse Taper shanks may be measured by handheld calipers.
You may not get EXACTLY 1.000 for a 1" shank, so this should be rounded up from at the lowest .995. As a general rule, .005 is the farthest off your shank should measure from an "onsize" diameter, meaning an increment of 1/16th.
Note: When entering a whole-number inch size, always include the " sign. The " sign should not be included for any size including a fraction or decimal. So, for example: If a boring bar's shank diameter is exactly one inch, it should be entered as 1" and not just 1. If the shank diameter is one and a half inches, it should be entered as 1 1/2 or 1.5 and not 1 1/2" or 1.5".
Metric size measurements should be entered with a lowercase "mm" (ex.: 16mm, 40mm).
When measuring a Morse Taper shank, use the chart below to determine what size you have, measuring the Large End (the largest section of the tapered portion) and again rounding within a reasonable limit.
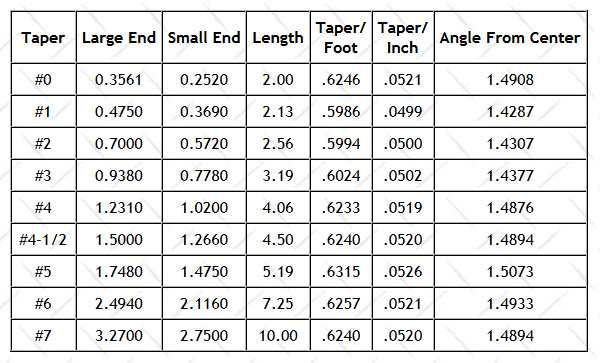
If you have a tapered tool holder shank, please use the following link to identify what style & size it is: Tool Holder FAQ
Unlike many other tools which have a single, set cutting diameter, adjustable boring bars are able to adjust their cutting diameter to any size within a certain range. This range may be labeled on the tool itself, but often you will need to take measurements to determine it. To do so:
1. Locate the adjustment screw on the back of the head, and find an Allen wrench that fits.
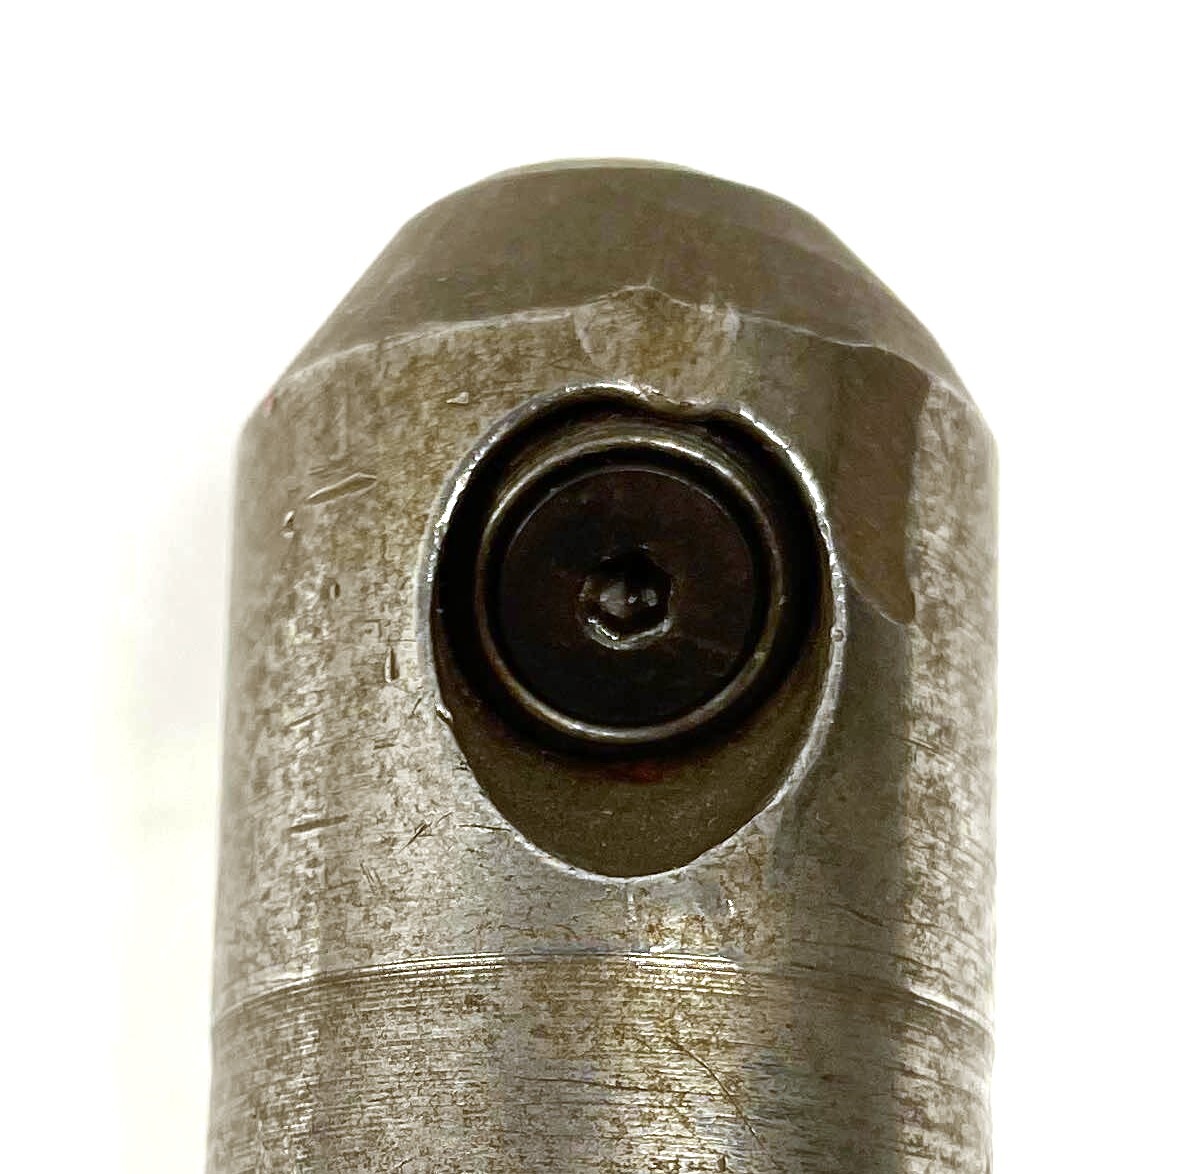
2. Loosen the screw, and then turn the adjustment dial all the way towards the carbide tip / insert pocket. You may need to use a wrench if the dial is difficult to move by hand.
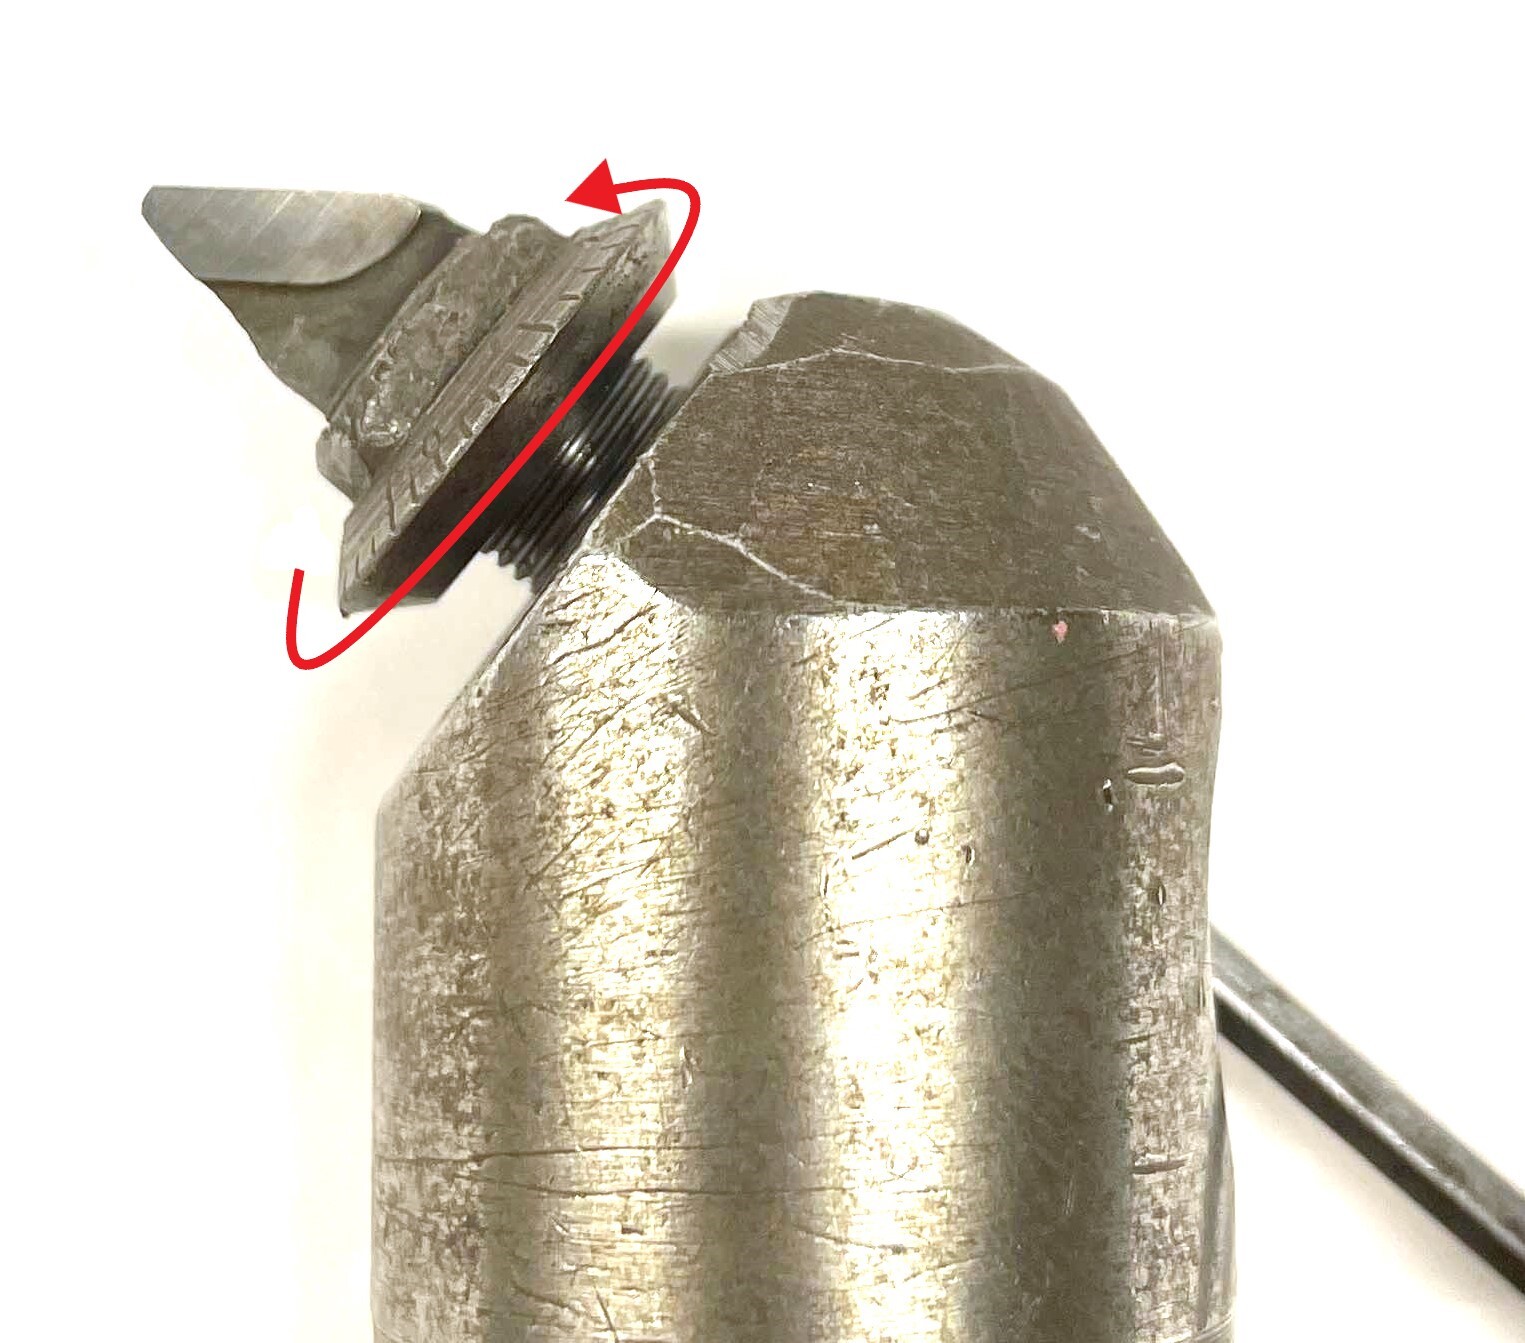
3. Tighten the adjustment screw. The boring bar will now be set at its minimum cutting diameter.
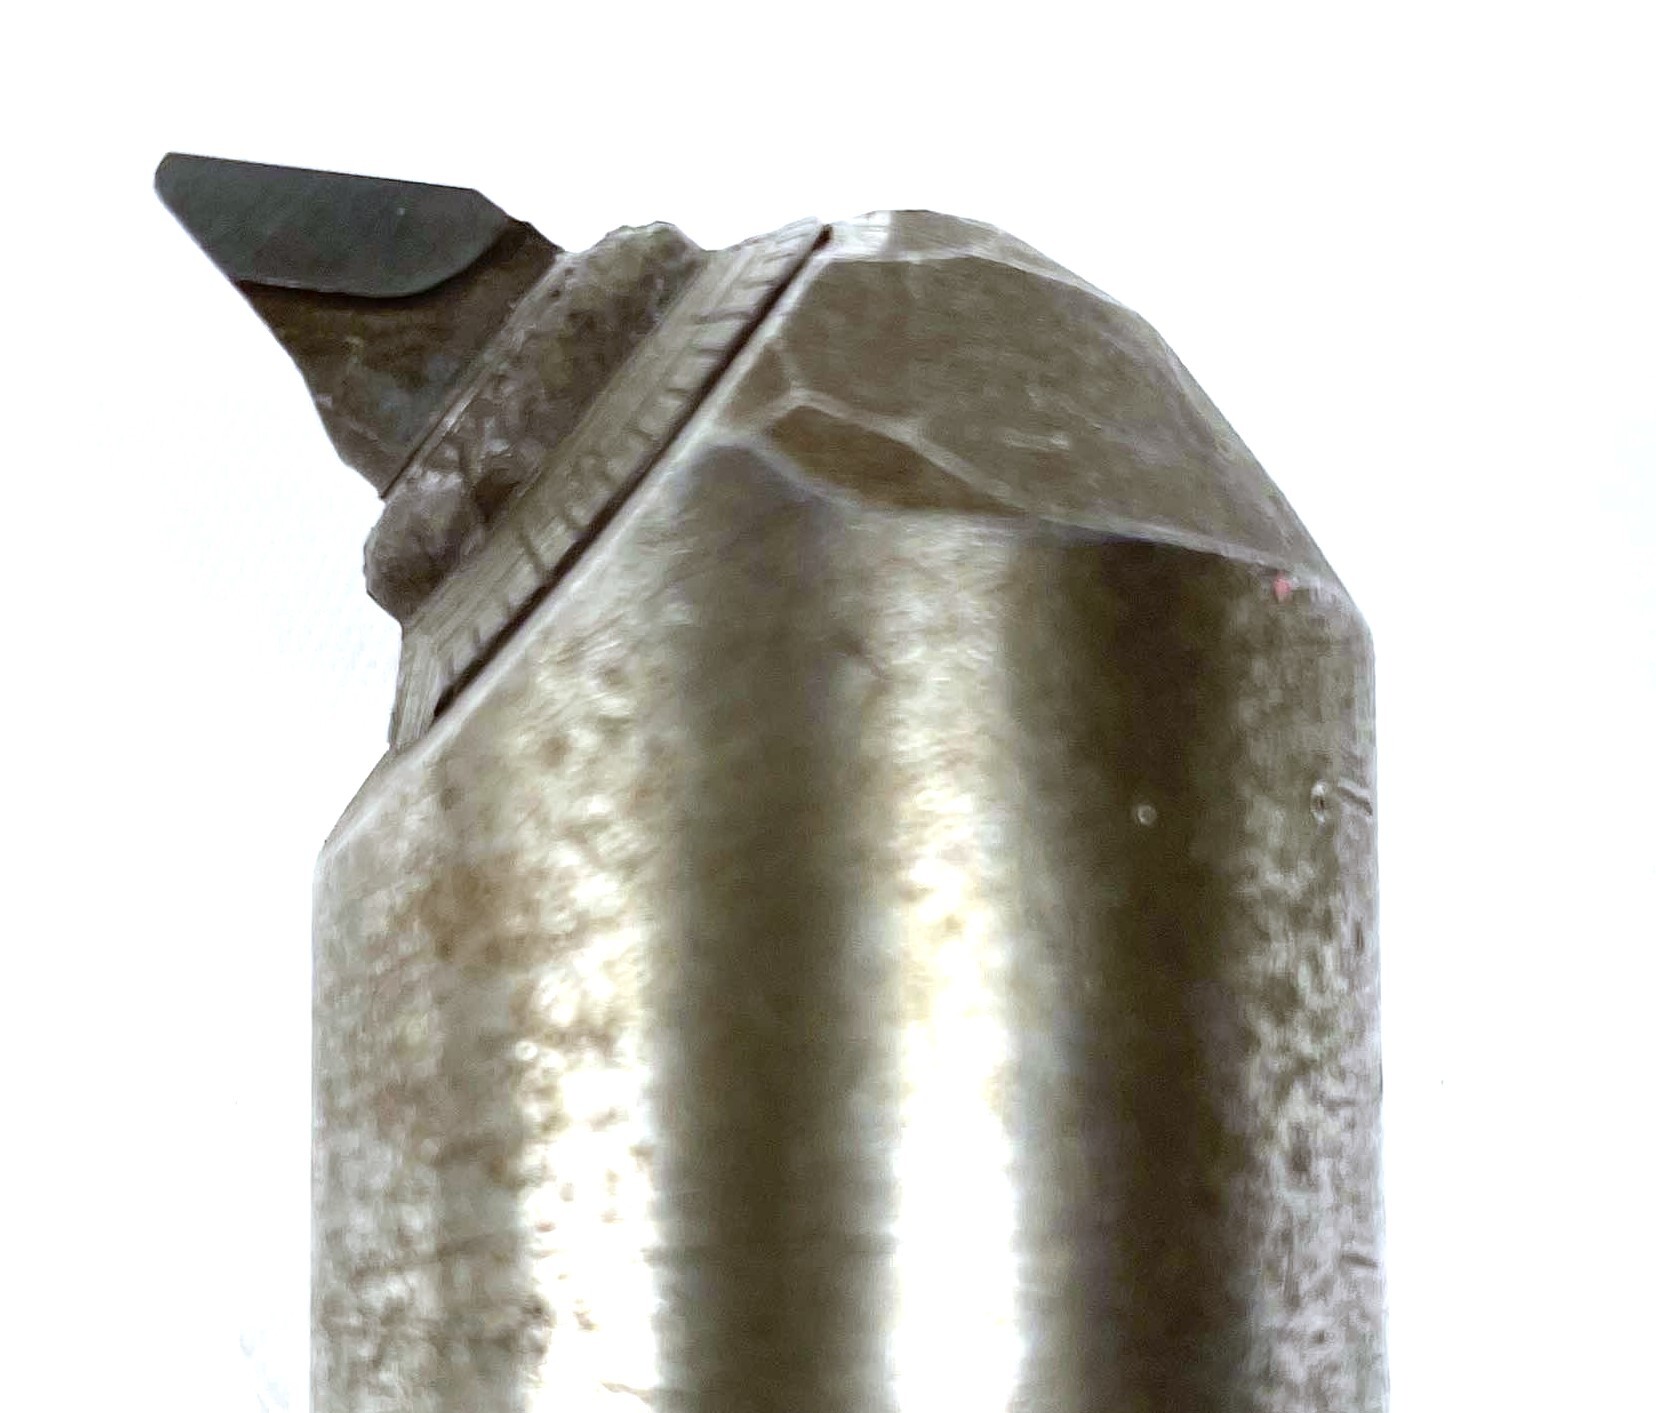
4. Using calipers, measure the distance from the tip of the cutting material to the center of the head. On many boring bars (but not all, such as the one shown below), there will be a straight line across the center which will help you measure. If this line is not present, try to approximate the center point as closely as you can.
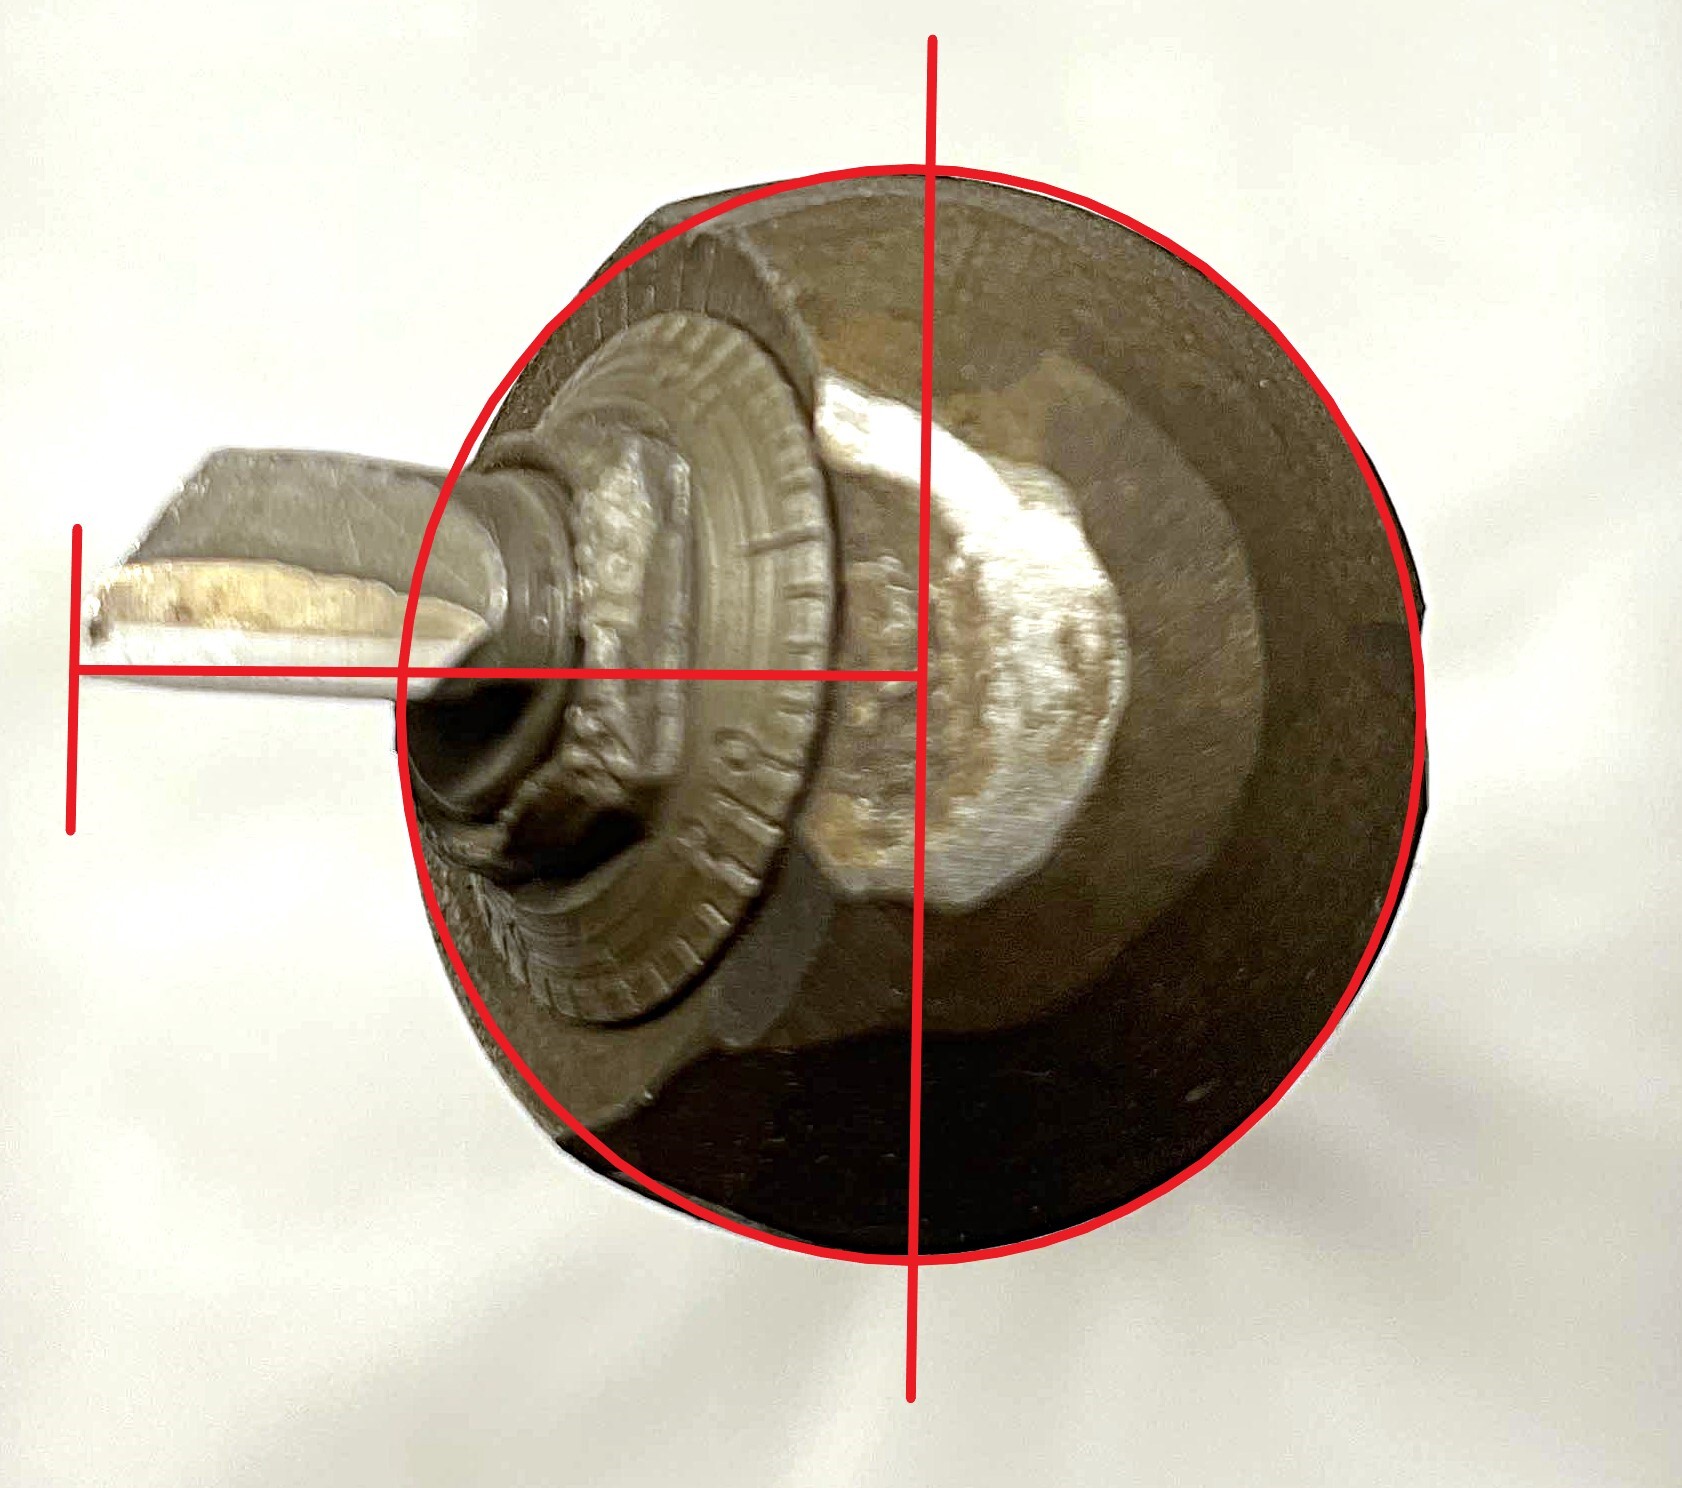
5. Multiply this number by 2, which will give you the minimum boring diameter.
6. Loosen the adjustment screw again, as far as it will go before the cartridge falls out. This time turn the dial away from the tip until it rests against the body of the boring bar.
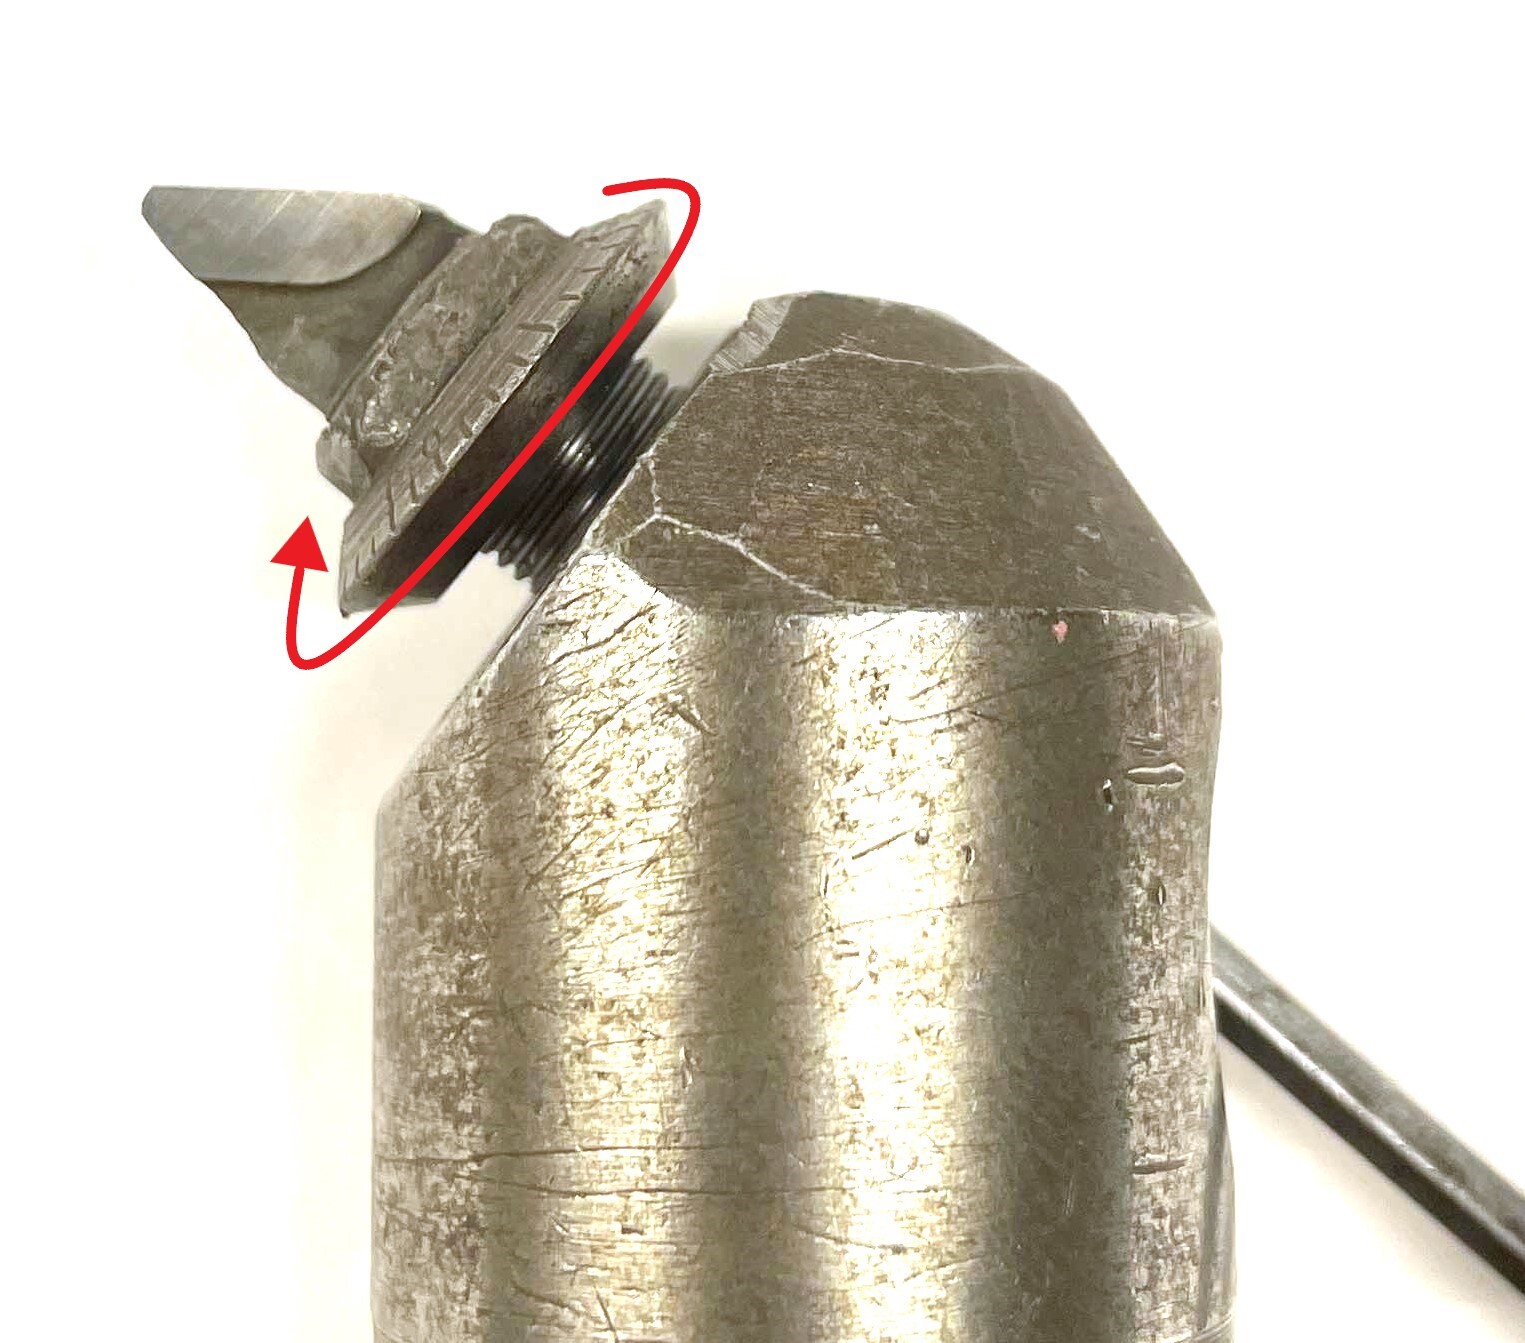
7. This will set the boring bar to its maximum cutting diameter. Repeat steps 4 and 5 to calculate the diameter.
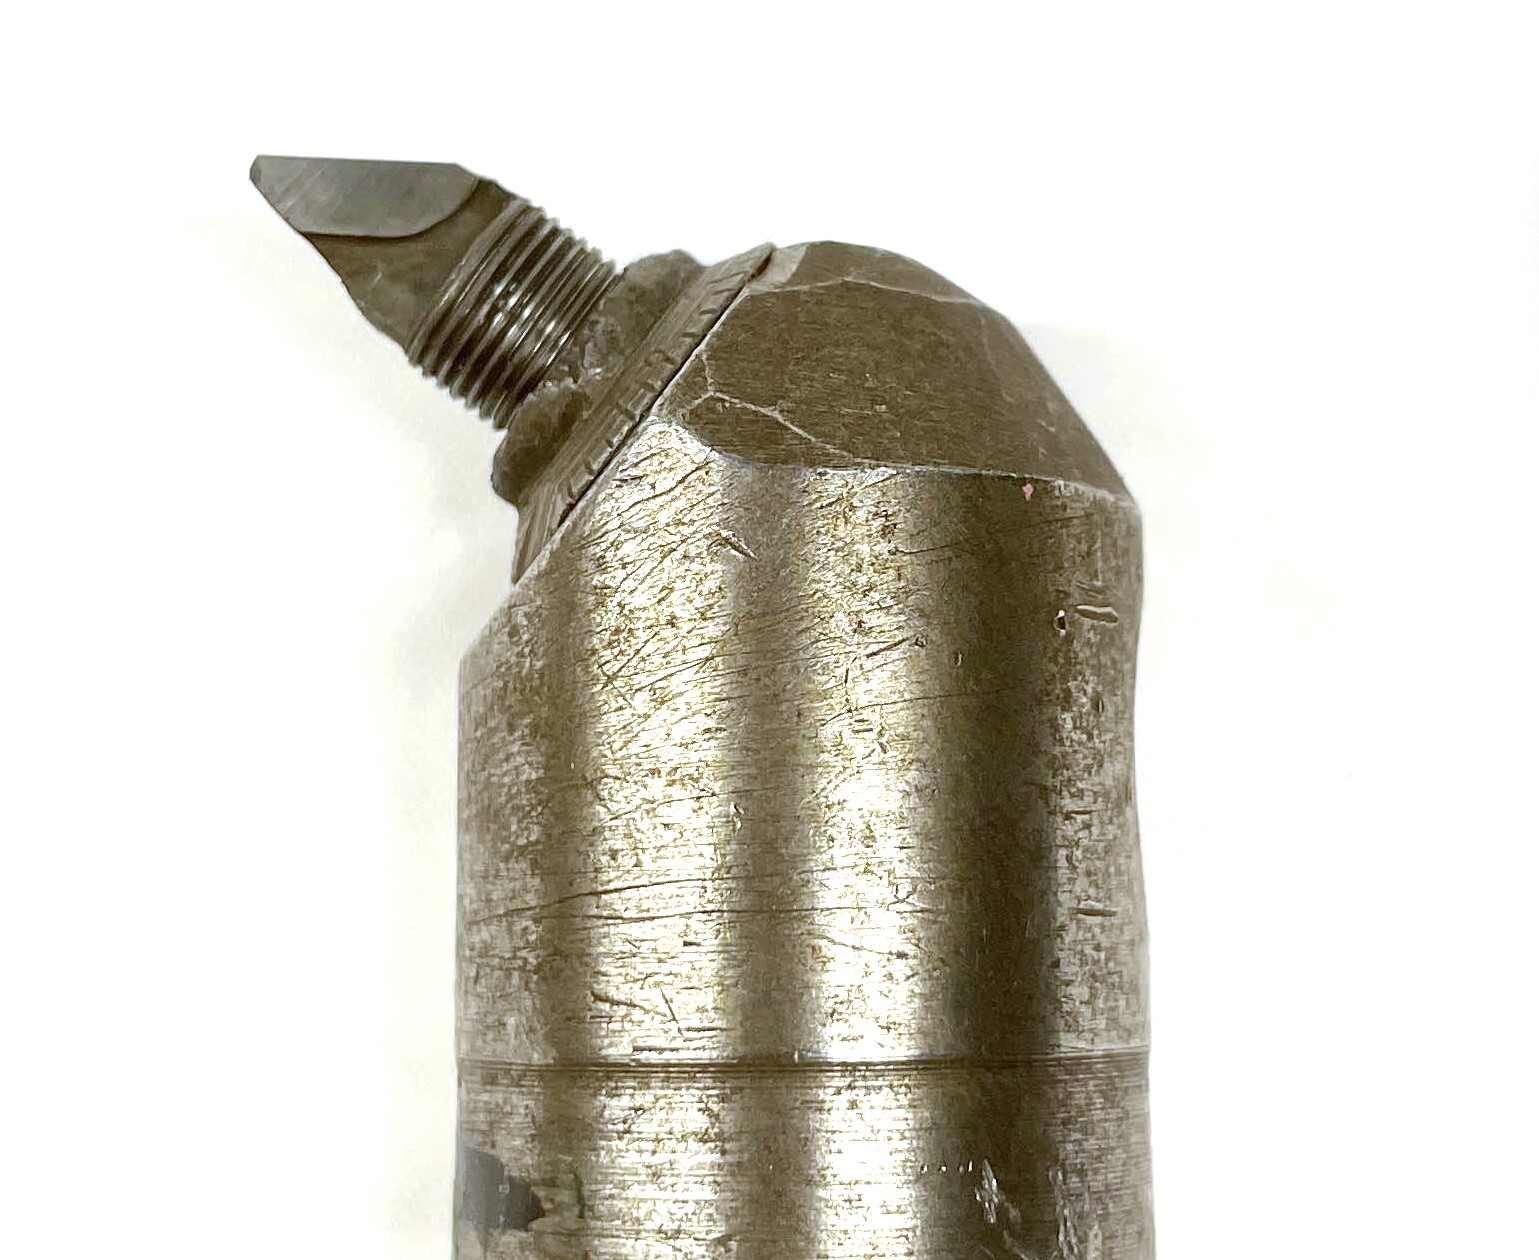
8. Enter the boring range in the template, including the word "approximately" which can be abbreviated as "APPROX." For example: APPROX. 1.2" TO 1.4"
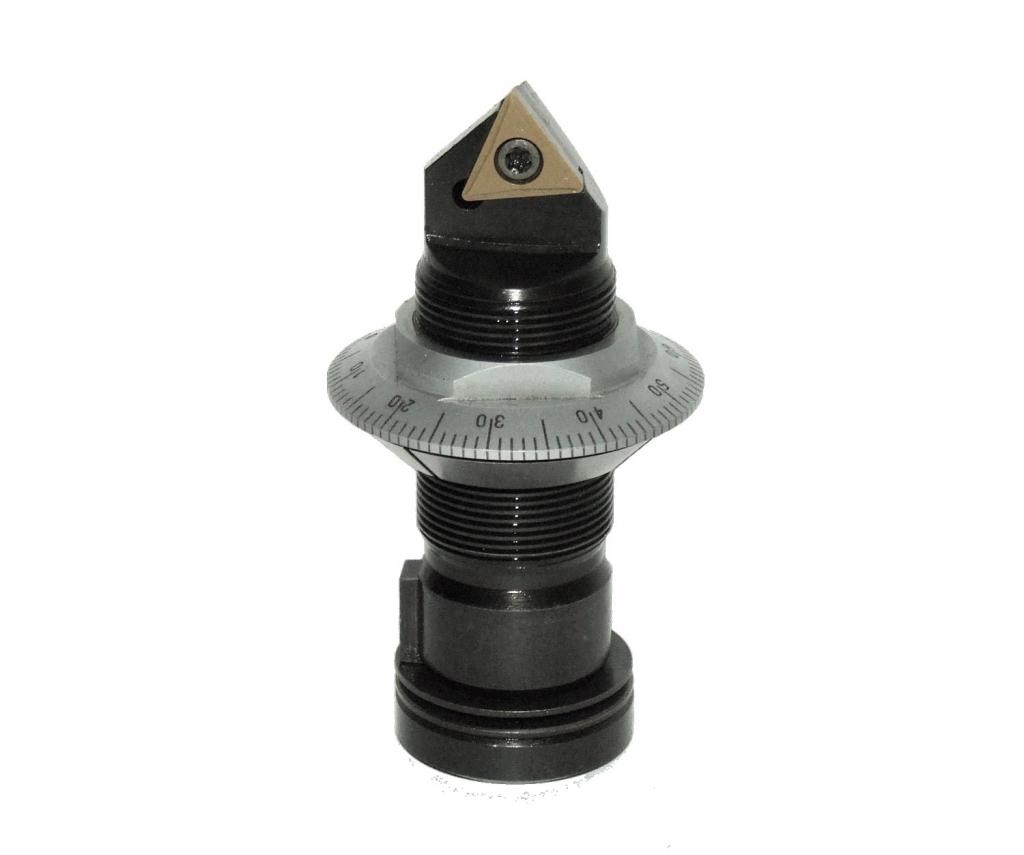
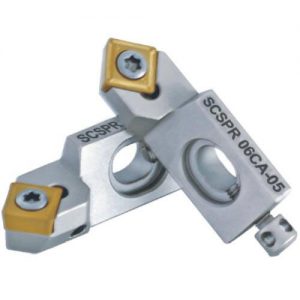
Adjustable boring bars may have cartridges that hold indexable inserts. The easiest way to differentiate these from the integral / carbide brazed cartridges is that these inserts will be held by some mechanism, such as an insert screw seen above, or an insert clamp. These are useful because the inserts can be swapped out in order to replace the cutting edge when it gets worn down. These often will have their own labeling and will add value, so include this part # / labeling in the listing whenever available.
The overall length can be measured less precisely than the shank diameter using calipers or even a tape measure, and should be measured from the very base of the shank to the very tip of the cutting insert.
If there is an indexable insert cartridge in your adjustable boring bar, information about the type of insert this uses is very helpful. Please use the following link to learn more about inserts: Inserts FAQ
The "Filler" section is used to add other relevant information to the title which is not covered by the other sections. Fillers can be a good way to increase a listing's visibility - we always want to include as much information as possible that we think a customer might be searching for in order to make sure that our listing is coming up in their search results.
There is not necessarily one right answer when it comes to fillers, and often it will be up to you to decide what should and should not be added as filler. Adjustable boring bars often will have extra space for fillers, so here are some suggestions for what can be included:
-Secondary labeling or branding / product names
-"USA" or "USA Made" for any US Manufacturers (you may need quickly research a brand if you are not sure since this will not always be specifically labeled)
-"Microbore", even if the brand is not Devlieg
-Like with non-adjustable boring bars, "Lathe" is always an appropriate filler
Note: Keep in mind that titles have a maximum limit of 80 characters.
Additional Specifications & Special Condition
The Additional Specifications section should be used for any secondary labeling or additional measurements that do not fit in the other sections of the listing. There is no character limit here so any relevant information that is not already covered should be included (within reason - we don't want to overload the listing with unnecessary information, so ask your trainer if you are not sure whether or not to include something in this section).
The Special Condition section should be used for any special notes about the item's condition such as damage or modification. Try to be specific when describing the condition, and reference pictures that point out the damage / modification if applicable. For example, "The shank has been flattened on one side - see picture #4 for details". General wear and tear does not need to be mentioned, but anything that will affect the tool's usage should be included here.
Once all information is entered, click here for the next steps.
